
Model Hierarchy Settings
Default Model Hierarchy
Within ATLAS the attributes used for the default model hierarchy are:
Level 1 = element_type
__Level 2 = object_name
____Level 3 = object_id
User Hierarchy Settings
Users of ATLAS have the option to overwite the default hierarchy settings to suit their needs.
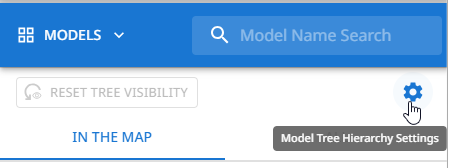
To view your current hierarchy settings, within the right hand panel, click upon the 'Model Tree Hierarchy Settings' icon.
This will open a pop-up that displays the attributes being used for each of the three hierarchy levels.
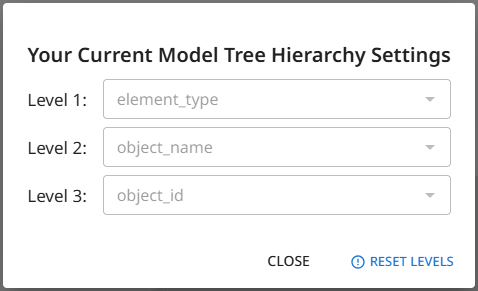
If the attributes displayed are not the default and you want to revert to the default, click upon 'Reset Levels'.
Setting Custom Hierarchy
Custom hierarchy settings are set per project and for your user only
To allow for a custom hierarchy to be set, at least one model needs to be uploaded to the project.
-
Load a model into the view
-
Select a model element to load its data attributes within the Model/Element Details panel on the left
-
Move your cursor over the attribute name you wish to use within the hierarchy. This will display a pop-up menu with three options, select the 'Set this attribute in Model Tree';

-
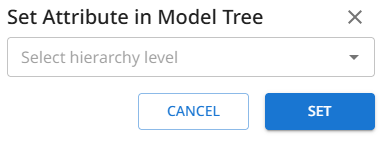
Within the pop-up dialog window, select which hierarchy level you want to set the chosen attribute at;
-
Click Set.
The hierarchy will be updated and the model tree reloaded to show the change.
Updated 6 months ago