
Creating Asset Templates
How to add asset templates to your configuration classes
Asset Templates hold individual 3D model files, each representing a variation of a valid representation of a physical instance of an asset type within the class.
The templates are used within the Level of Geometry checks, forming the geomerty that elements within an overall design model are verified against.
Adding a new Asset Template
-
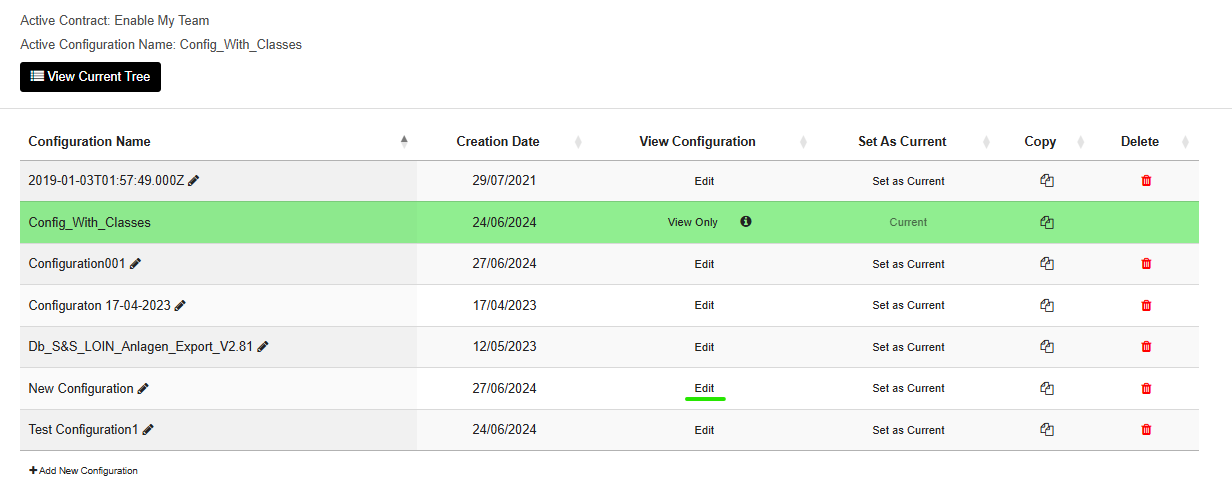
Open the desired asset configuration for editing.
-
Use the class search feature at the top of the page, or expand the tree view to see the desired asset class.

-
Left click on the class to open the class configuration modal.
-
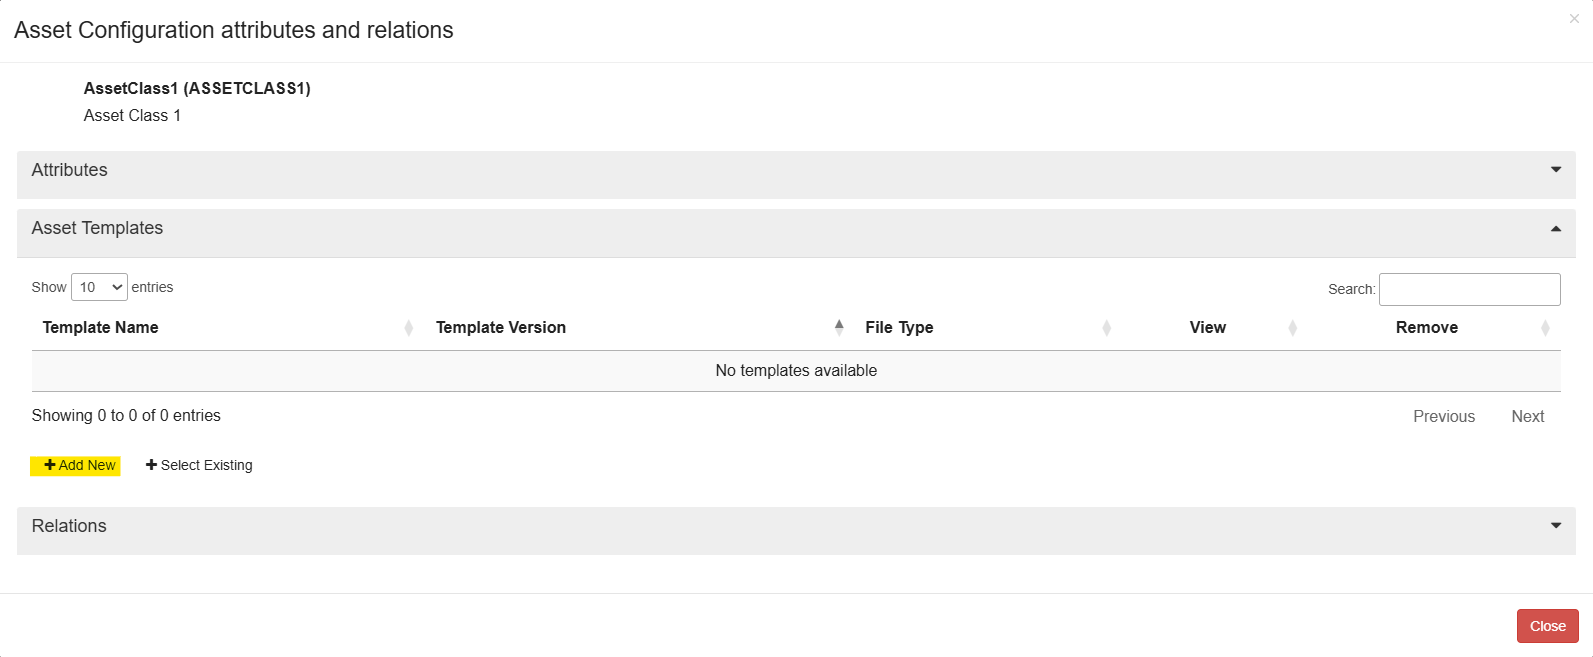
Open the Asset Templates section and click '+ Add New'
-
Within the 'Add New Template' dialog box;
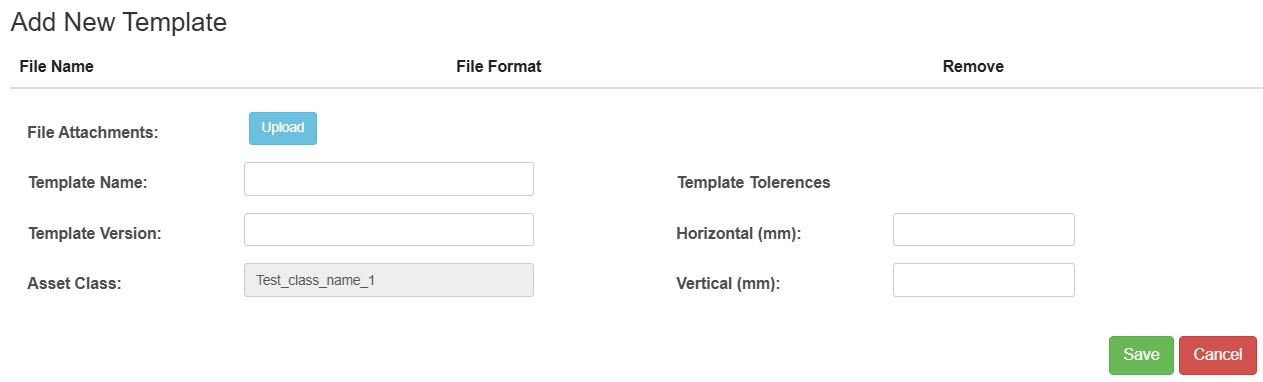
- Upload the 3D model template file.
- Enter the Template Name and Version (the version assists with version control if your templates are likely to be updated).
- Enter the desired Template Tolerances - these allow for some dimension flexibility when comparing the model elements against the template file geometry.
- Click Save. This will save the template and add it as a template for the class. It will also be added to the template repository so that if removed from the class it can reapplied via the 'Select Existing' option.
Selecting an existing Asset Template
Where Templates already exist for the configuration class within the template repository, you will see the option to select an existing template.
- Open the Asset Templates section and click '+ Select Existing'.
- Check the desired templates to add to the active class.
- Click Apply - this will add the existing template to the active class.
Remove an Asset Template
To remove an asset template from the active class, click the trashcan icon against the template row.
The template will remain available as an existing template for the class, so that it can be re-added if necessary.
Updated about 1 year ago