
Add Users To Your Project
Accessing User Management
Depending on the Area of ATLAS you are working within there are different routes to accessing the project's user management page.
-
ATLAS Viewer:
-
Select “Menu” on the right hand side, followed by “Accounts” and finally “Project Users”


-
-
ASSETS:
-
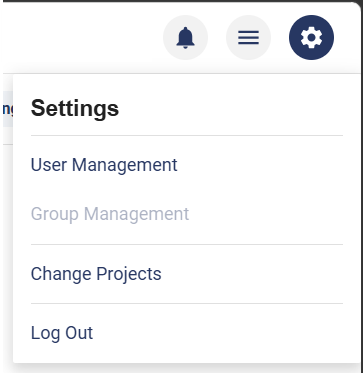
Open the Settings menu in the top right (cog icon), and select User Management.
-
-
DOCUMENTS
-
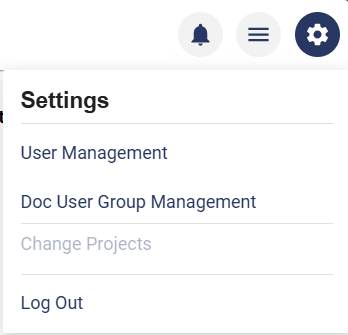
Open the Settings menu in the top right (cog icon), and select User Management.
-
Adding a User
Within the User Management page
-
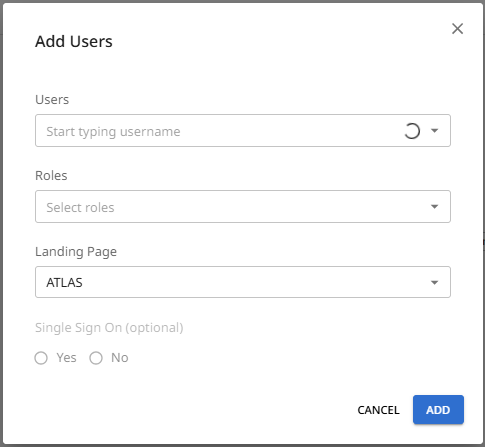
Select “ADD USERS”
-
Enter the email address user, their required roles (see below), and select their default landing area, either; ATLAS, ASSETS or DOCUMENTS.
(a user must have a role belonging to an area for it to appear within the default landing selection list) -
Select whether the user will use single sign on (SSO) or not. Information on SSO is provided below.
-
Once all the details are entered, select “Save New User”
-
The new users will now be able to create a password and log into their account. Please see the Setting Up Your Account Tutorial
User Roles
When adding users, you will need to apply the following roles, or a combination of:
ATLAS Admin Users
Require the following 3 roles:
- Atlas:Admin
- 3D:Admin
- Assets:assets.Roles.Admin
ATLAS Standard Users
Require the following 3 roles:
- Atlas:Creator
- 3D:Viewer
- Assets:assets.Roles.Creator
Assets Admin Users
- Assets:assets.Roles.Admin
Assets Standard Users
- Assets:assets.Roles.Creator
Documents Admin Users
- Documents:assets.Roles.Admin
Documents Standard Users
- Documents:assets.Roles.Creator
View Only Roles
If you want to add users with view only permissions, you can use the 'Viewer' roles available for each ATLAS area:
- ATLAS.Viewer (& 3D.Viewer)
- Assets:assets.Roles.Viewer
- Documents:assets.Roles.Viewer
System Admin Users
System Admin users will need the 'AIMS:roles.Sysadmin' role, which allows them to manage users, user roles and groups.
External Sign On (Single Sign On)
If your organisation is using an active directory for its users, then when adding organisational users, under the 'External Sign On option in the user set up, select 'Yes'.
When set up for single sign on, users can login via the organisation SSO button upon the login screen:
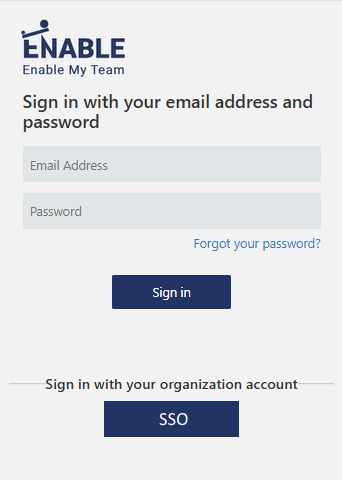
On initial login for a SSO user, they will be greeted with a secondary login screen, click 'Create' to complete user set up and the user will be logged in. This is a one time action, subsequent logins will take the user directly into ATLAS.

For third party contractors or otherwise, select No. These users will then be required to set up their own password when signing into the system for the first time. This is achieved using the 'Forgot your password?' link upon the sign in page
Updated 2 months ago