
Microsoft Power Apps Connector
In this article you will learn how to use our Power Apps Connector to get access to EMT's data from Power Apps canvas app
Prerequisites
You will need a Power Apps Premium License and an Enable My Team's project. If you don't have it you can request trial here
Using the Connector
-
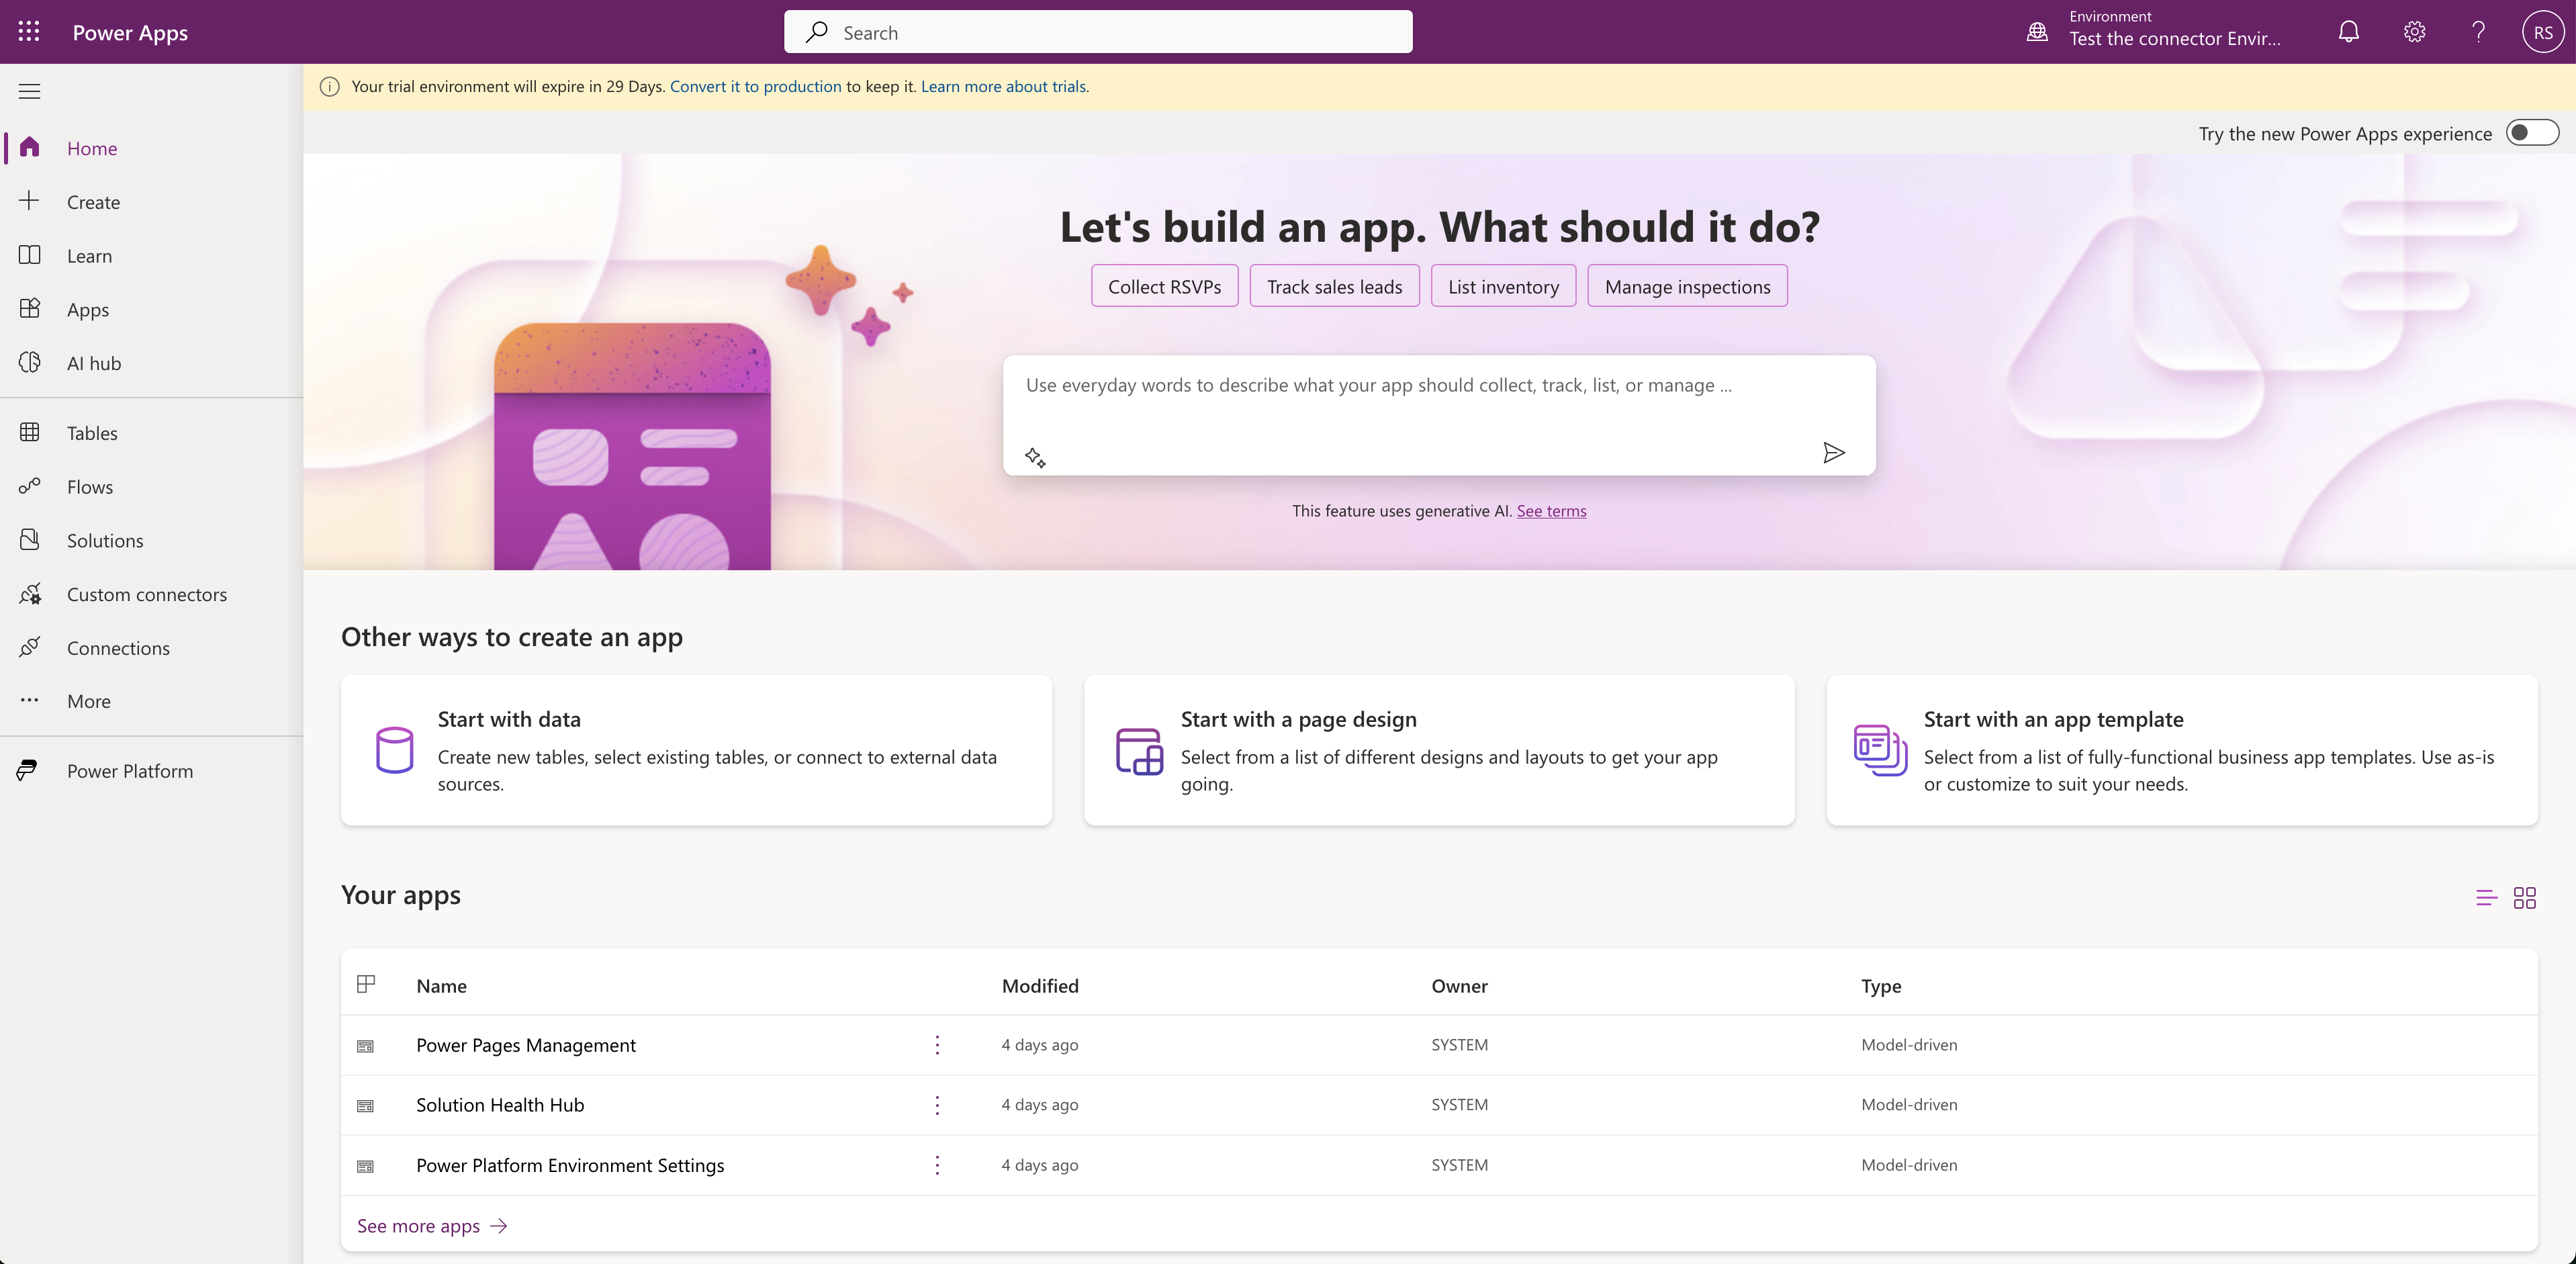
Go to make.powerapps.com and sign in with your Microsoft's account.
-
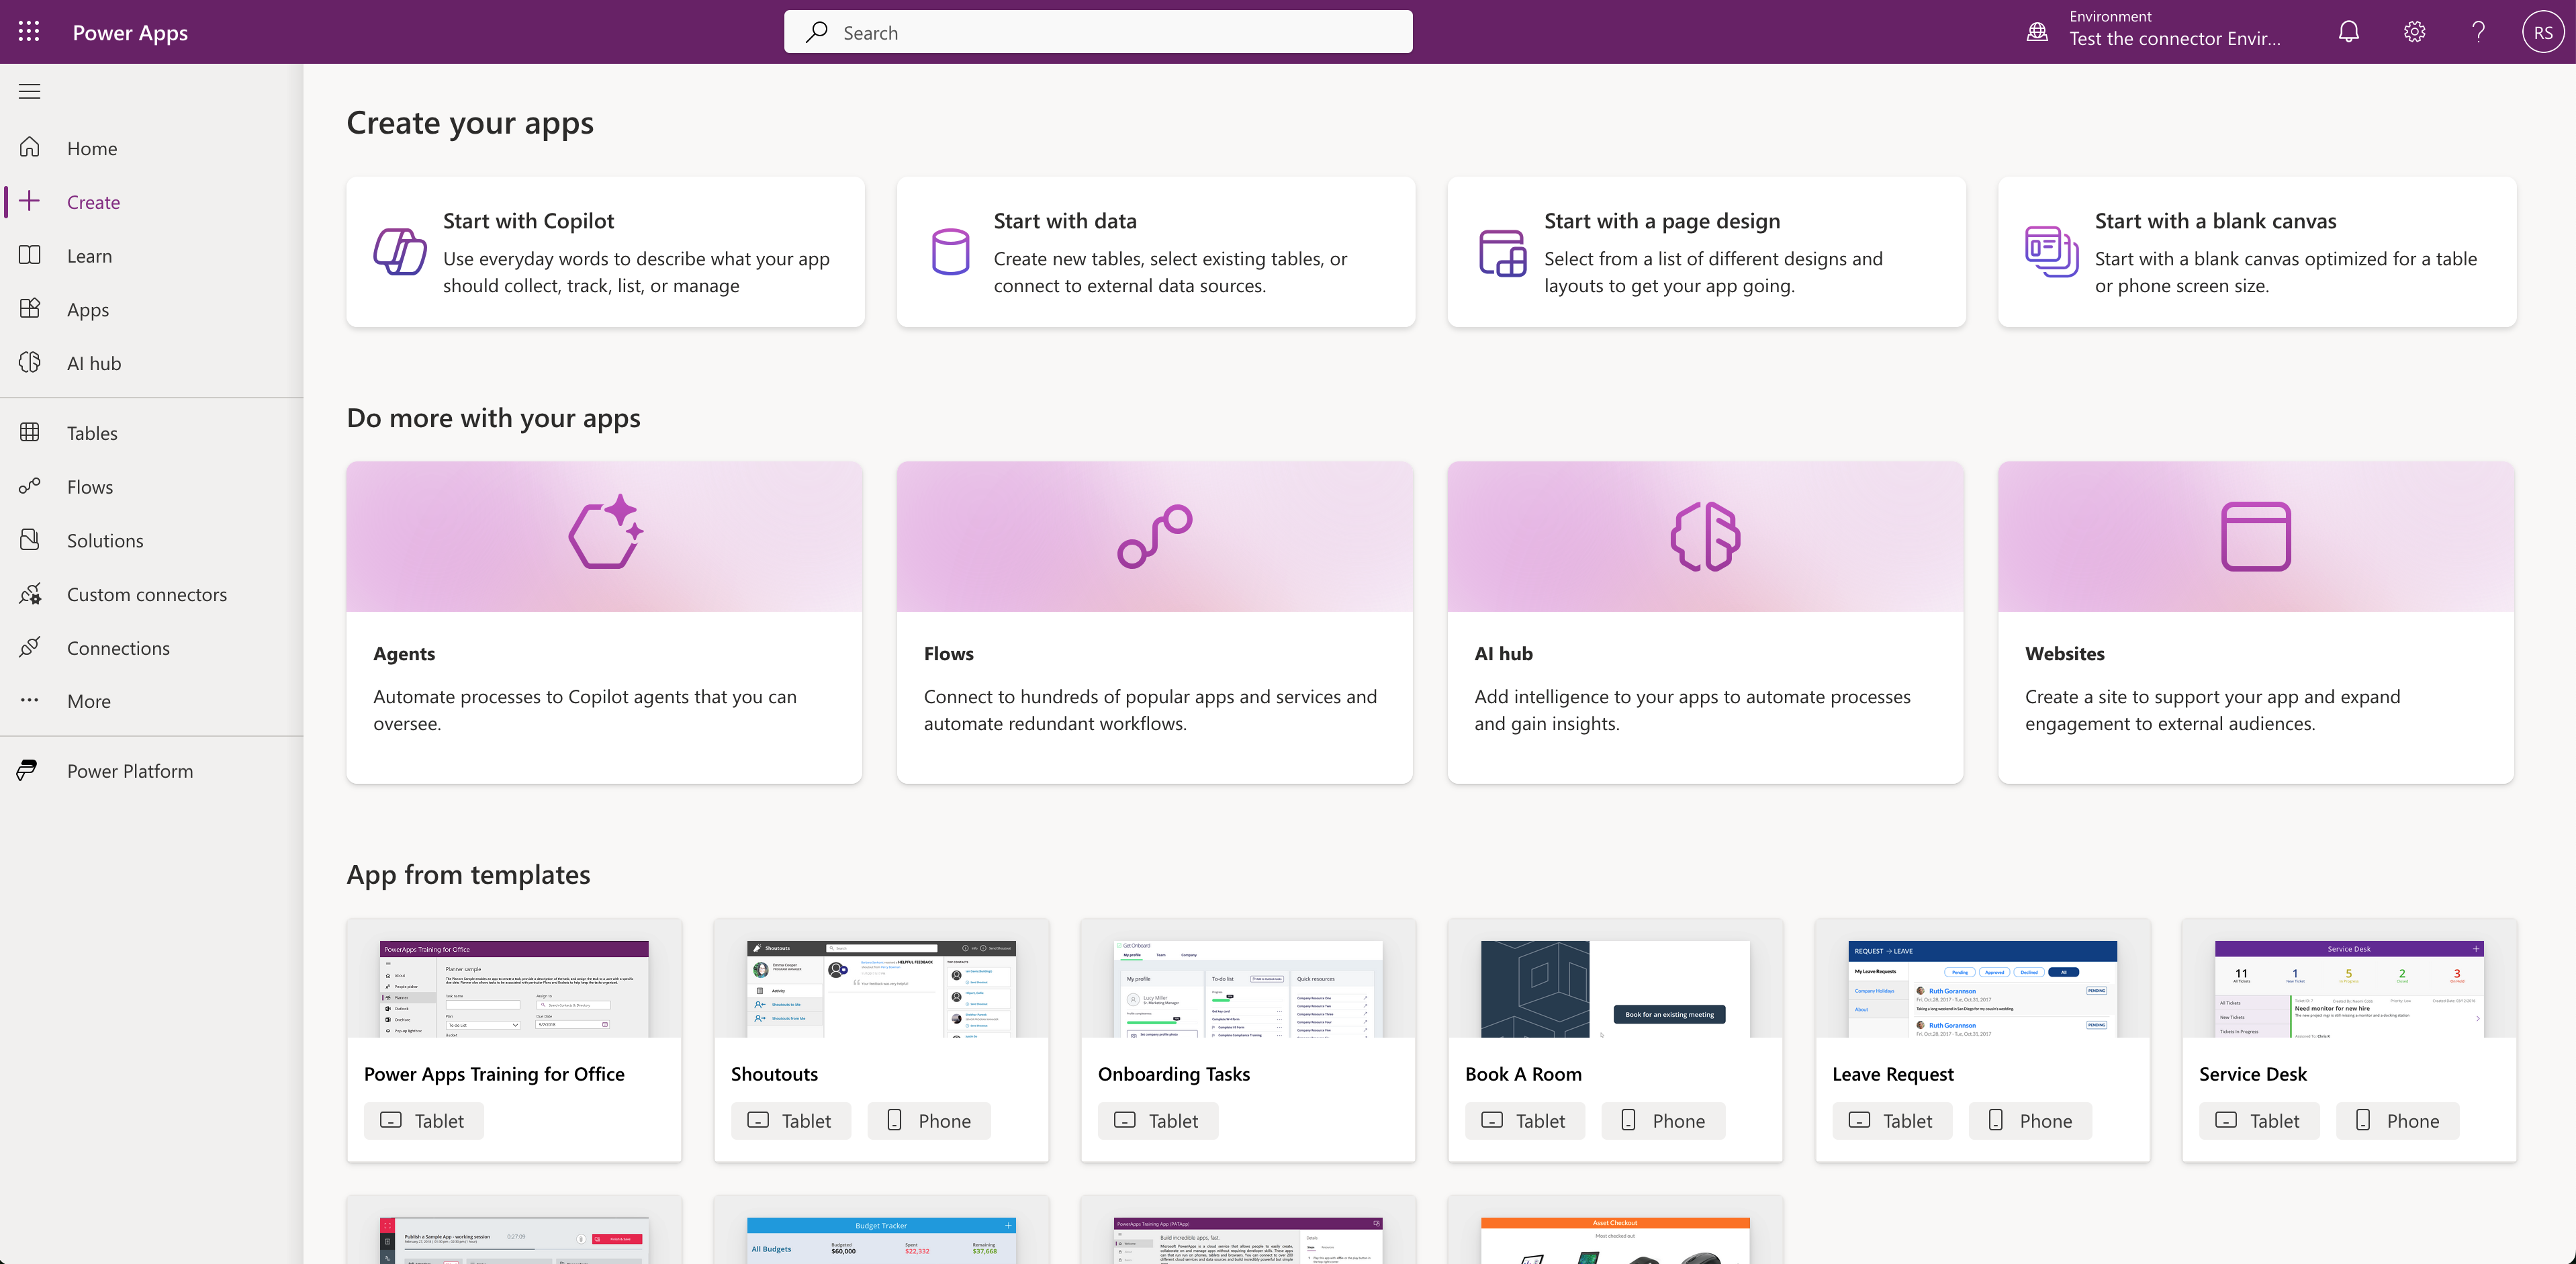
On the left click on the "Create" button.
-
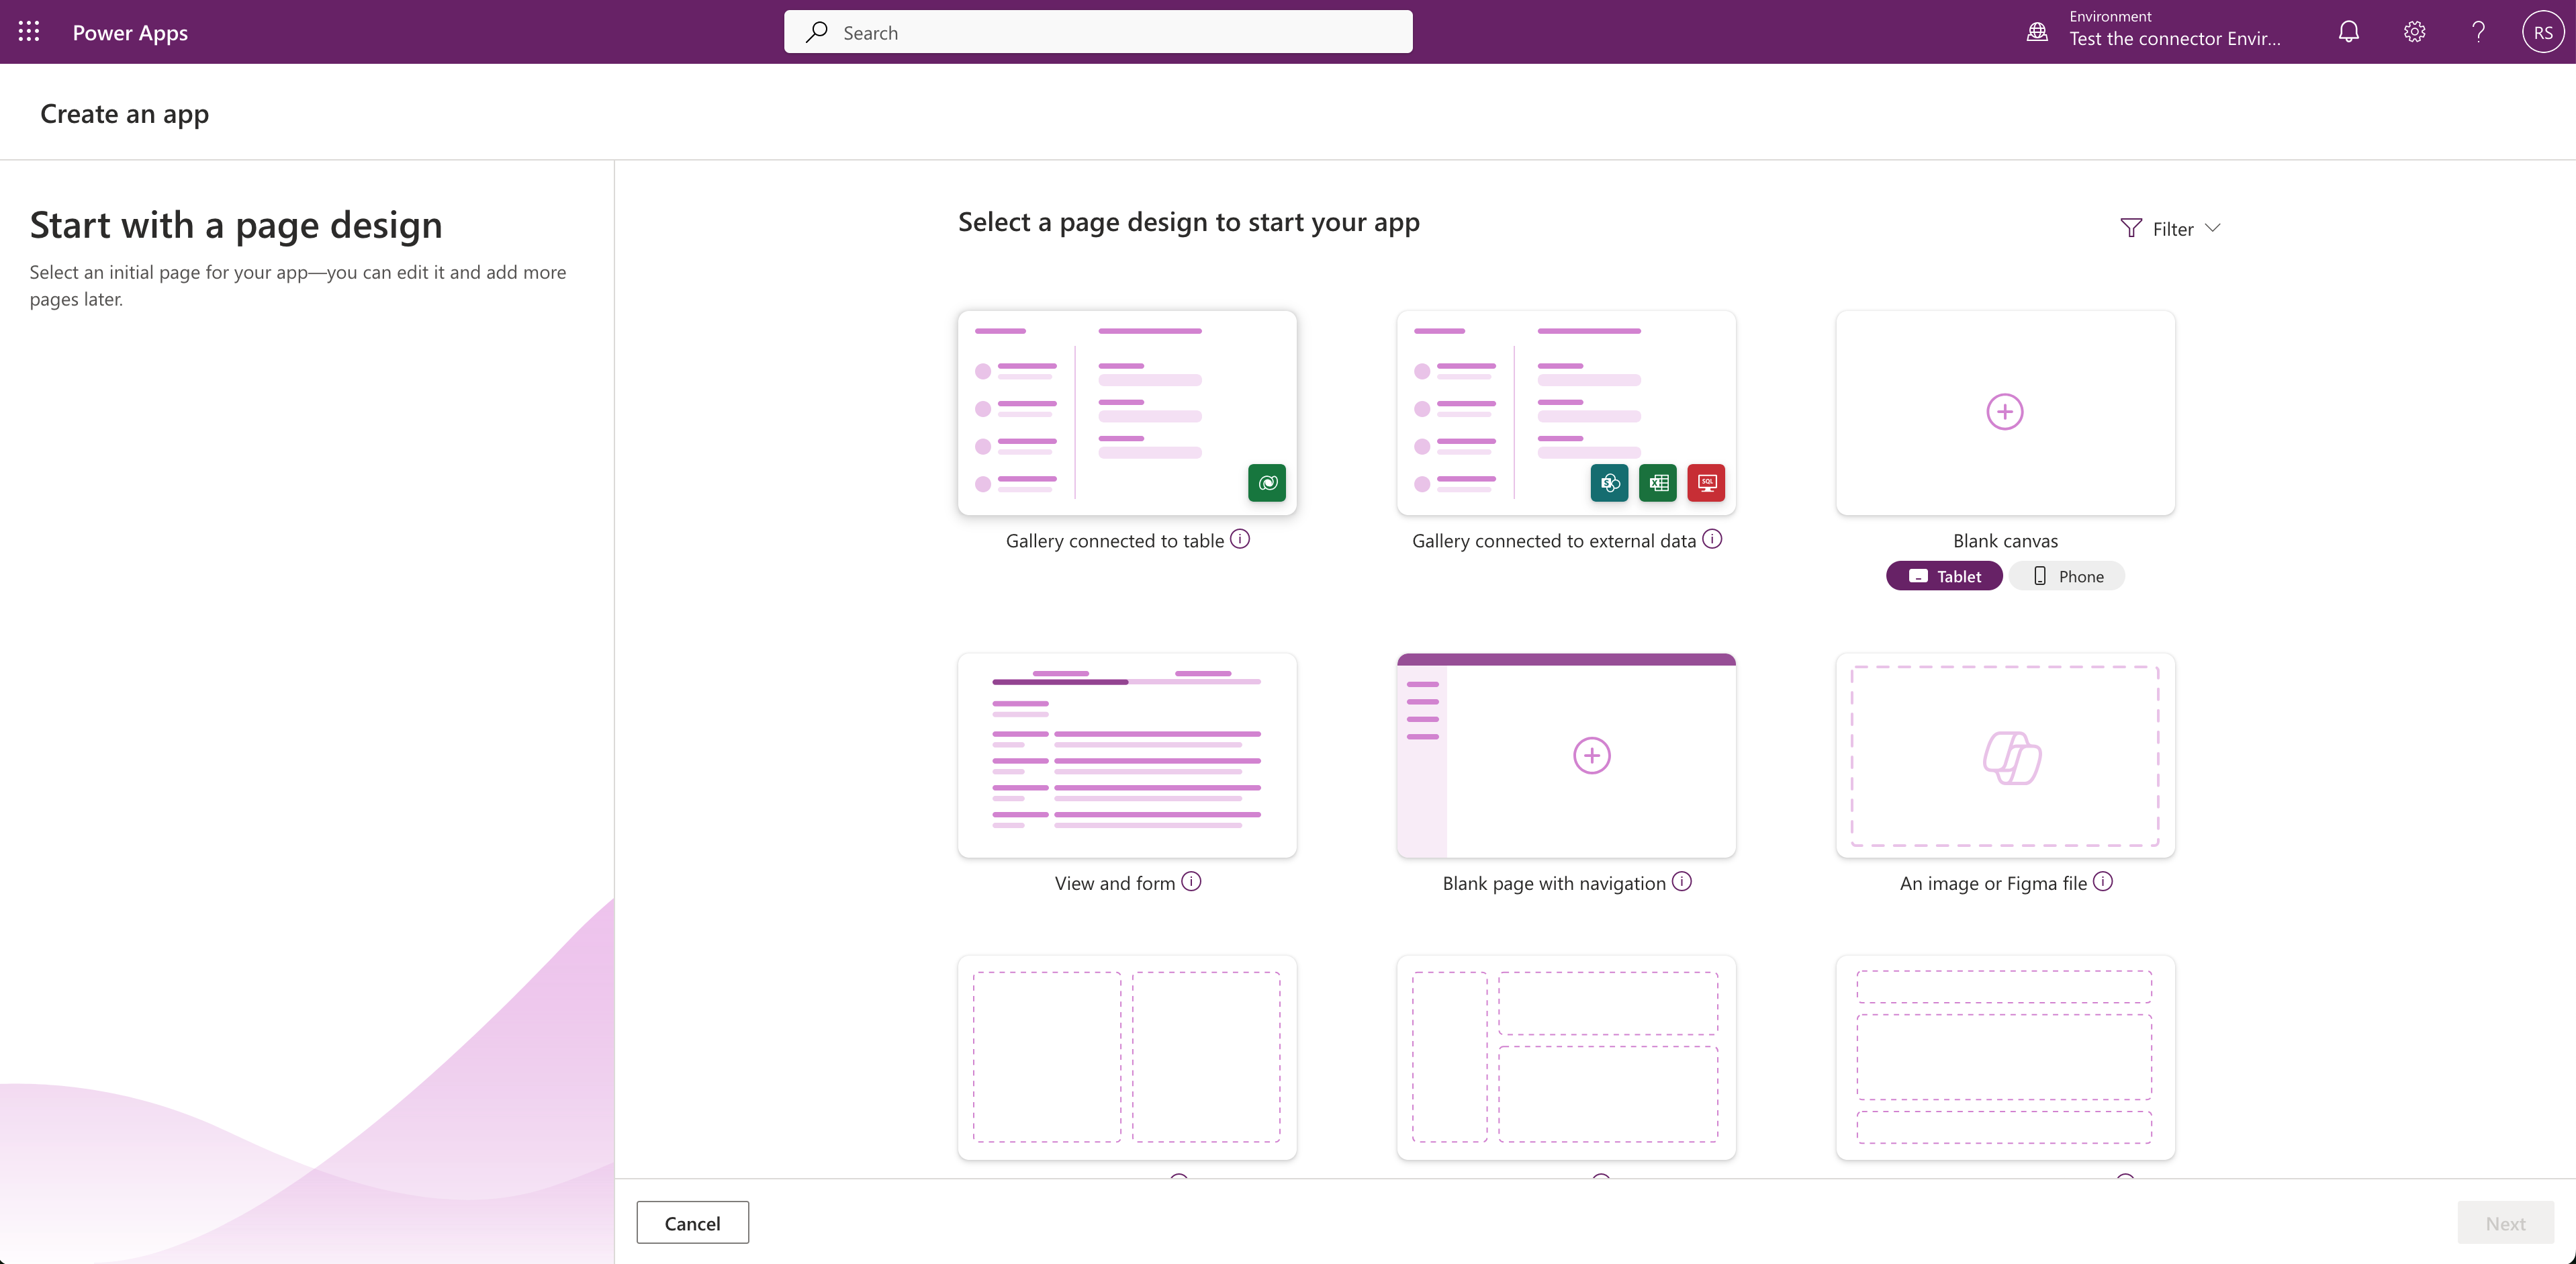
Click on "Start with a page design"
-
Next, click on the "Blank canvas".
-
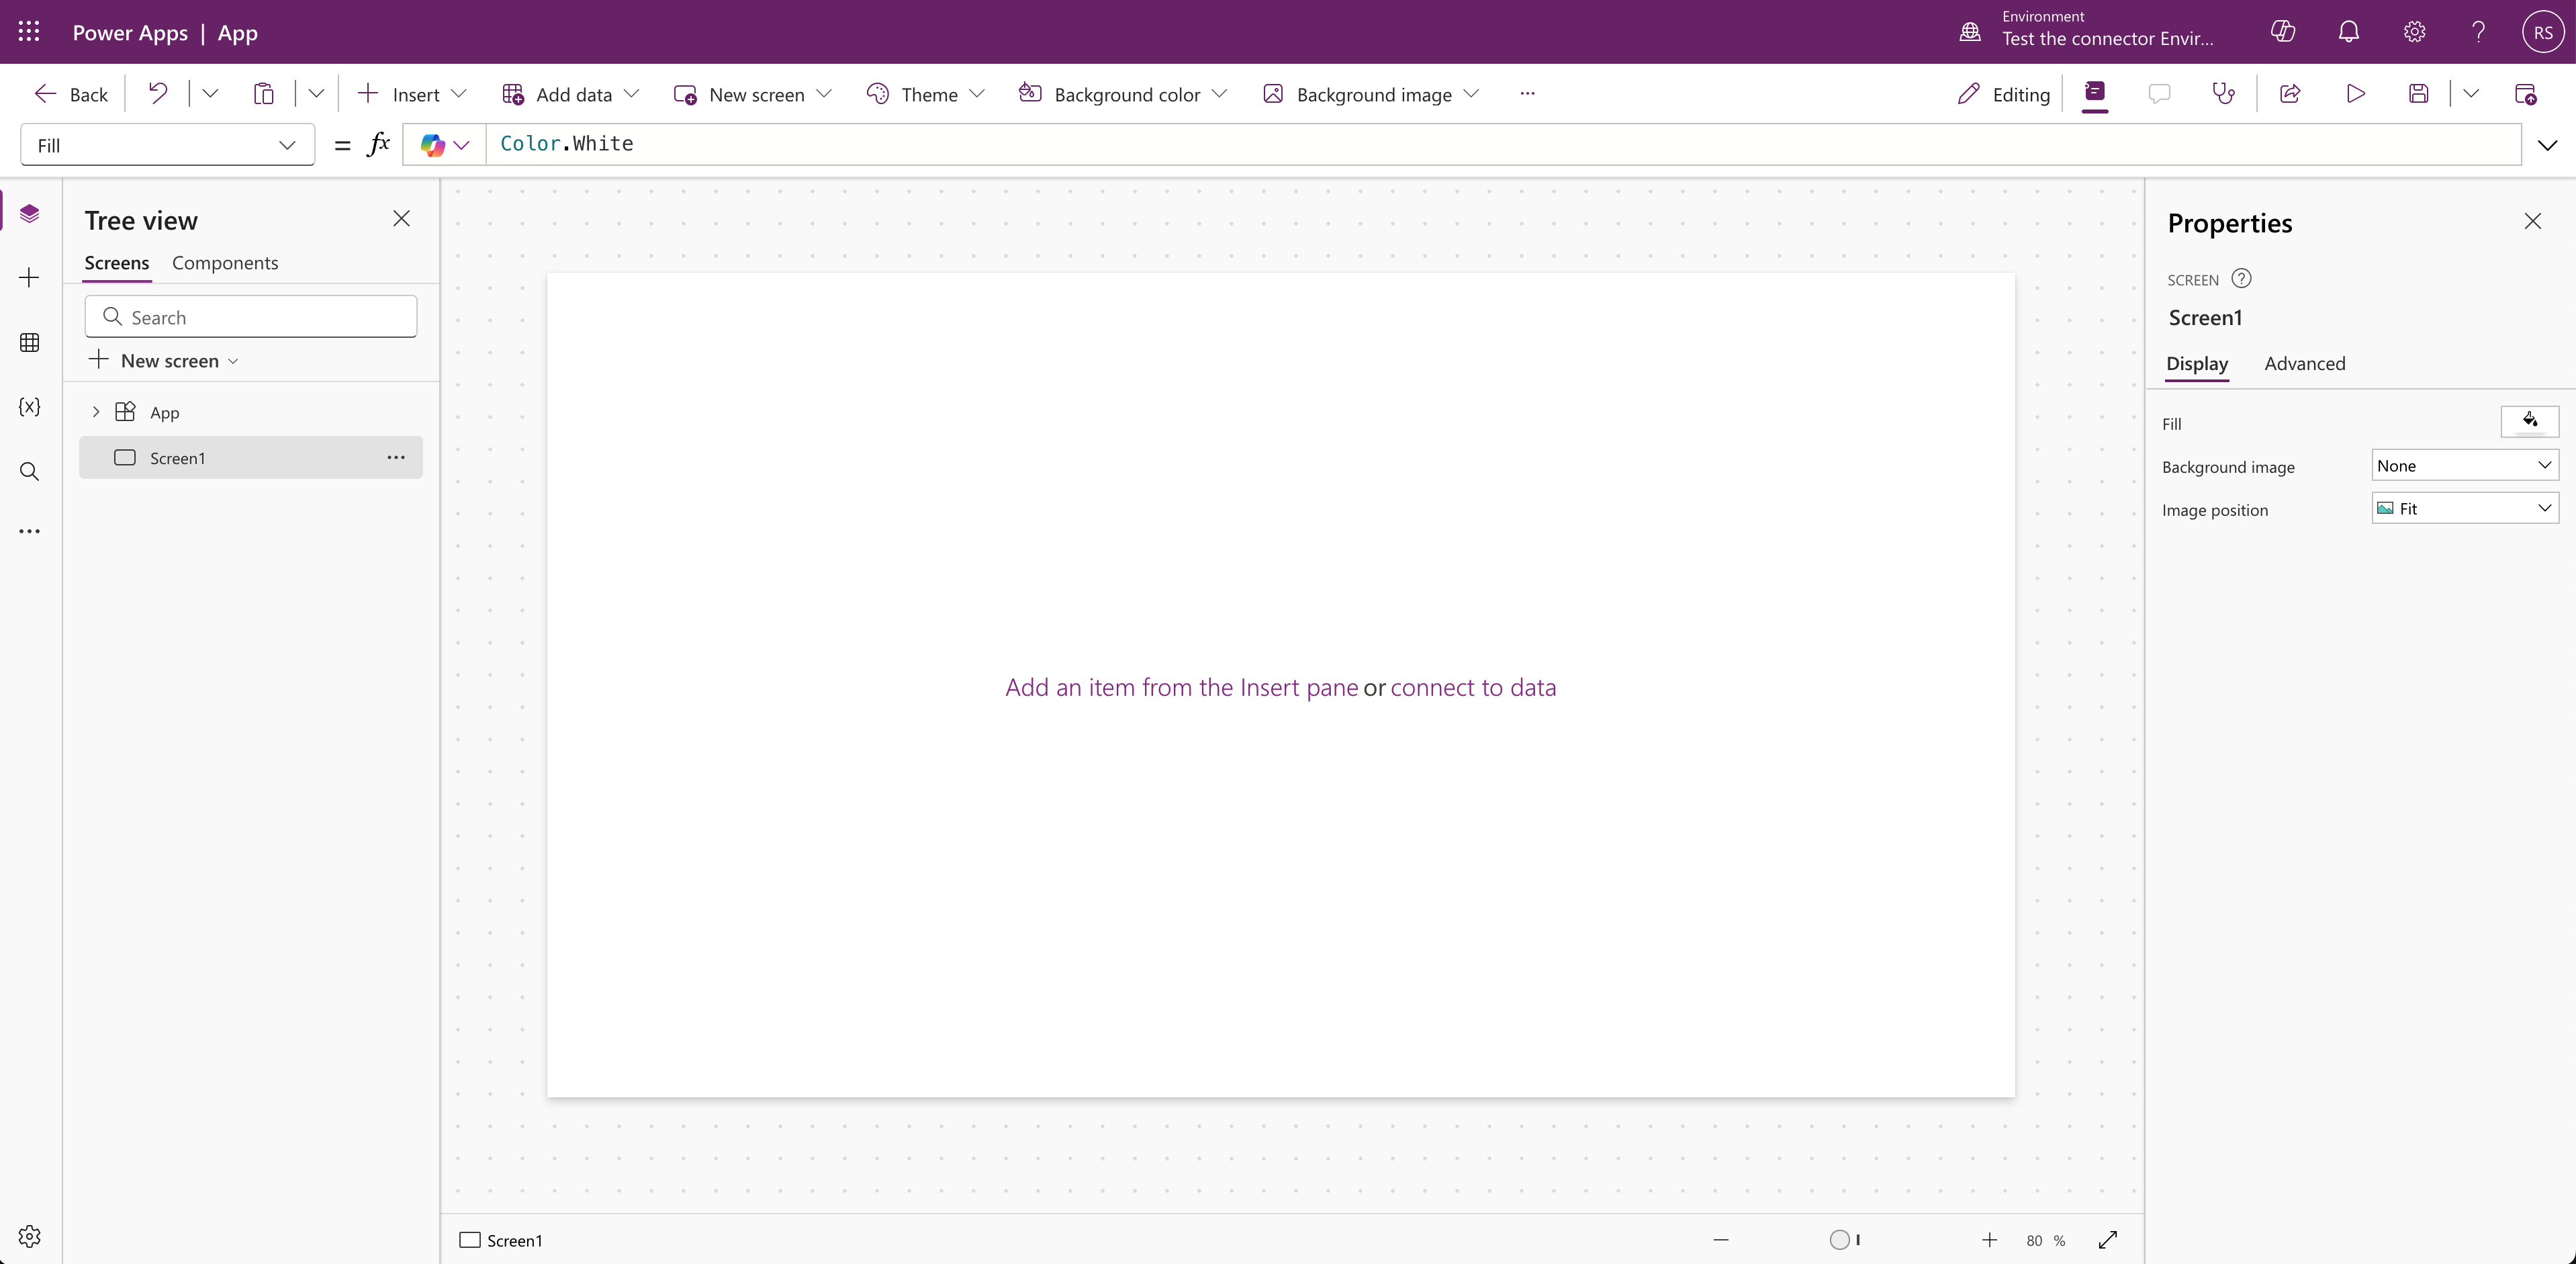
A new blank canvas app should appear.
-
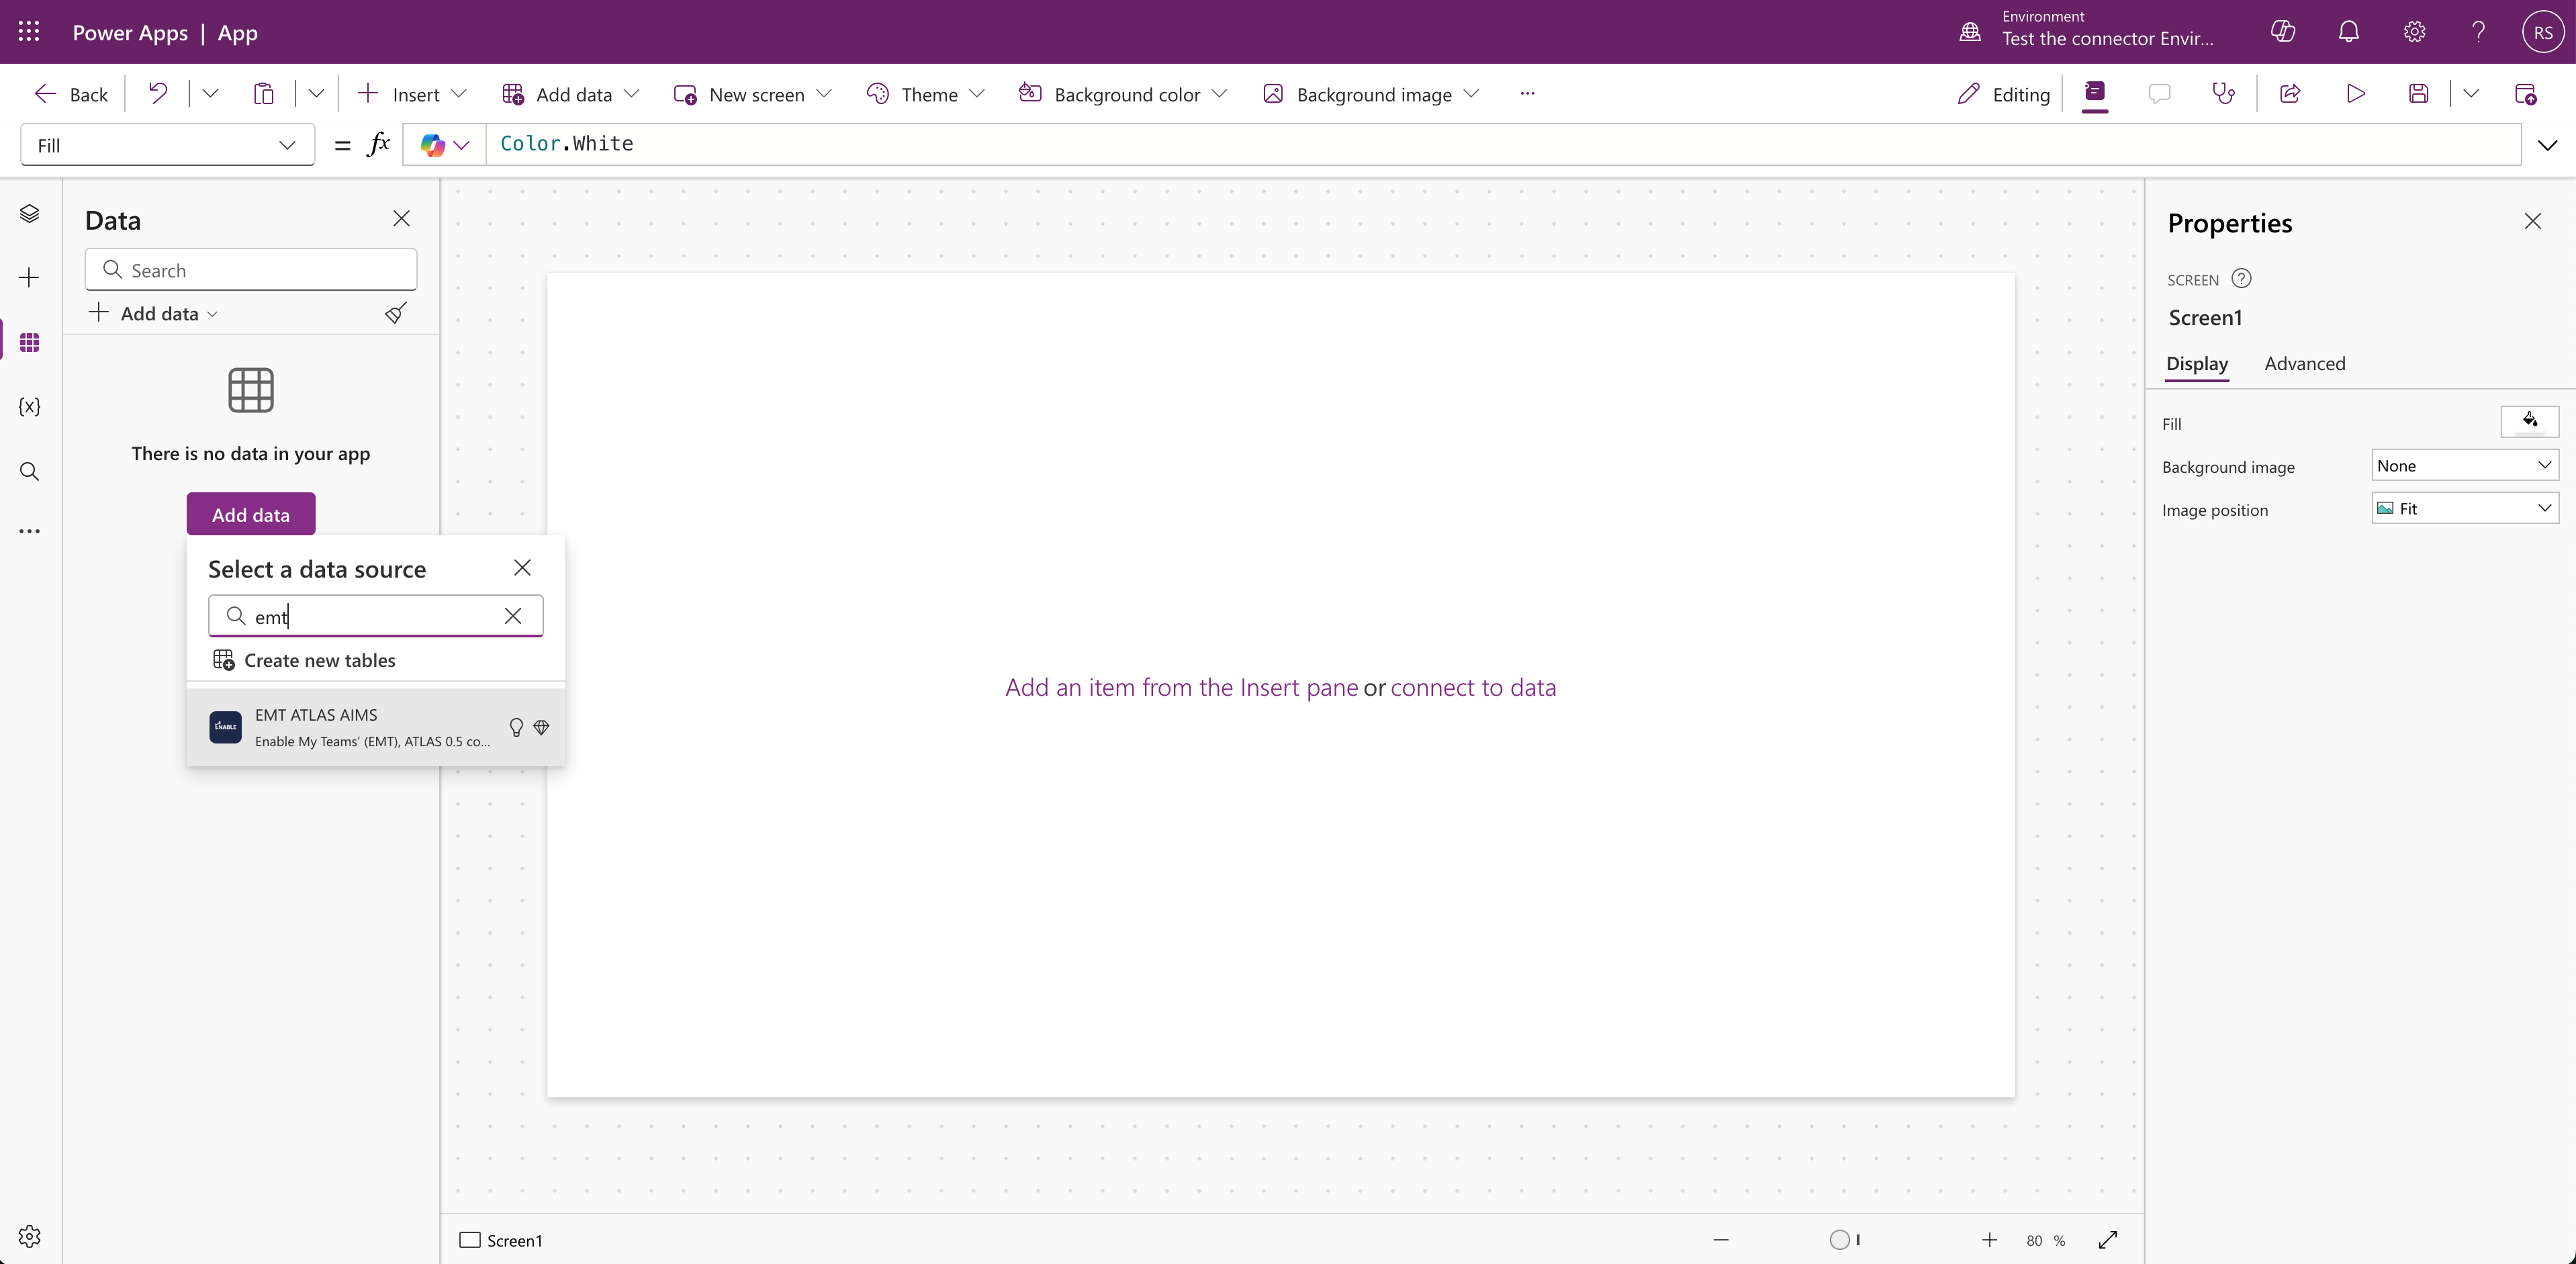
On the left hand size click on the "Data" icon (3x3 grid icon) and then click on "Add data". Next search for the EMT ATLAS AIMS connector.
-
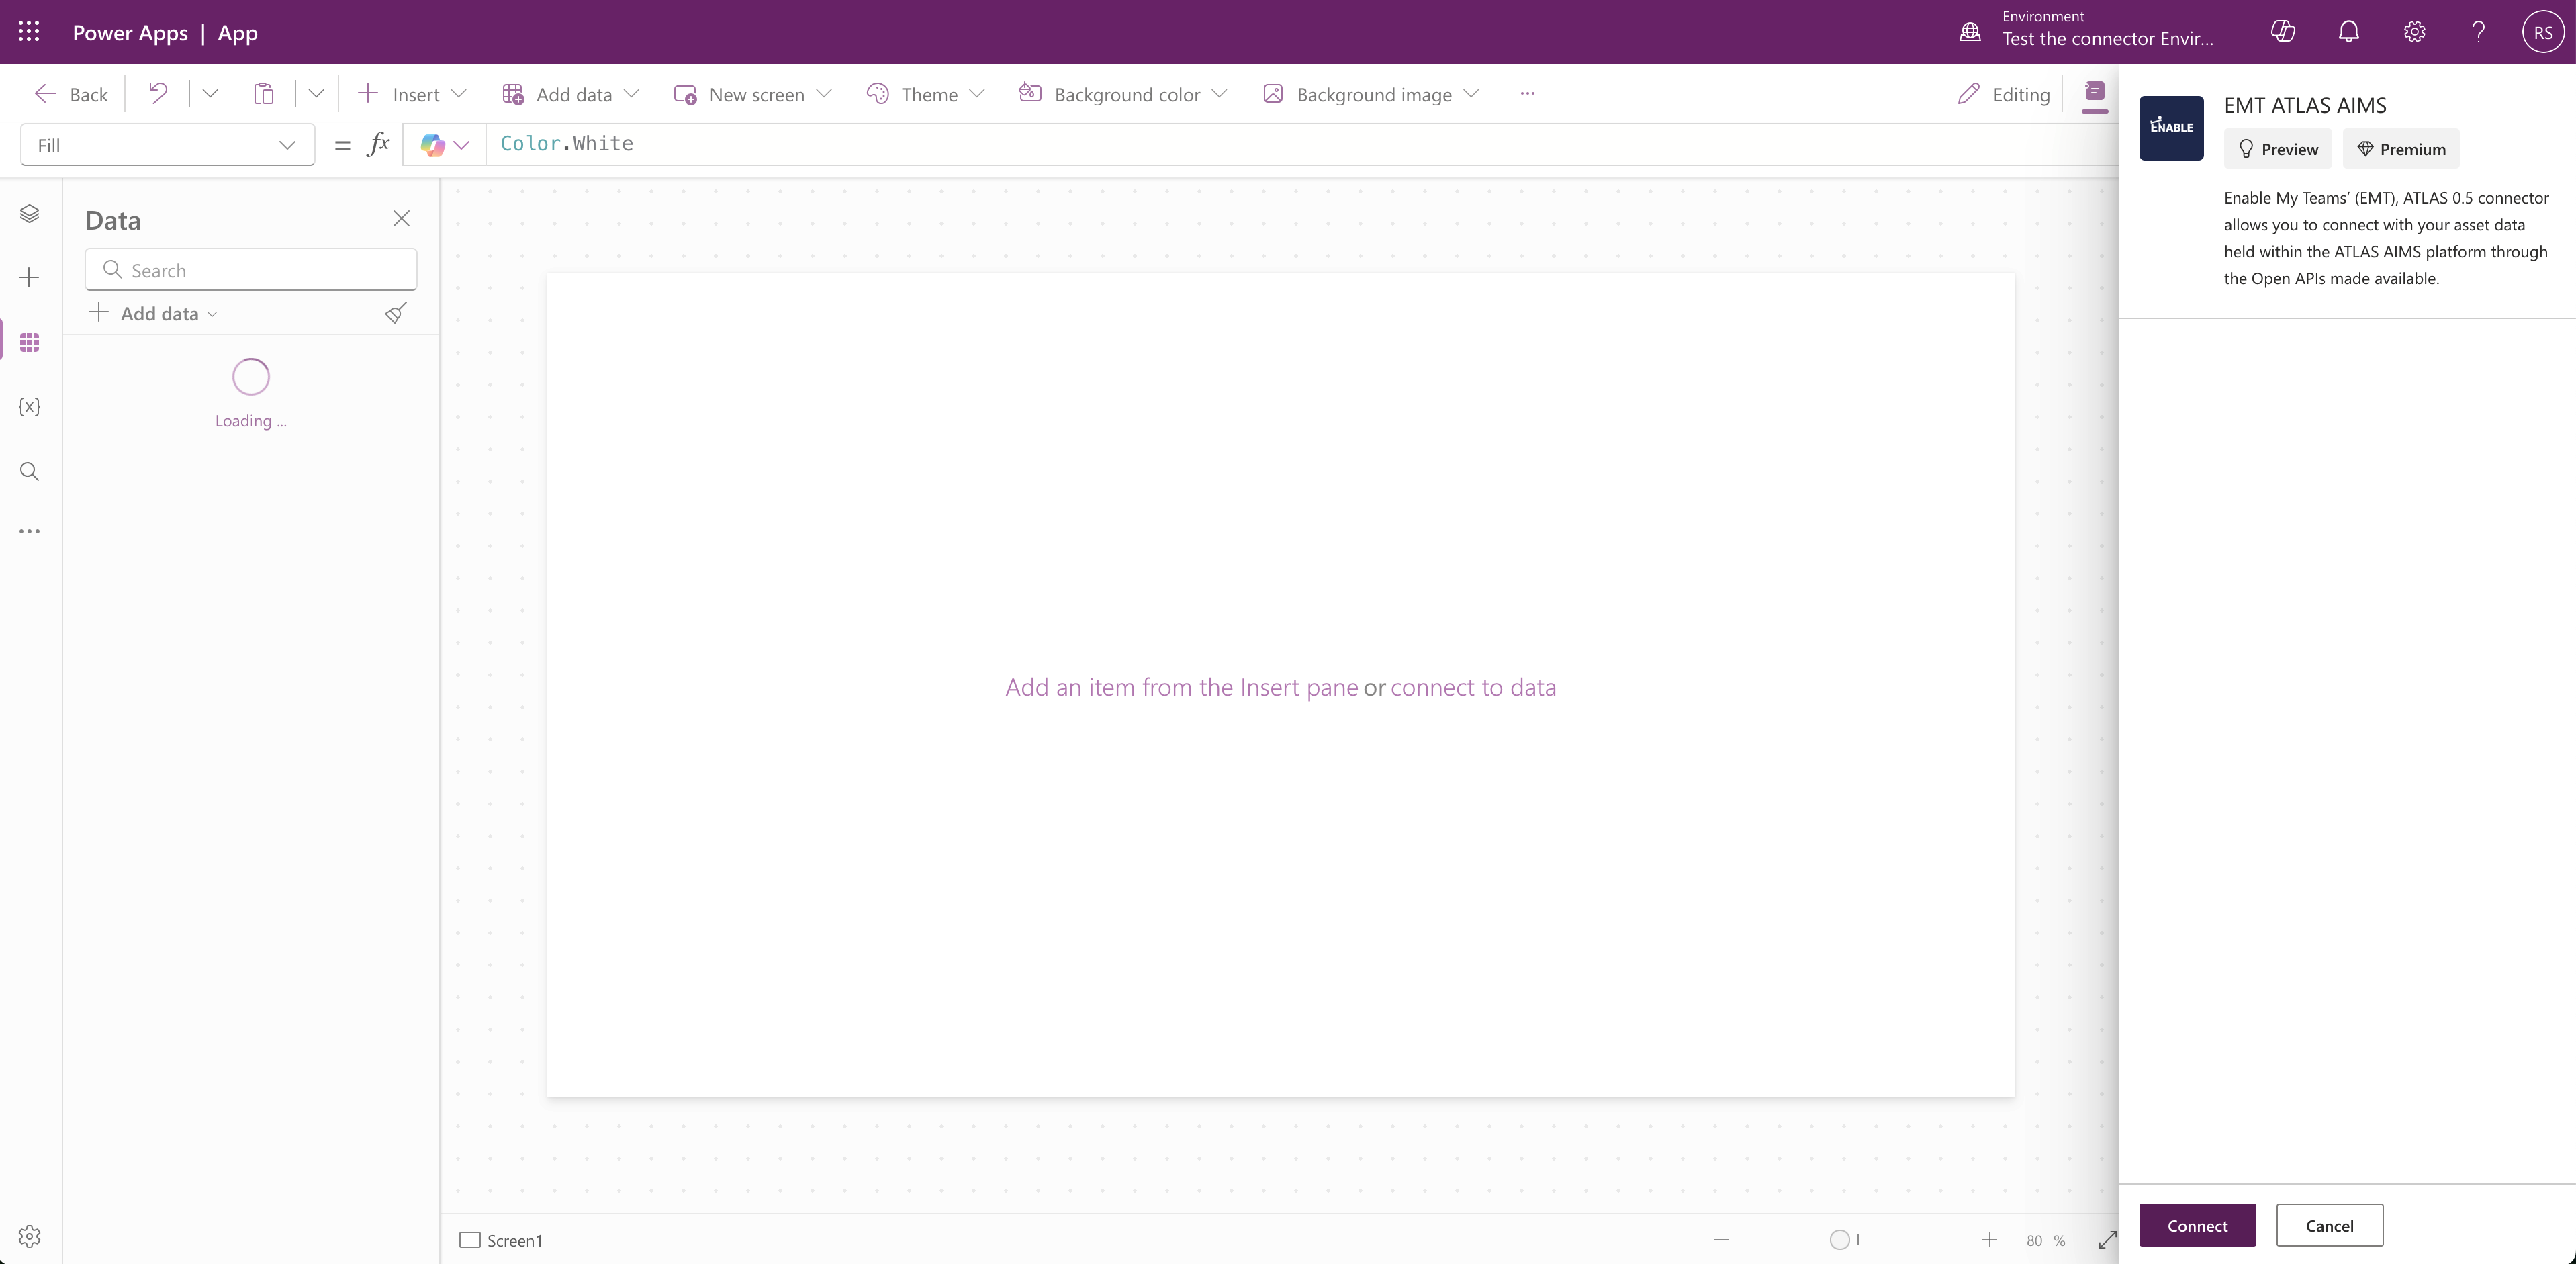
A pane should appear on the right hand side. Click on "Connect" to configure it.
-
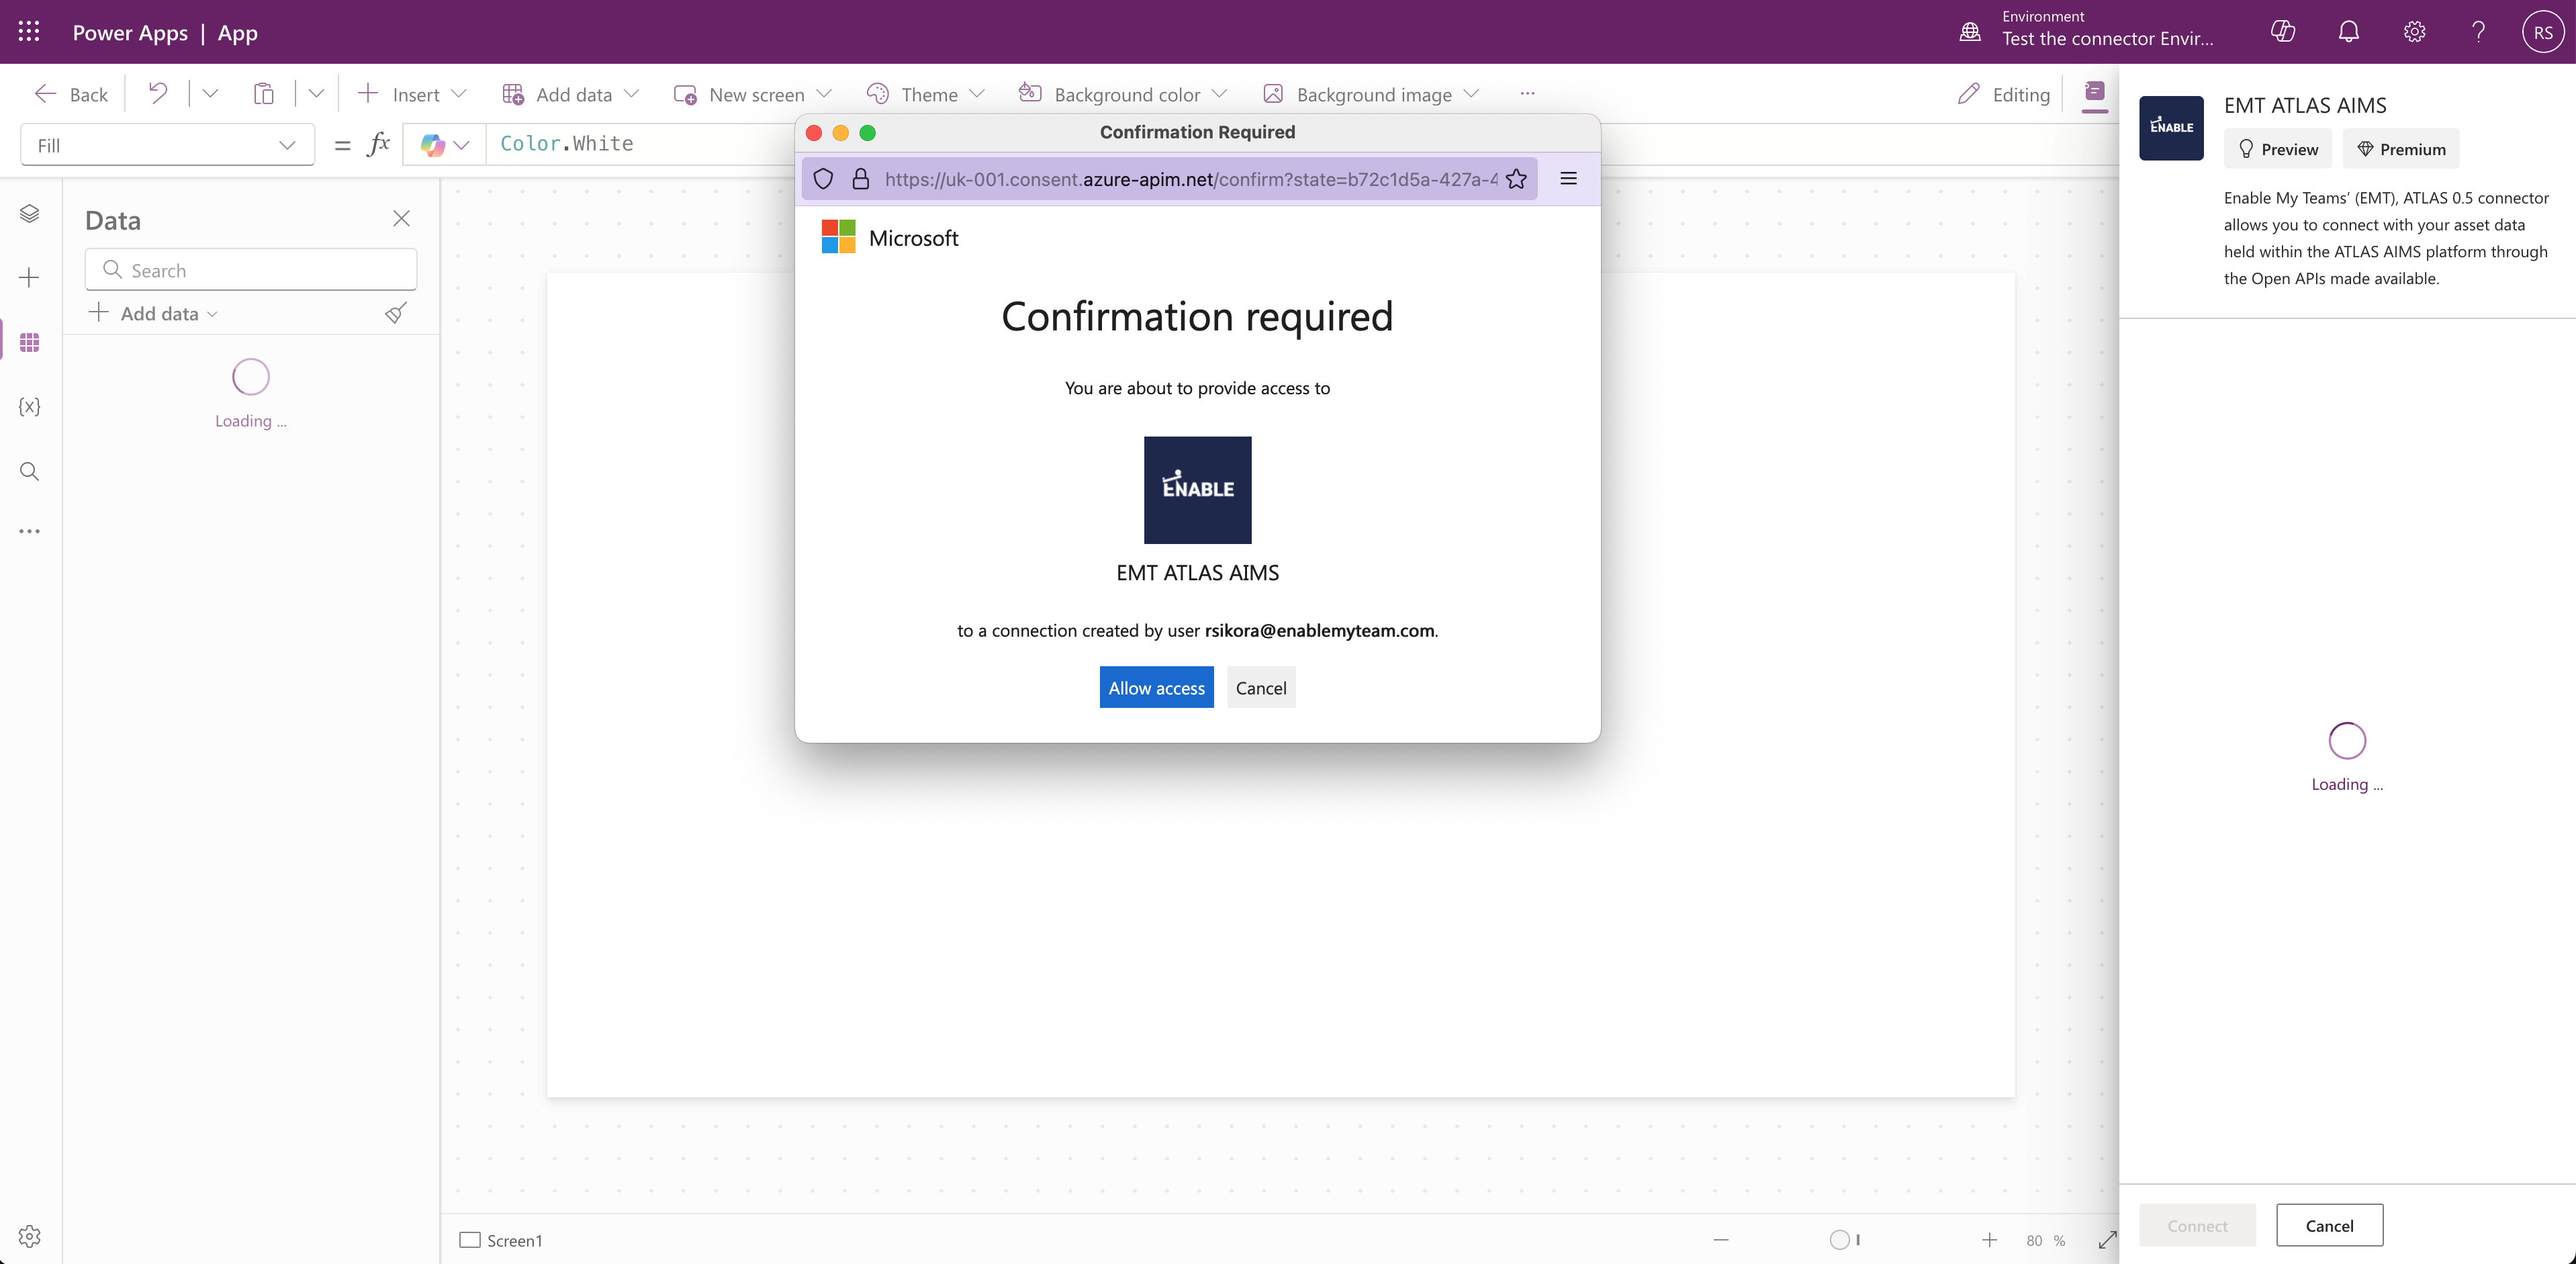
You will be prompted to confirm the action. Click on the "Allow access" button.
-
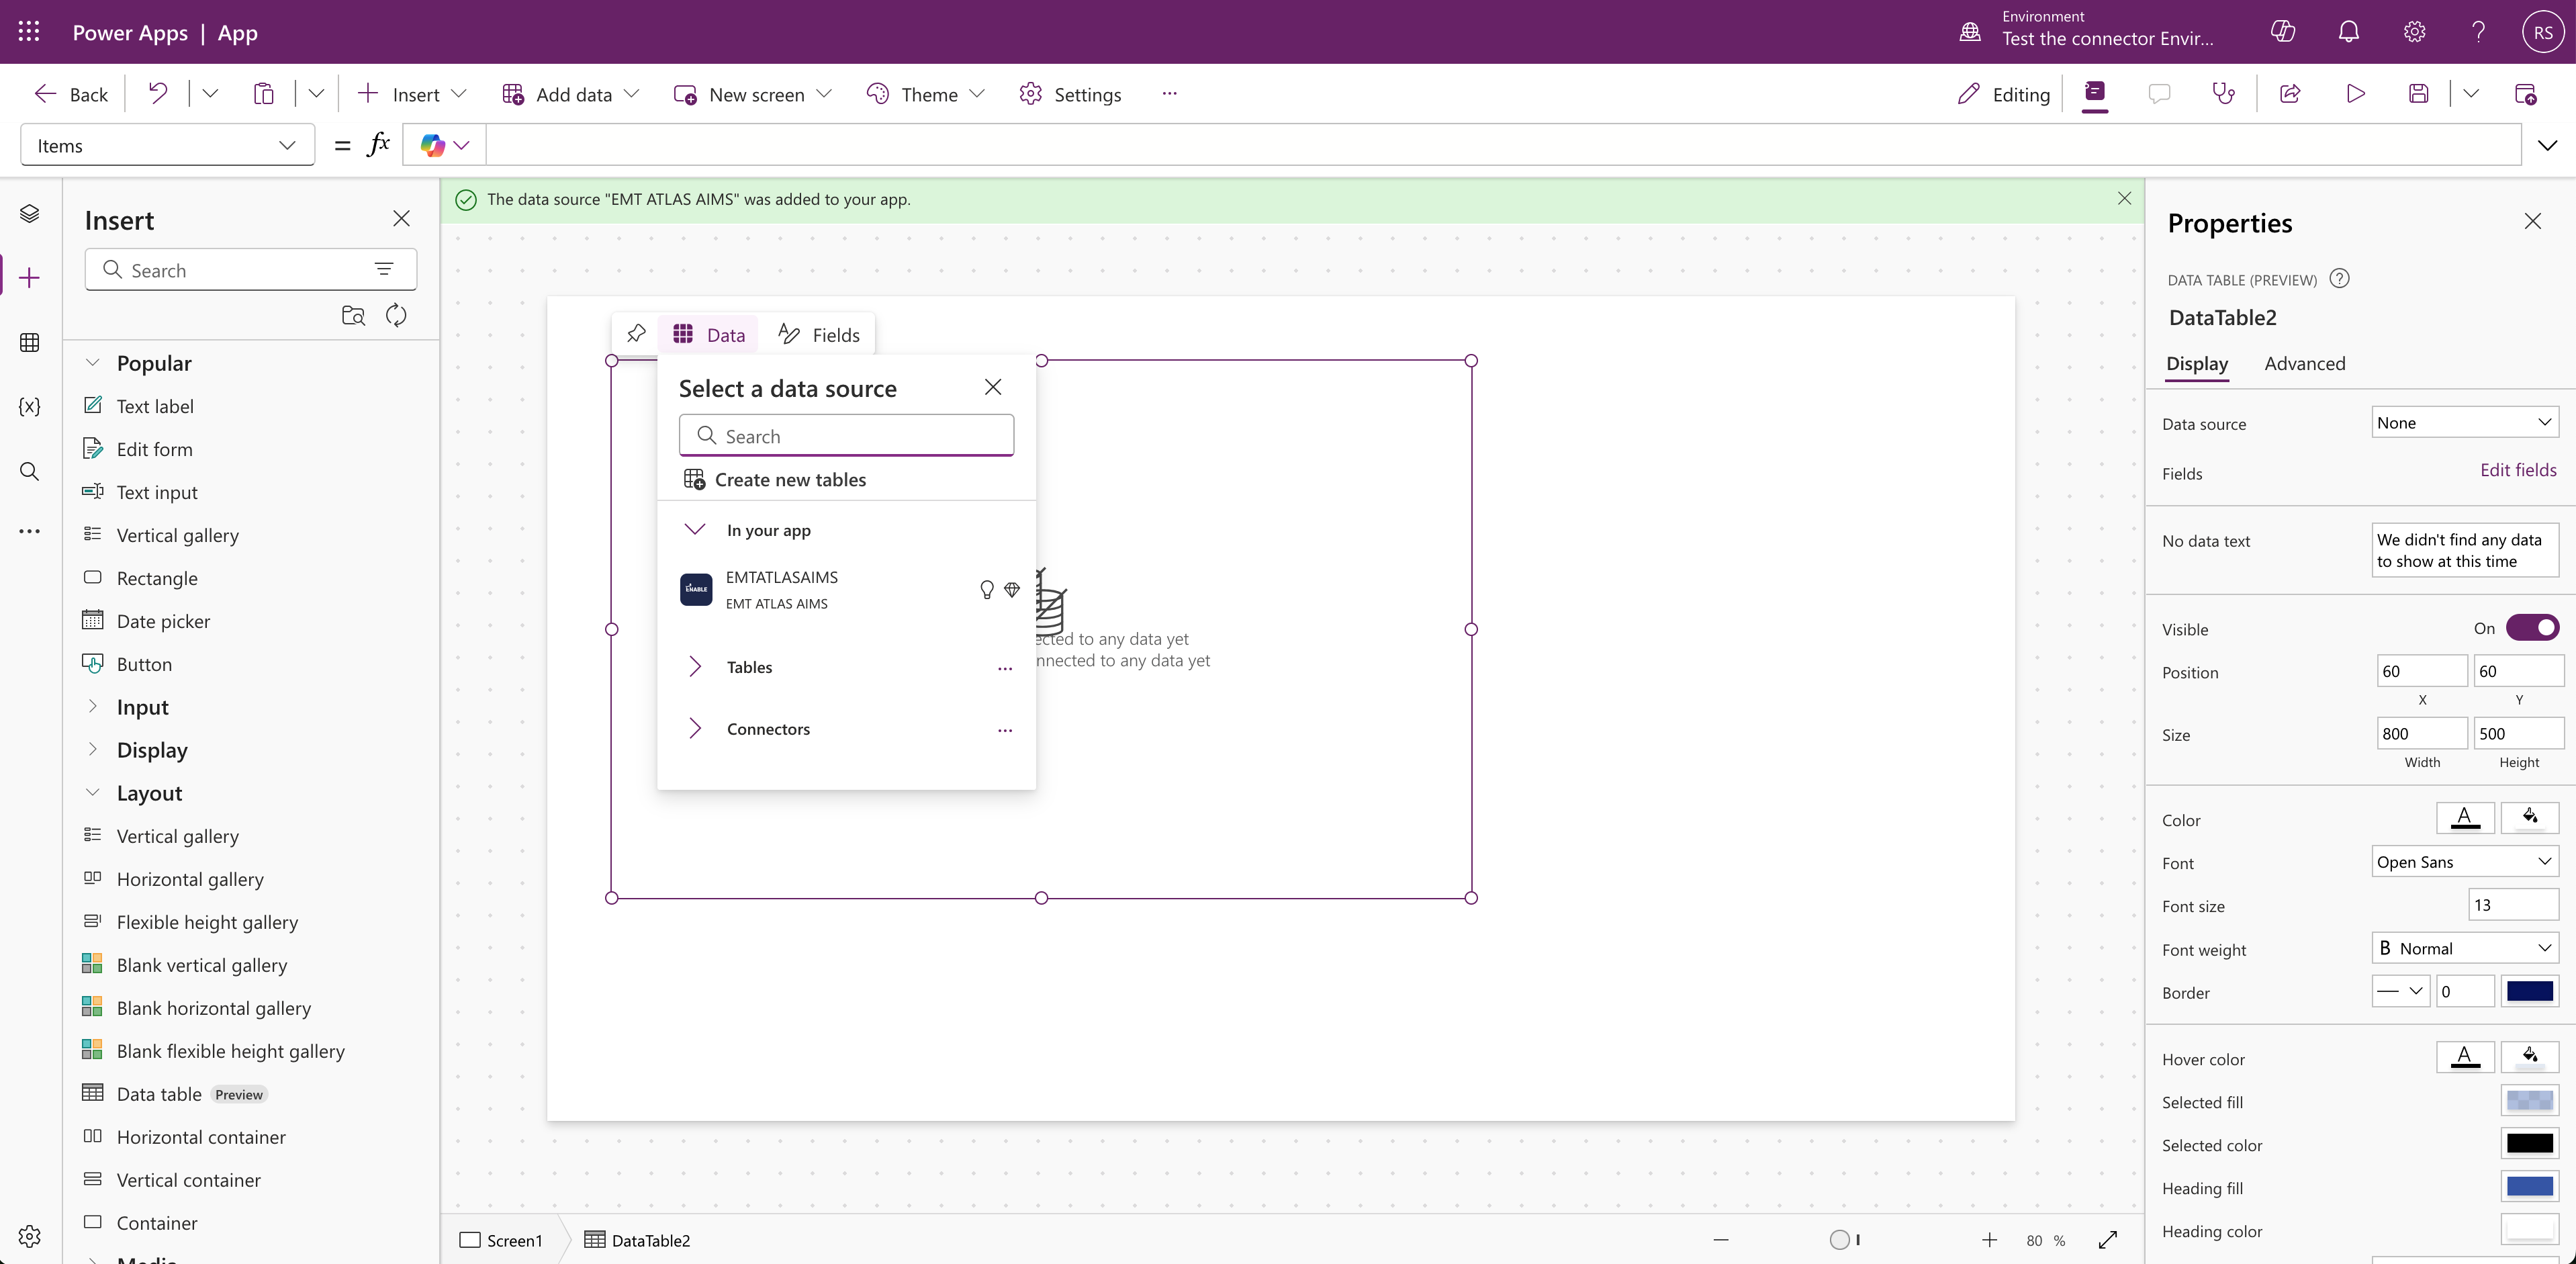
Now click on the "+" icon on the left hand side to insert a table. Search for "data table" and drag it to the canvas.
-
Select "EMTATLASAIMS" as data source. Next, click on the red cross icon and select "Edit in the formula bar".
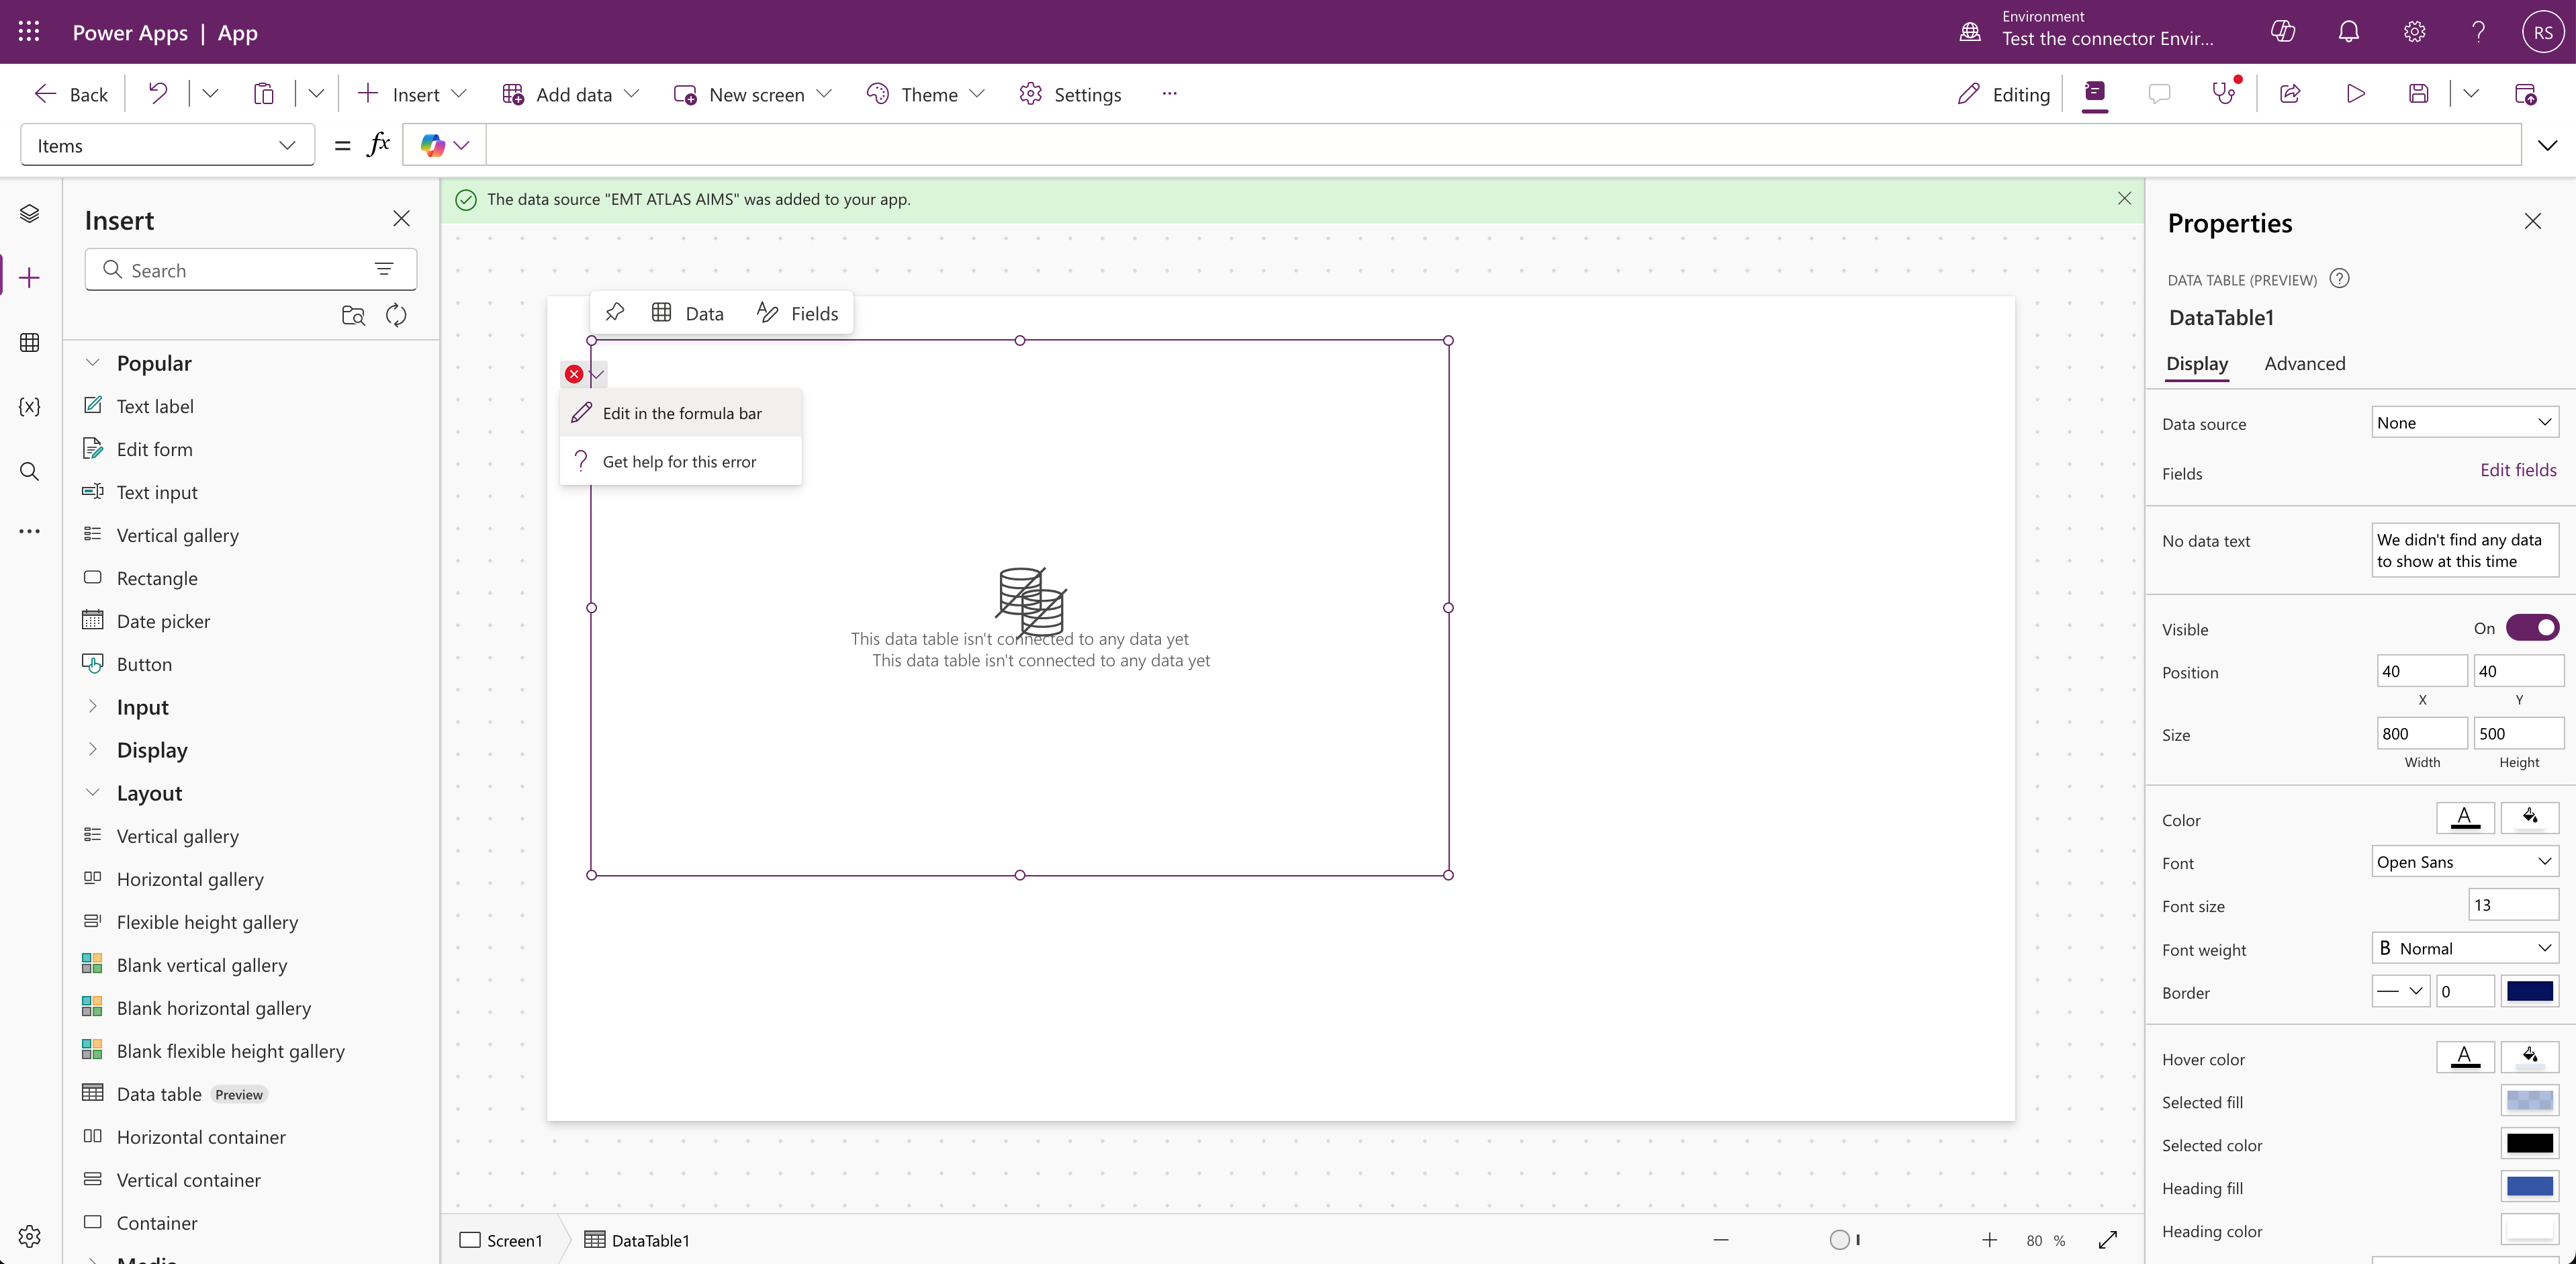
-
Then paste text "baselines" in the formula bar. It will return error for now, but you can ignore it.
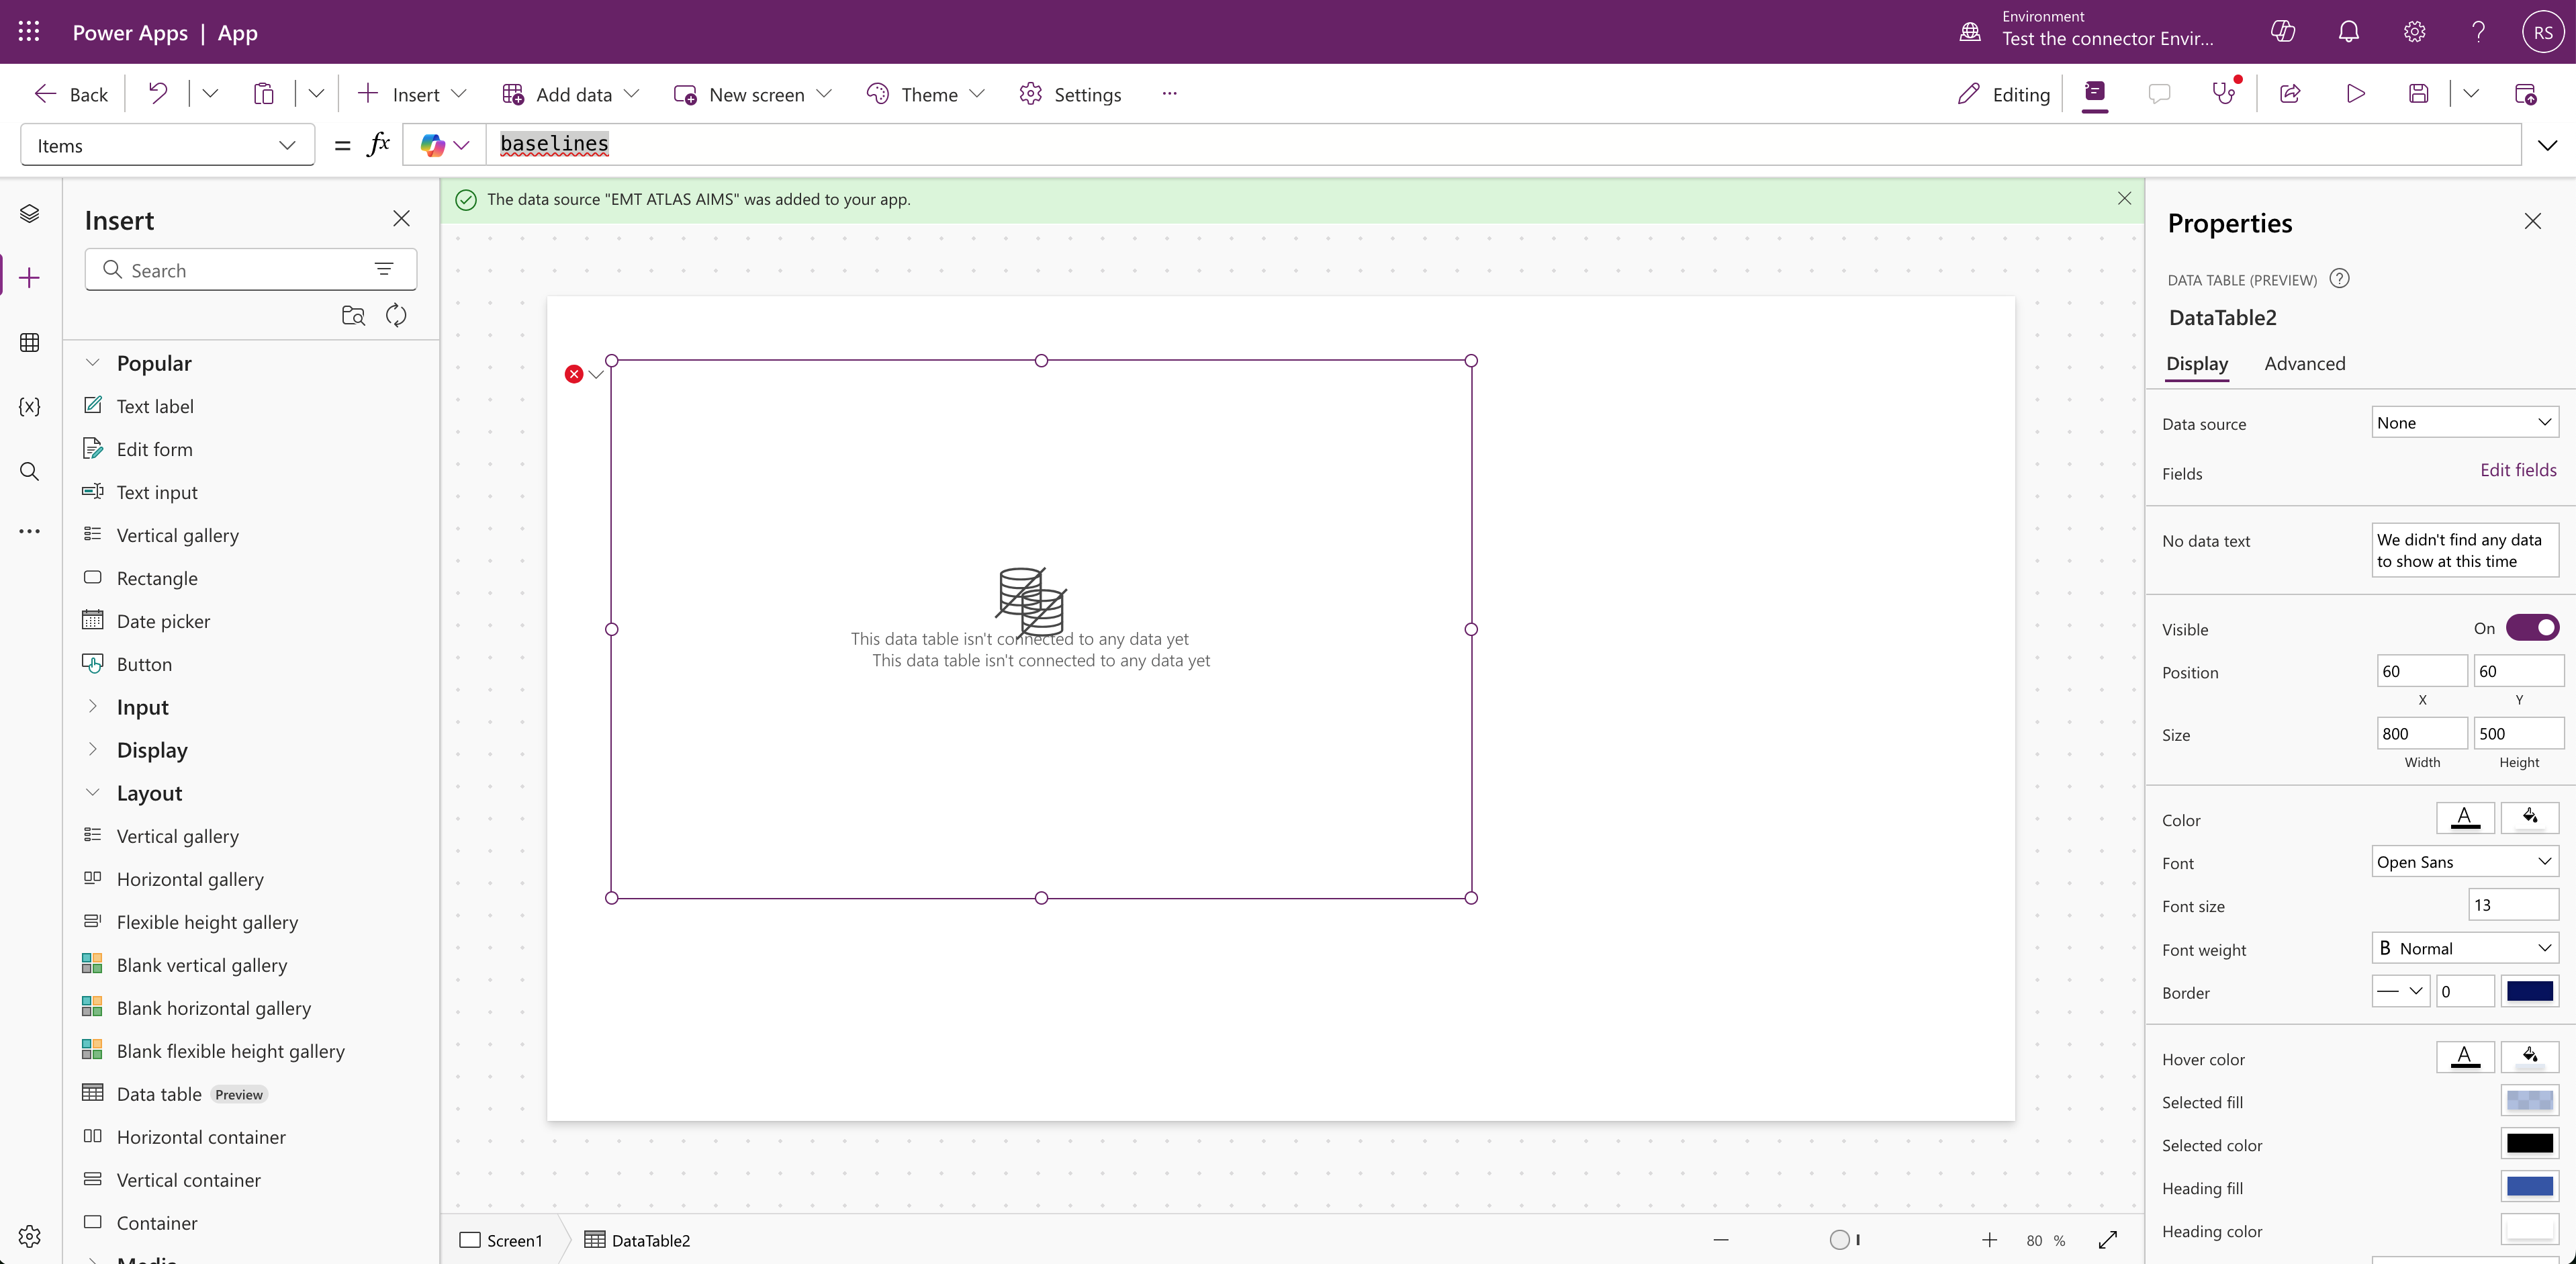
-
Next click again on the "+" icon and search for "button"
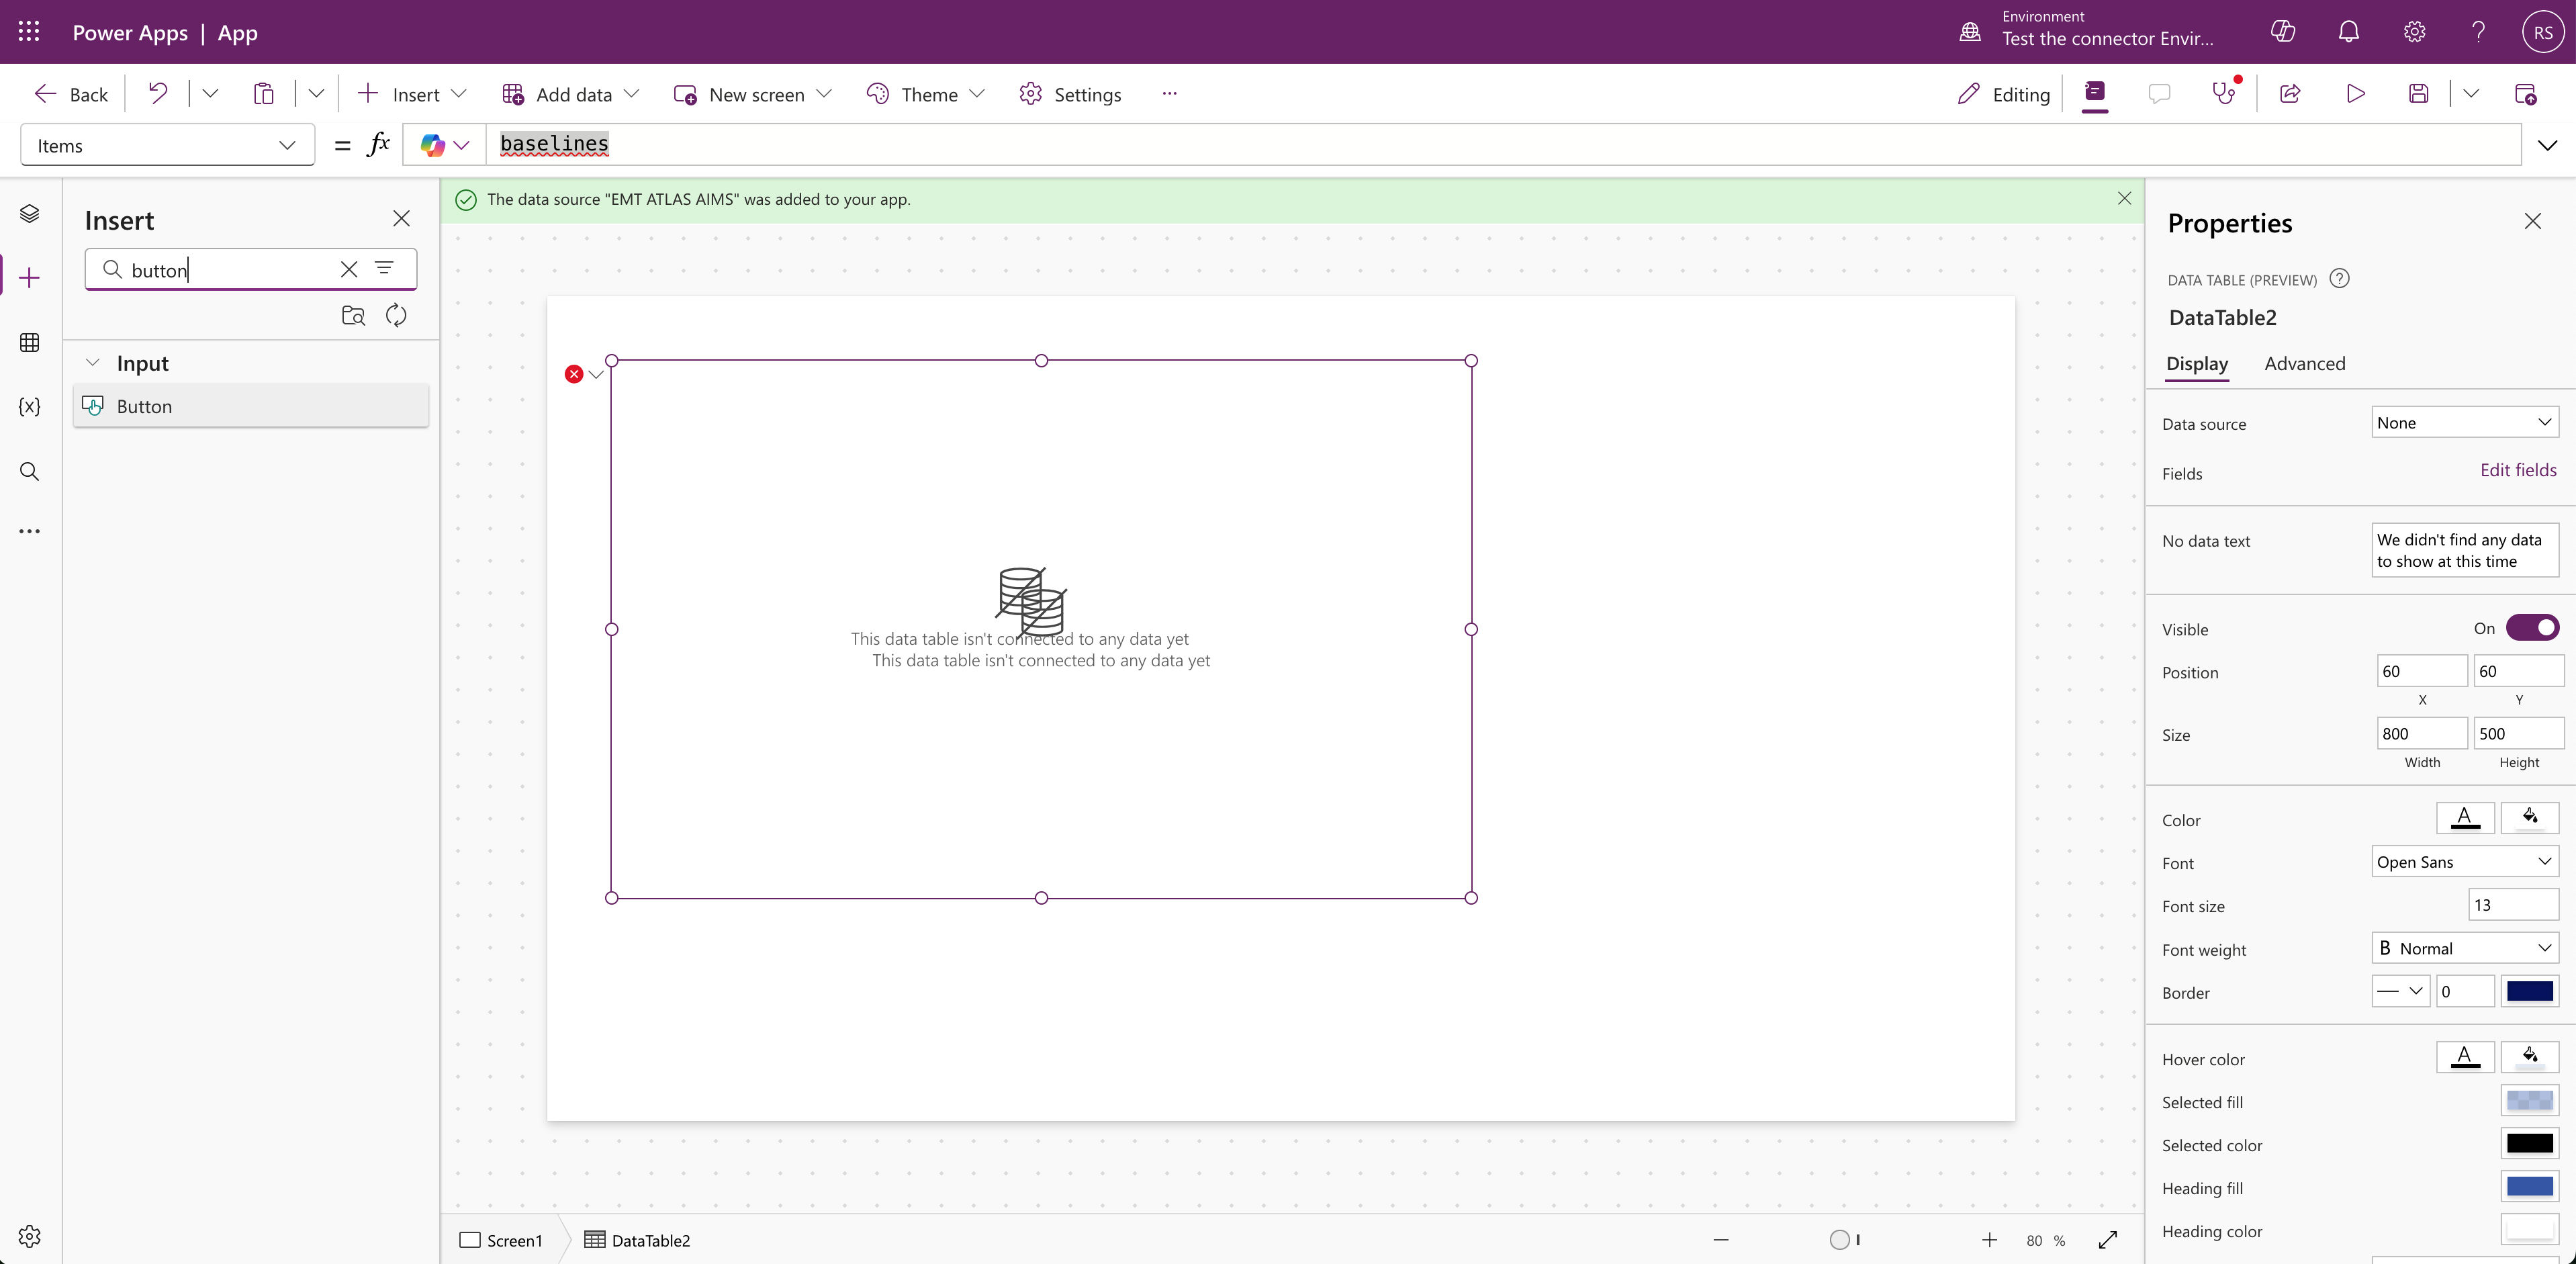
-
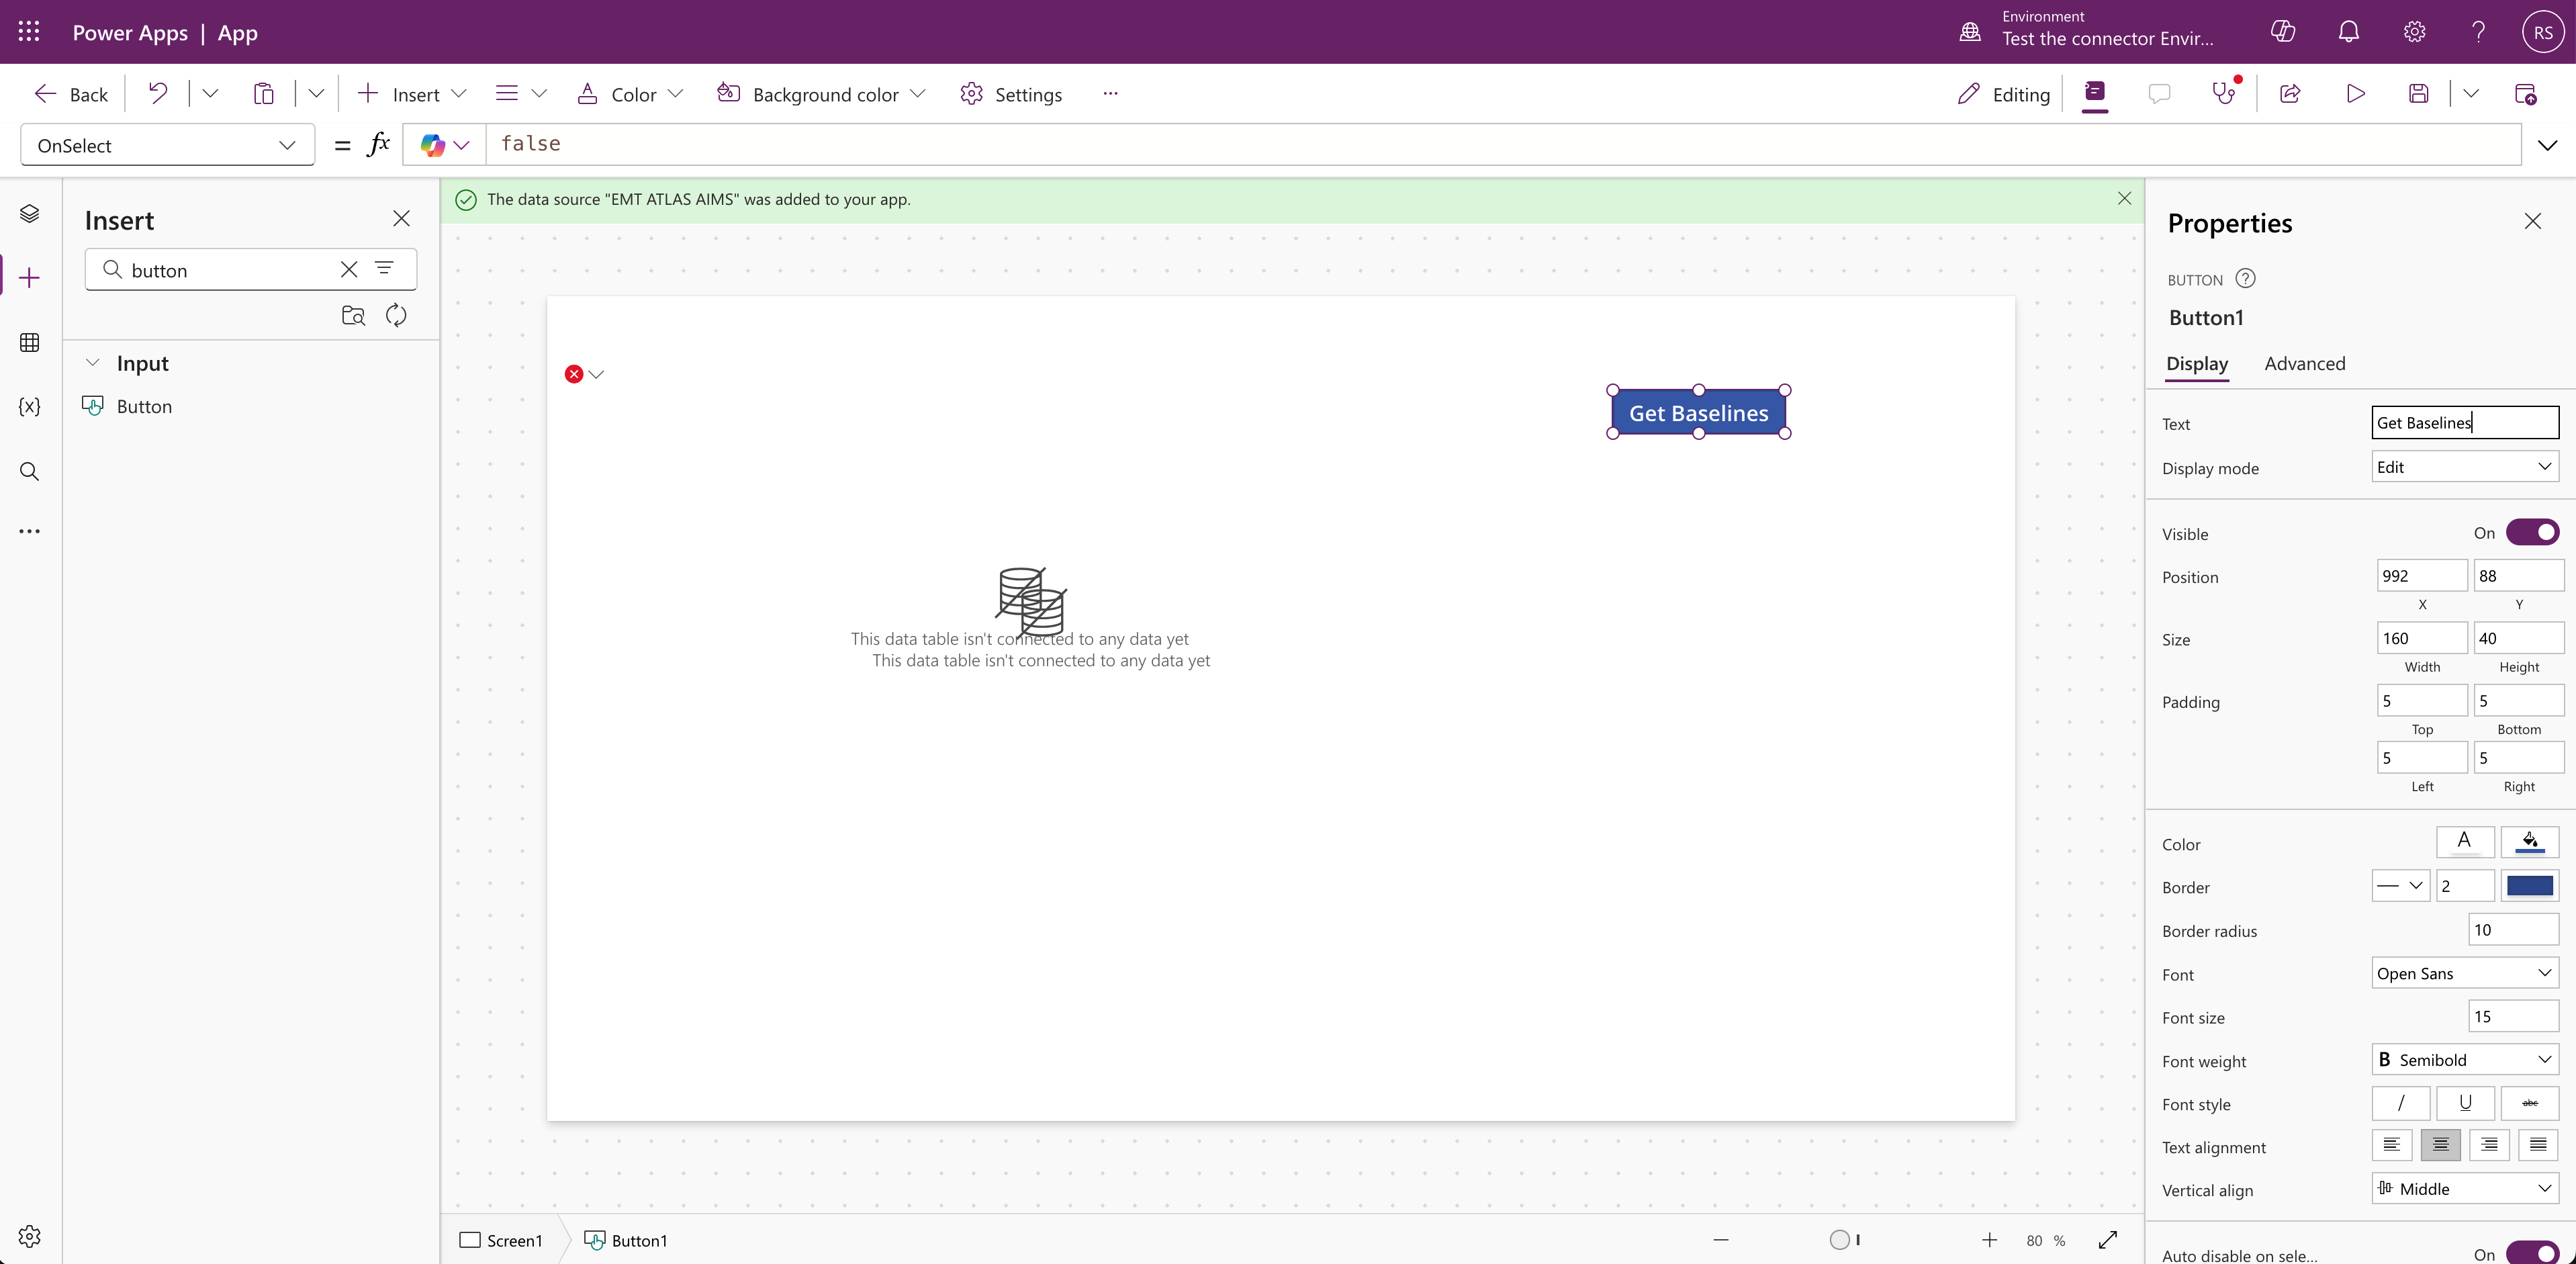
Drag the button onto the canvas. Click on it to display its properties on the right hand side. Change the "Text property" to "Get Baselines"

-
You should see the updated button label.
-
In the formula bar (where it says "false") paste the following code:
ClearCollect(baselines, EMTATLASAIMS.ListAssetsConfigurationBaseline("atlas-test-12.enablemyteam.com", {status: "active"}))Remember to replace the test project URL with your project URL.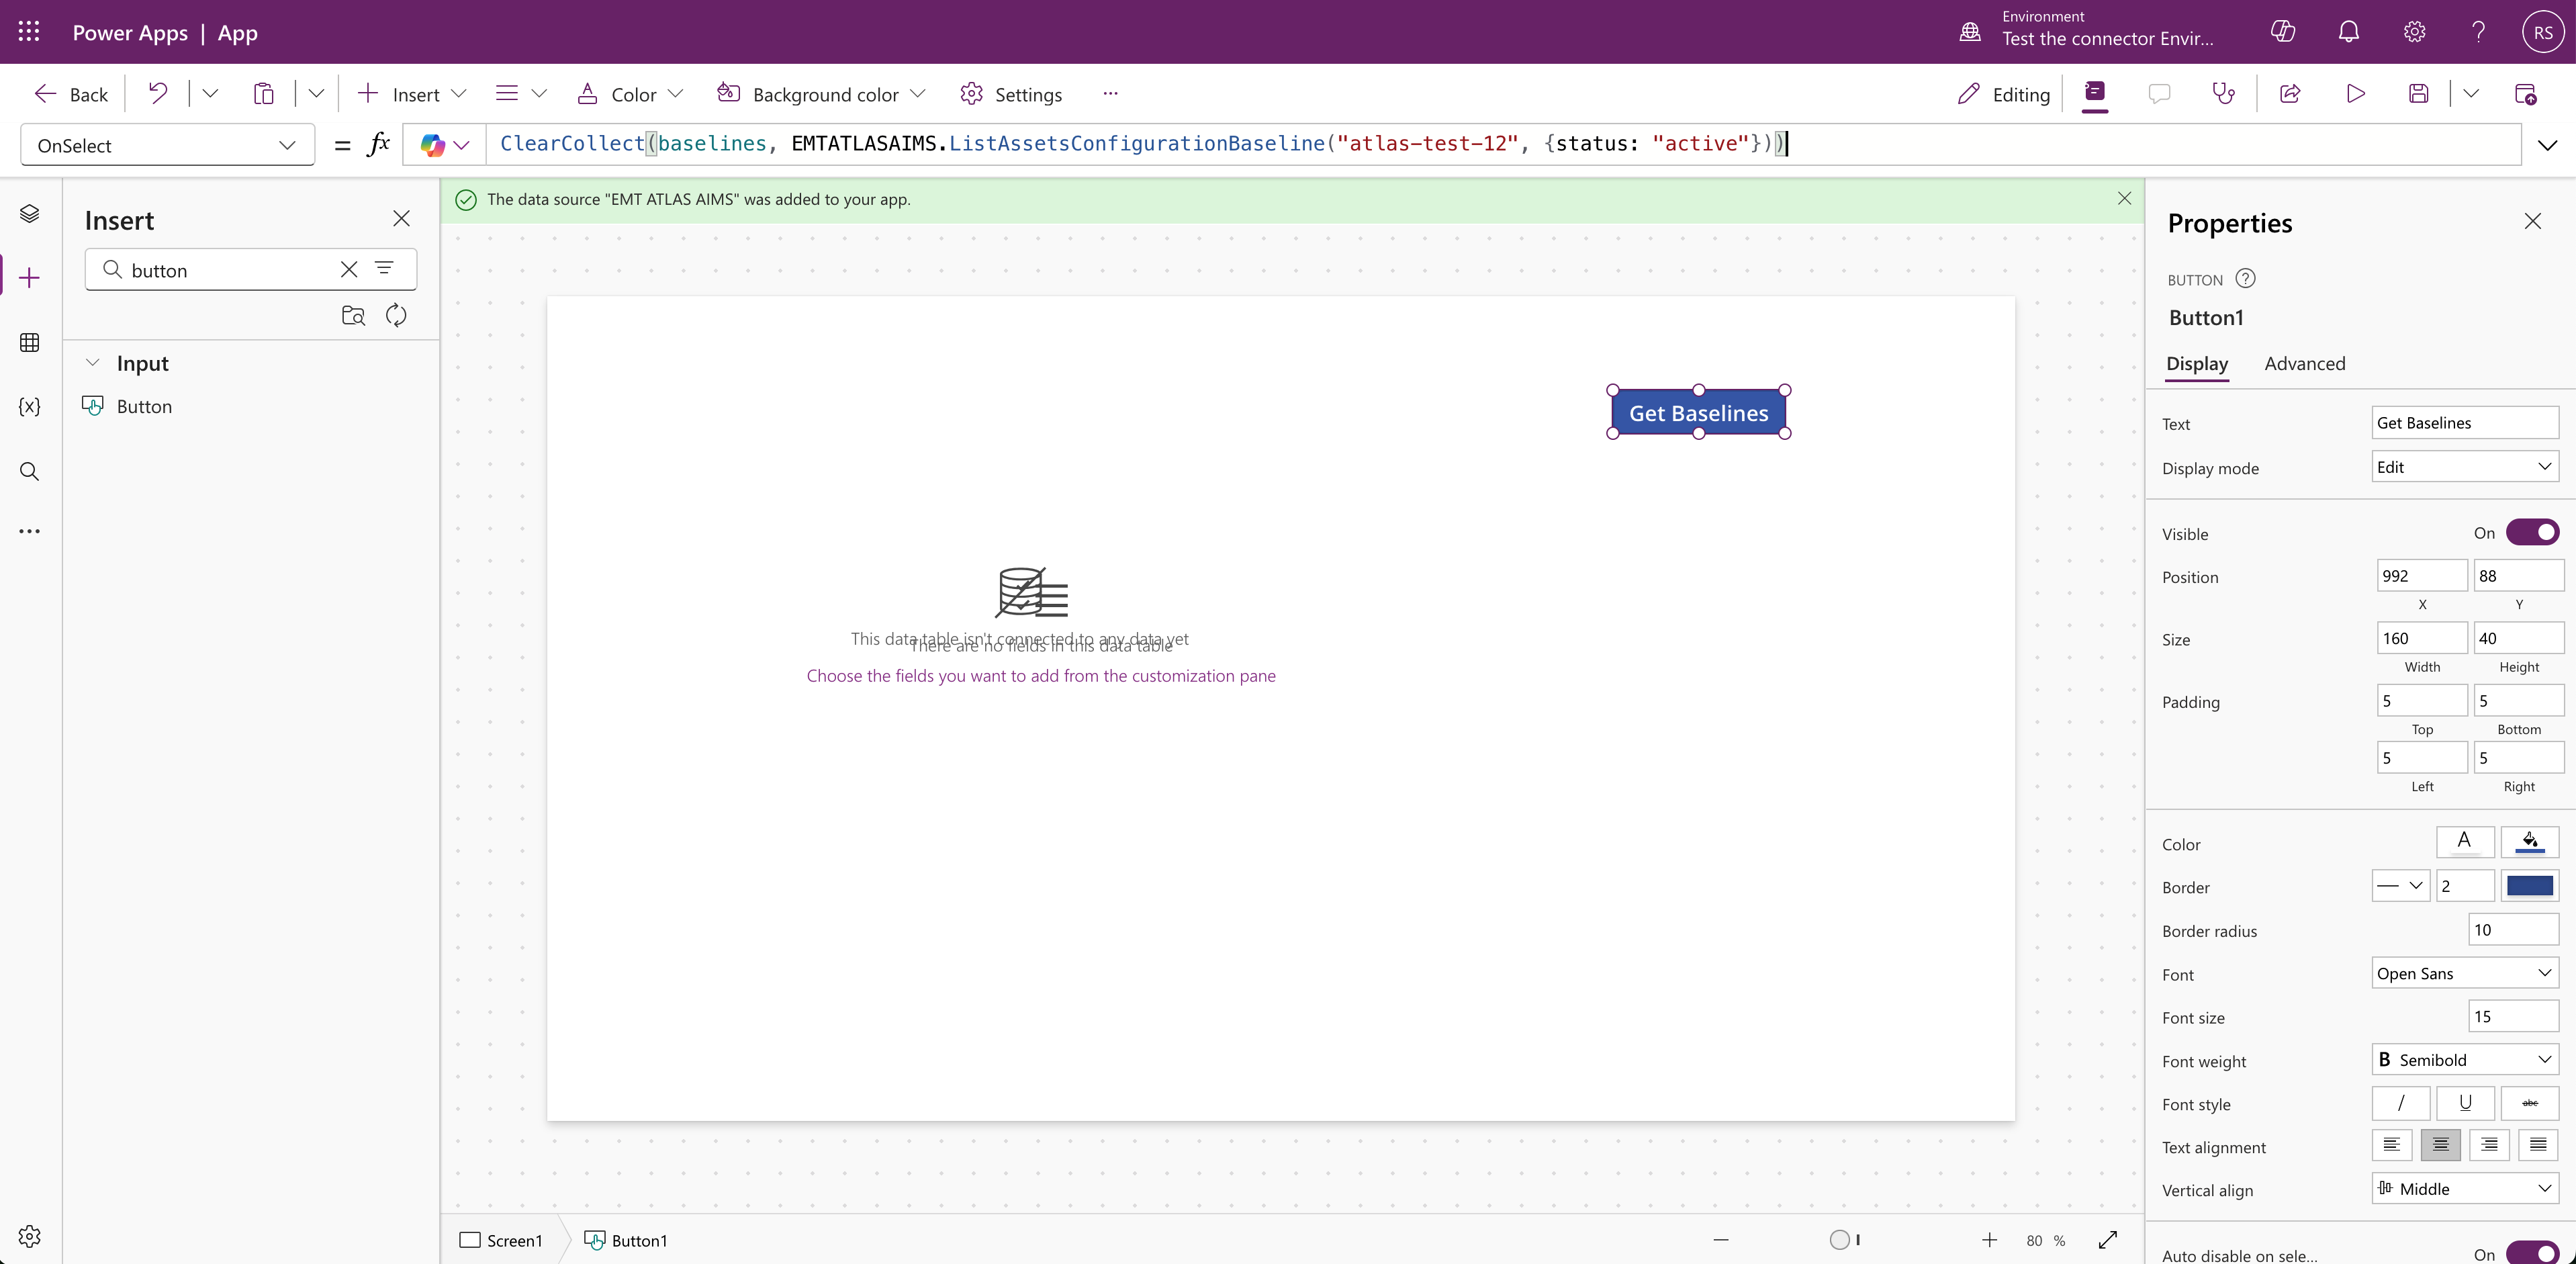
-
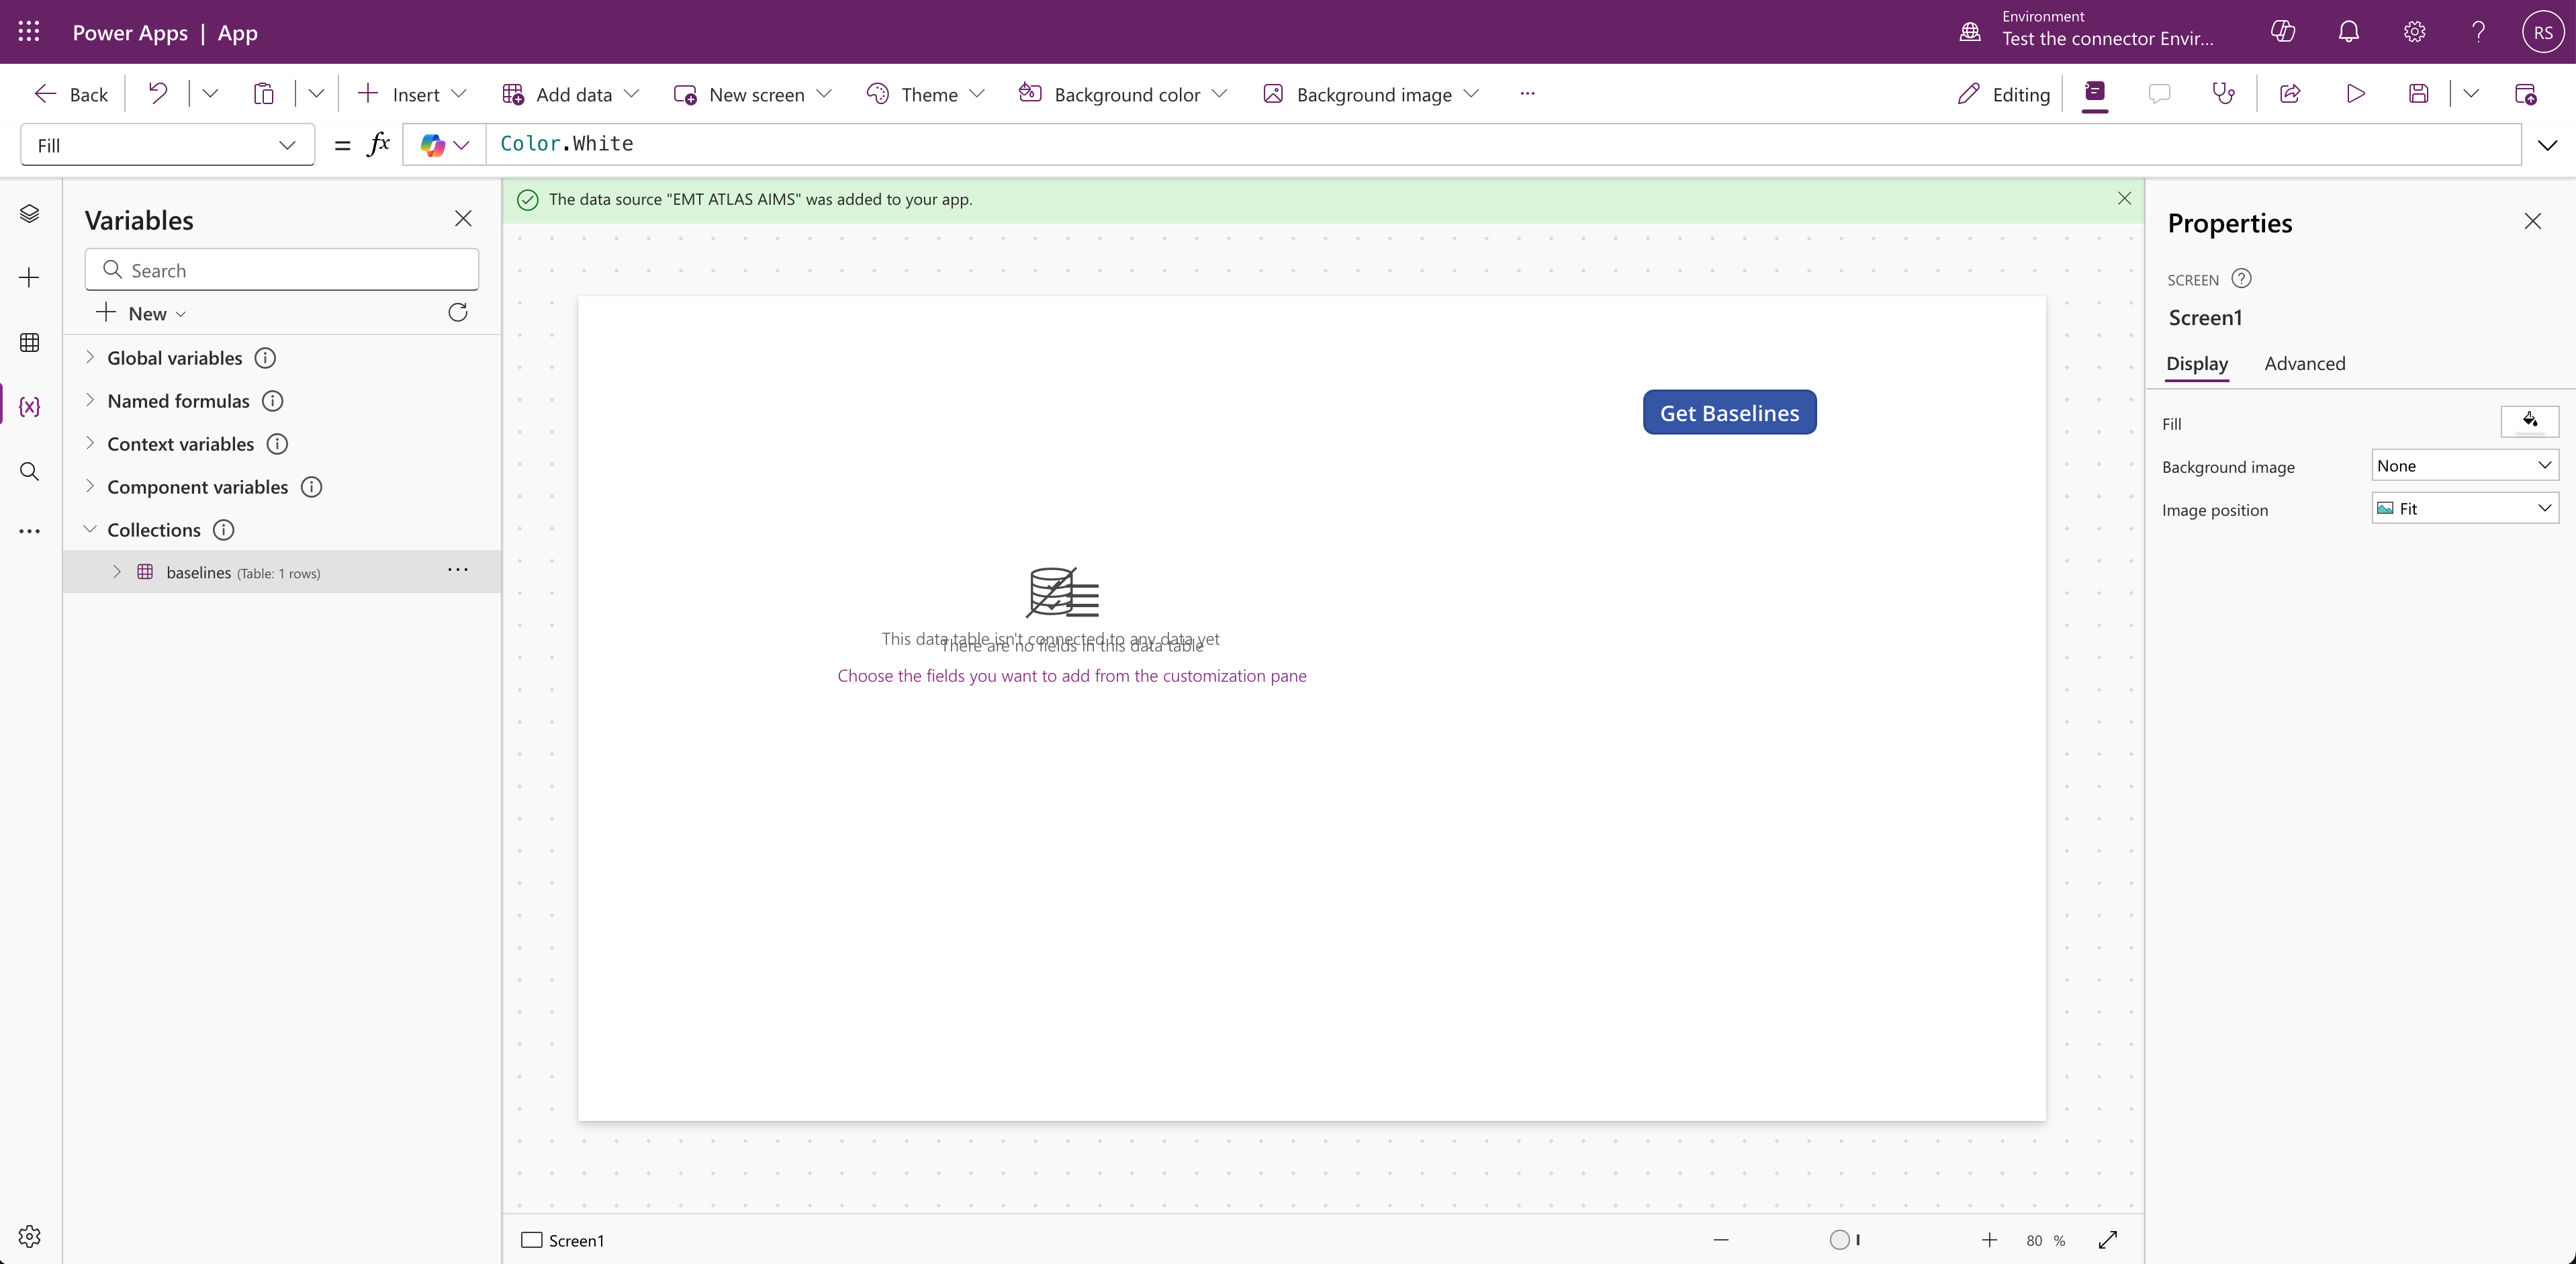
While you are pressing the ALT button (or Option on Mac), click on the "Get Baselines" button. This should load the baseline from EMT's API. You can confirm this by going to the Variables tab (by clicking on the {x} icon on the left). Expand the Collections group and you should see the baselines variable.
-
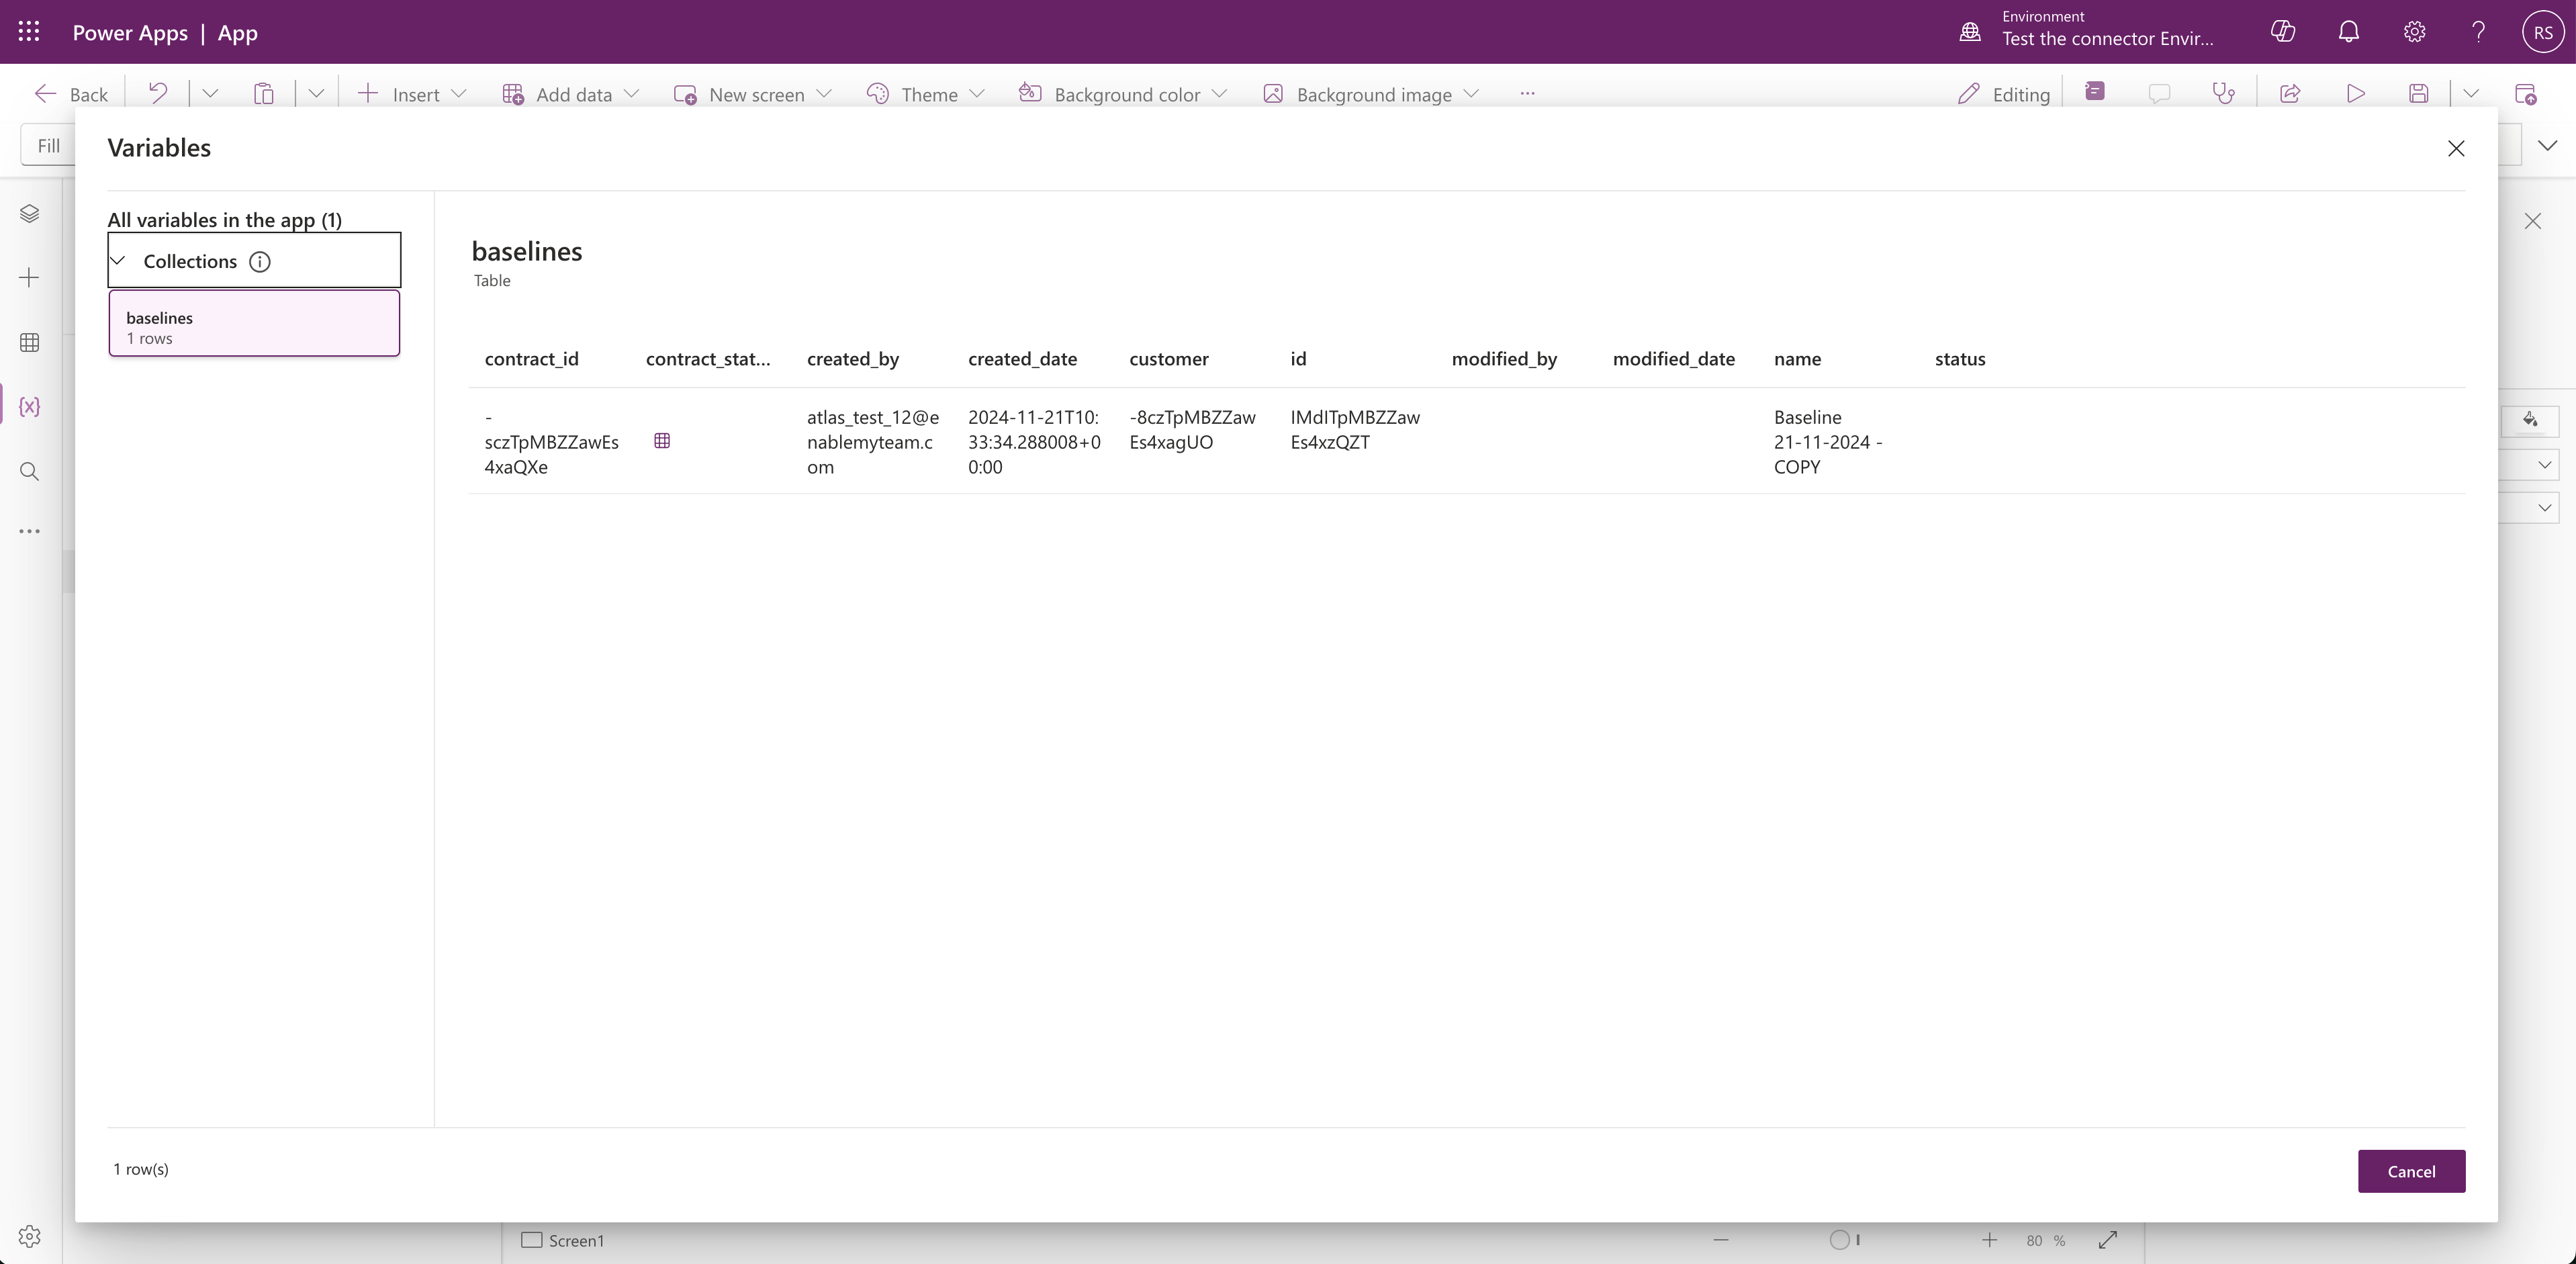
You can also click on the 3 dots icon to view details of this variable.
-
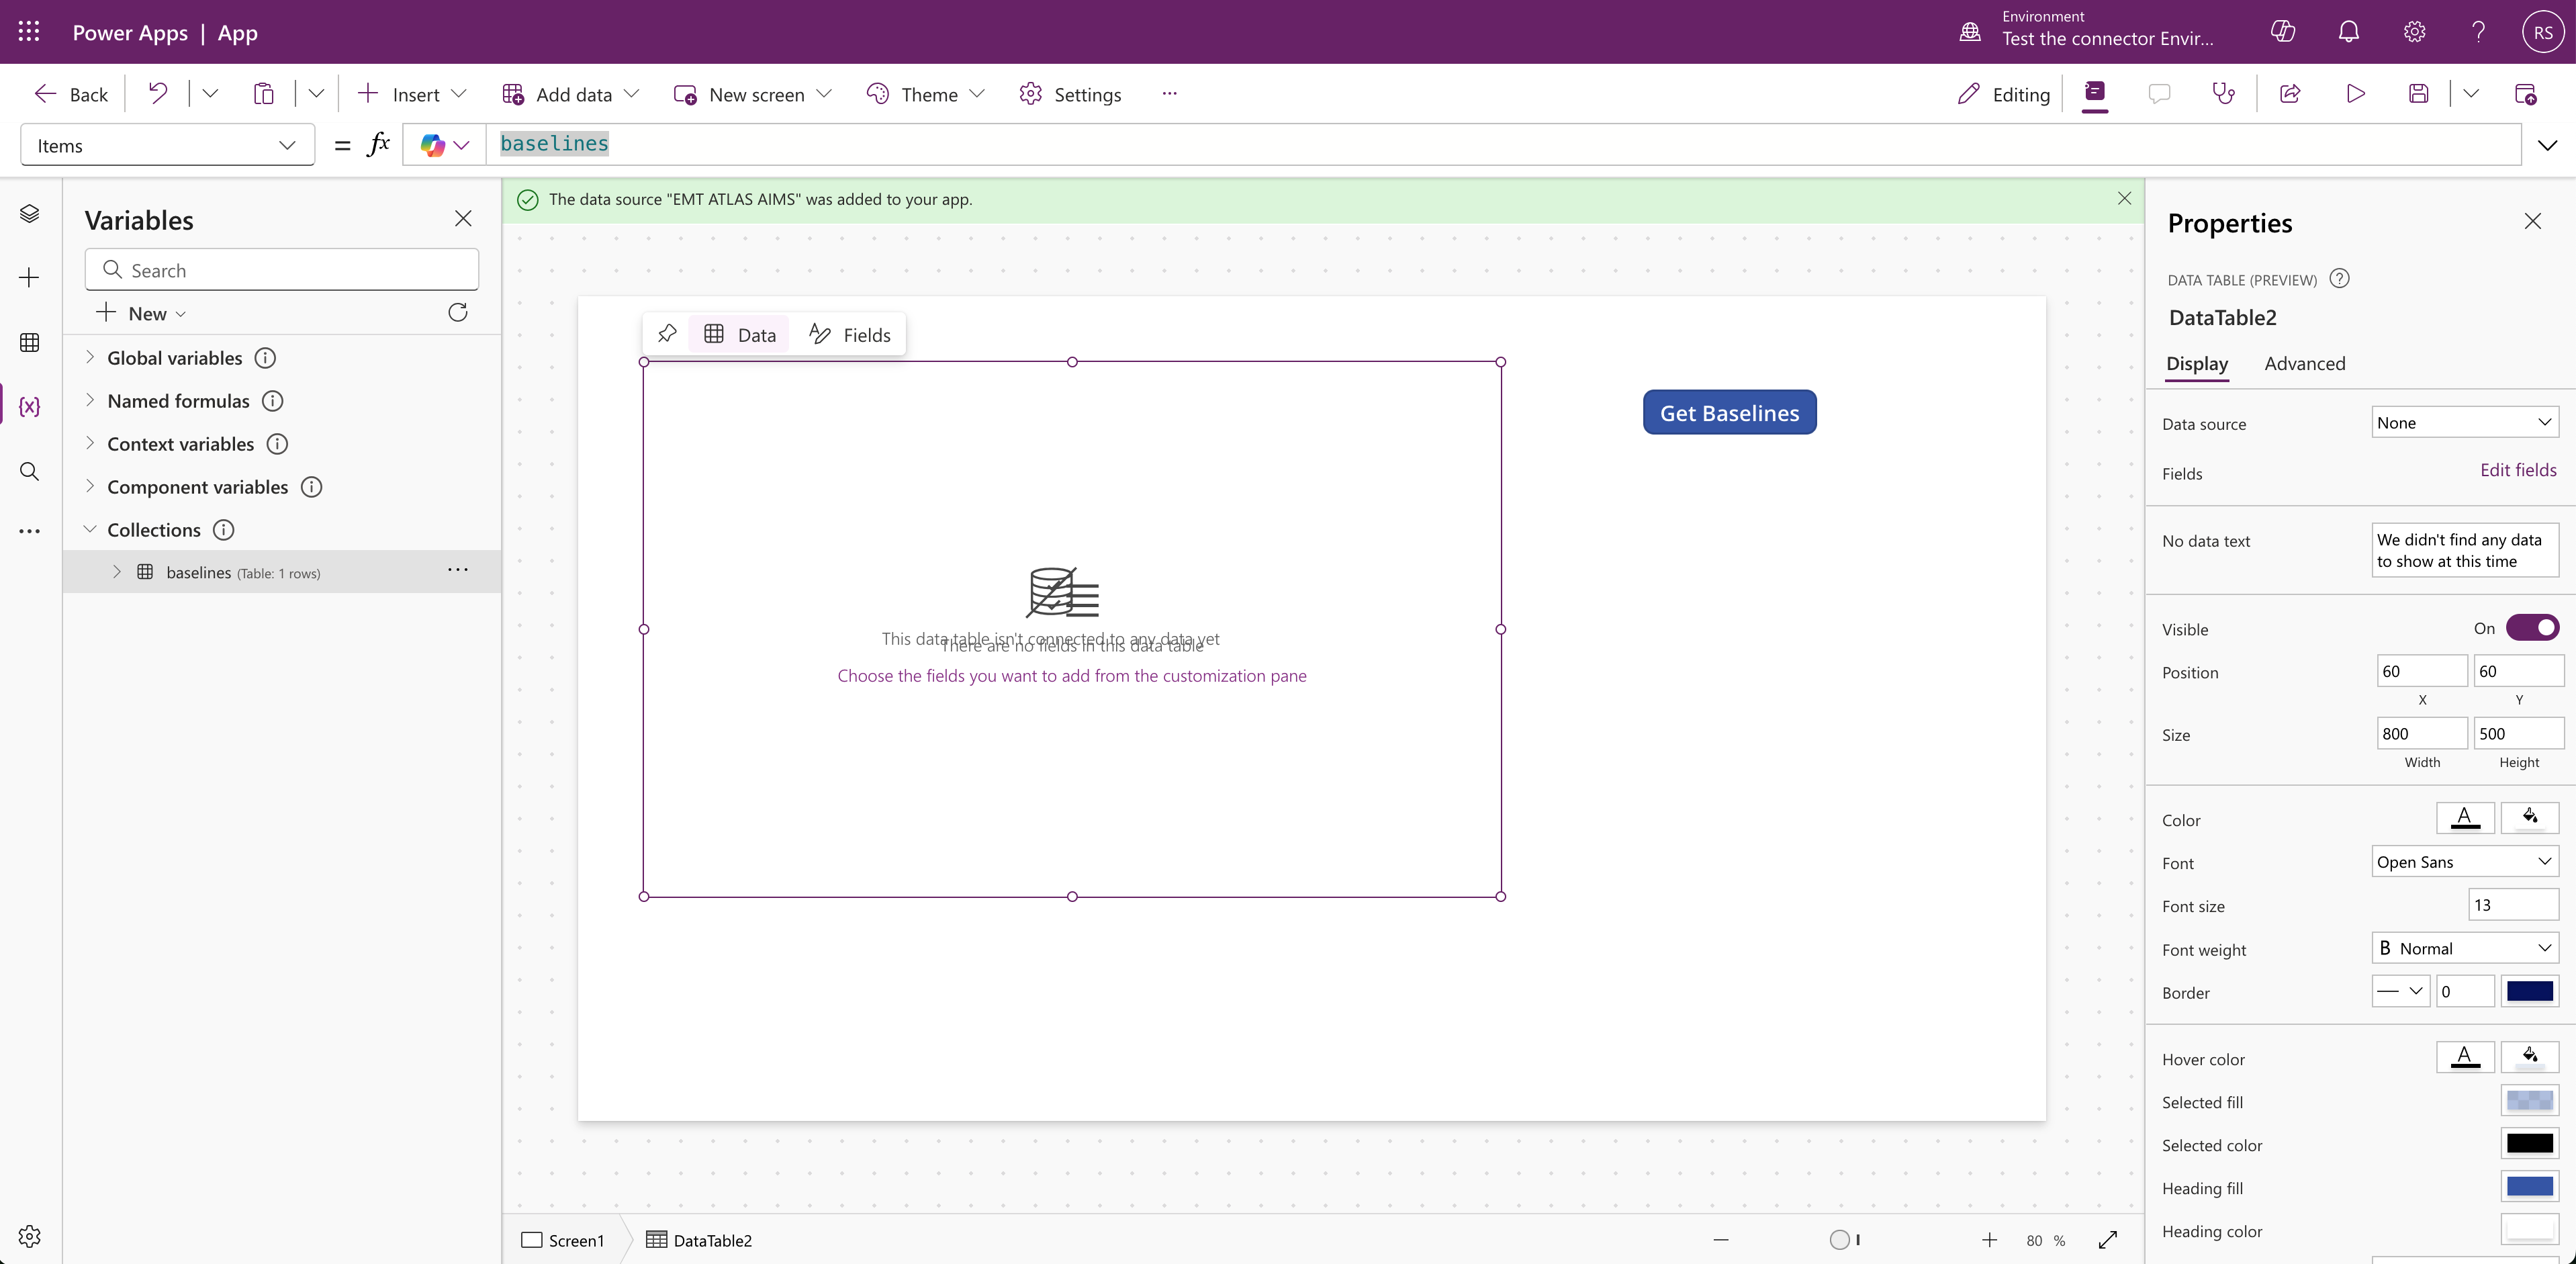
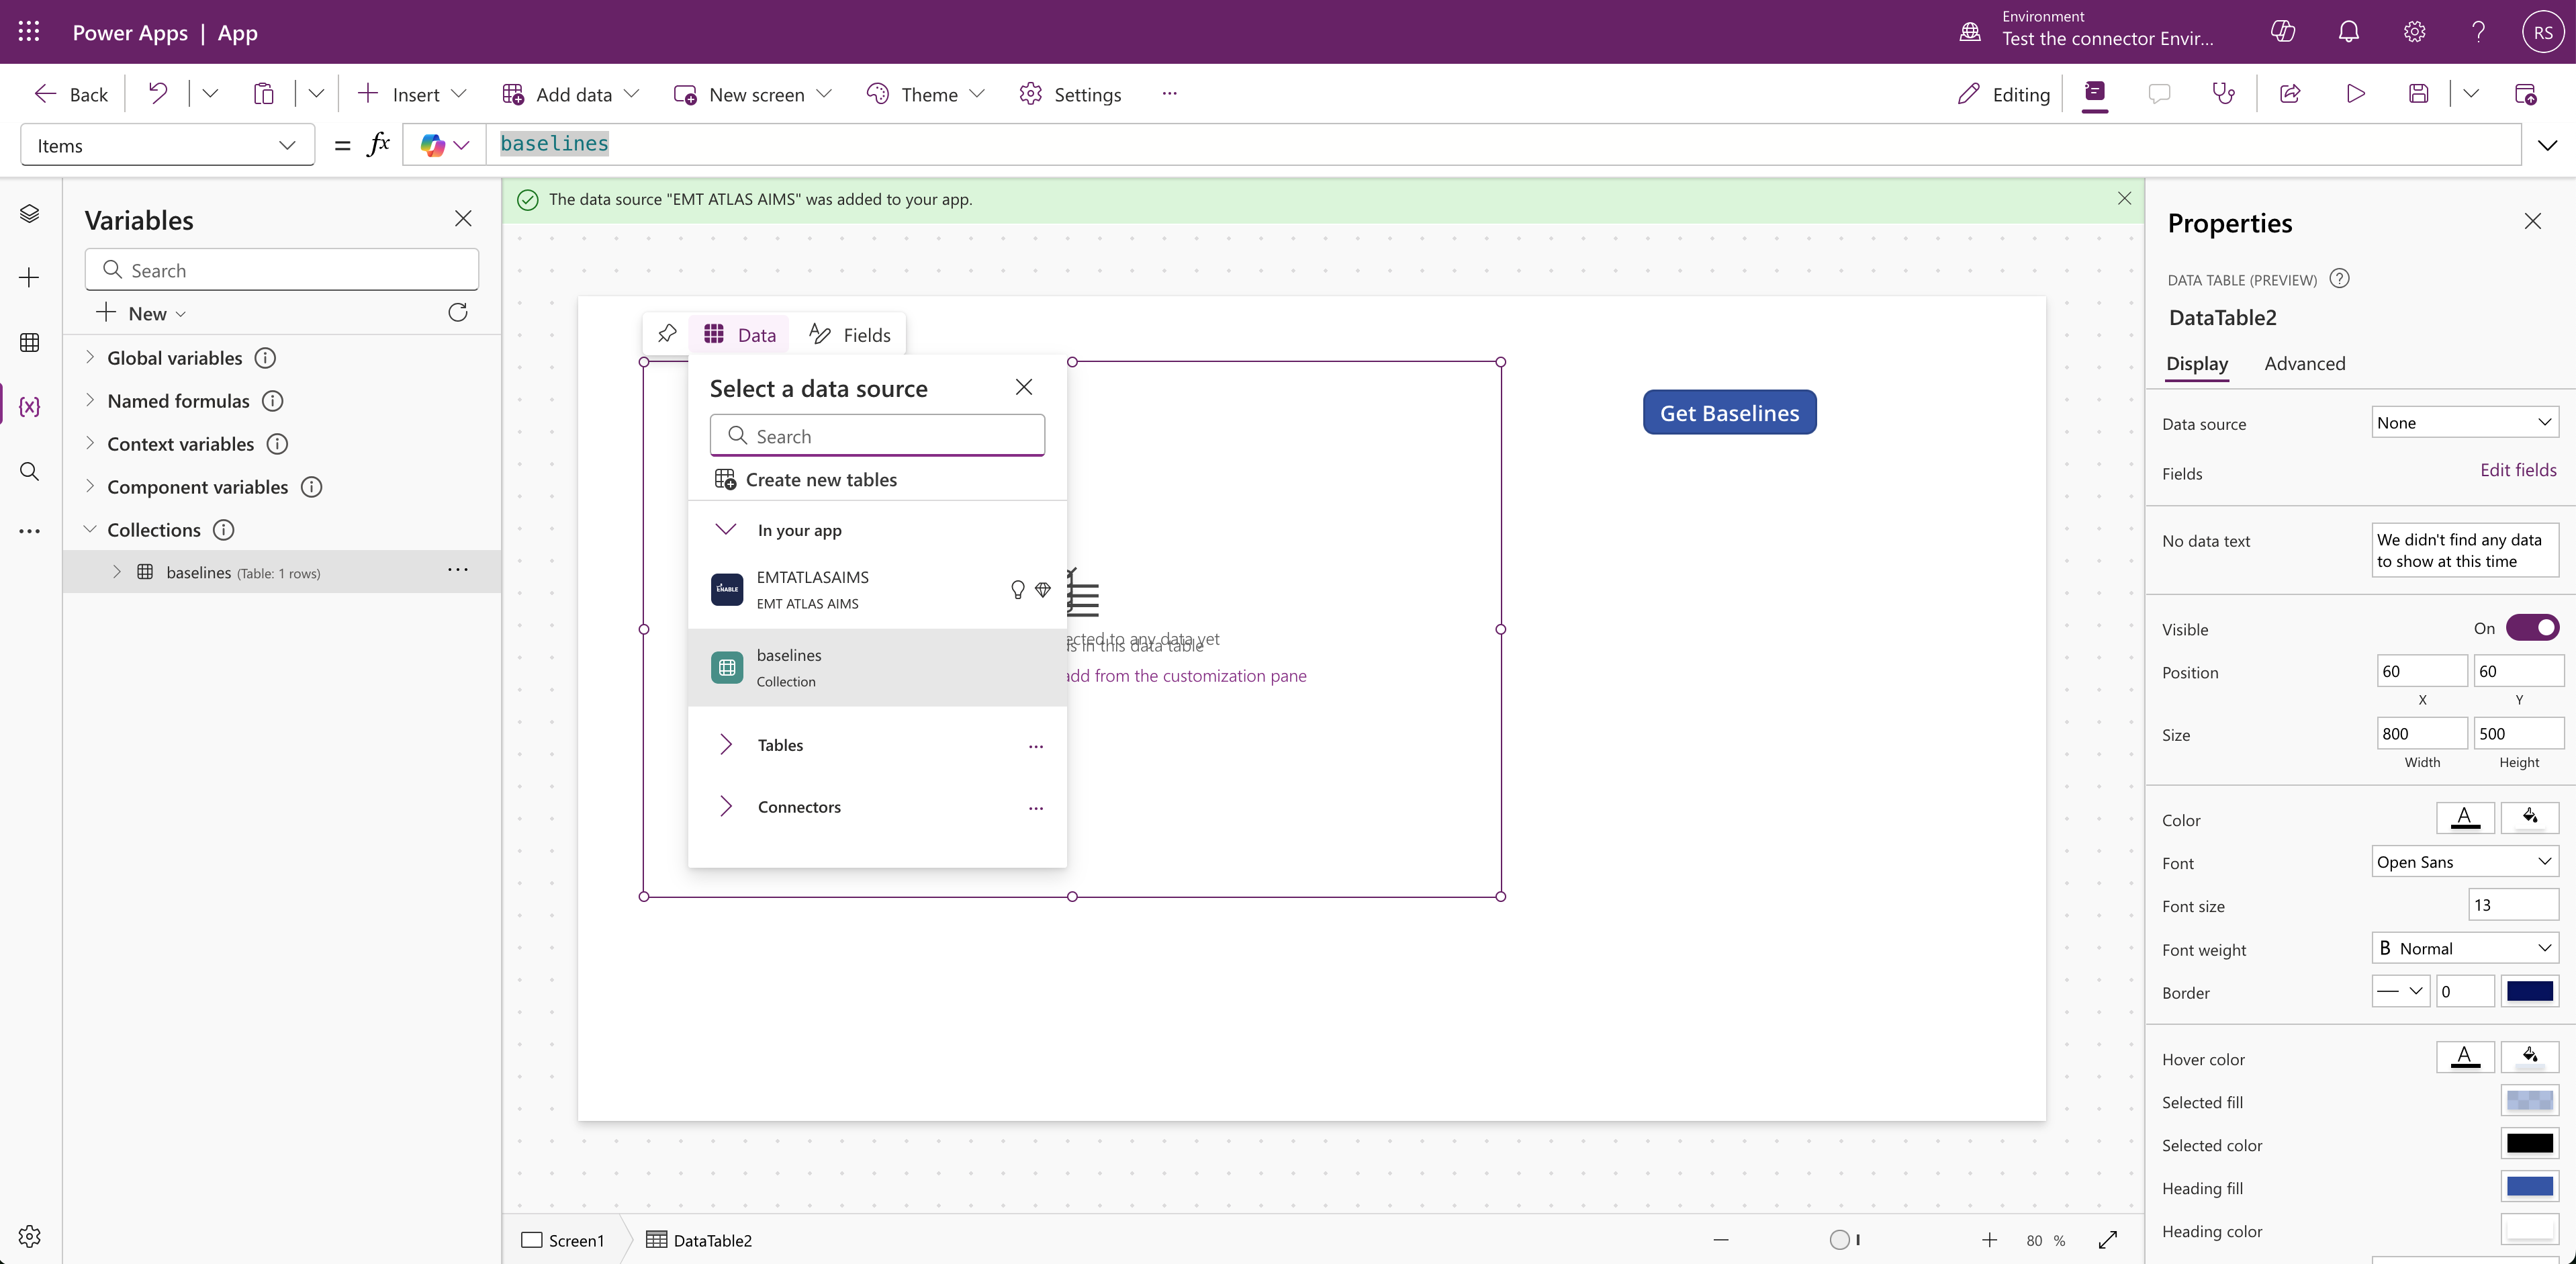
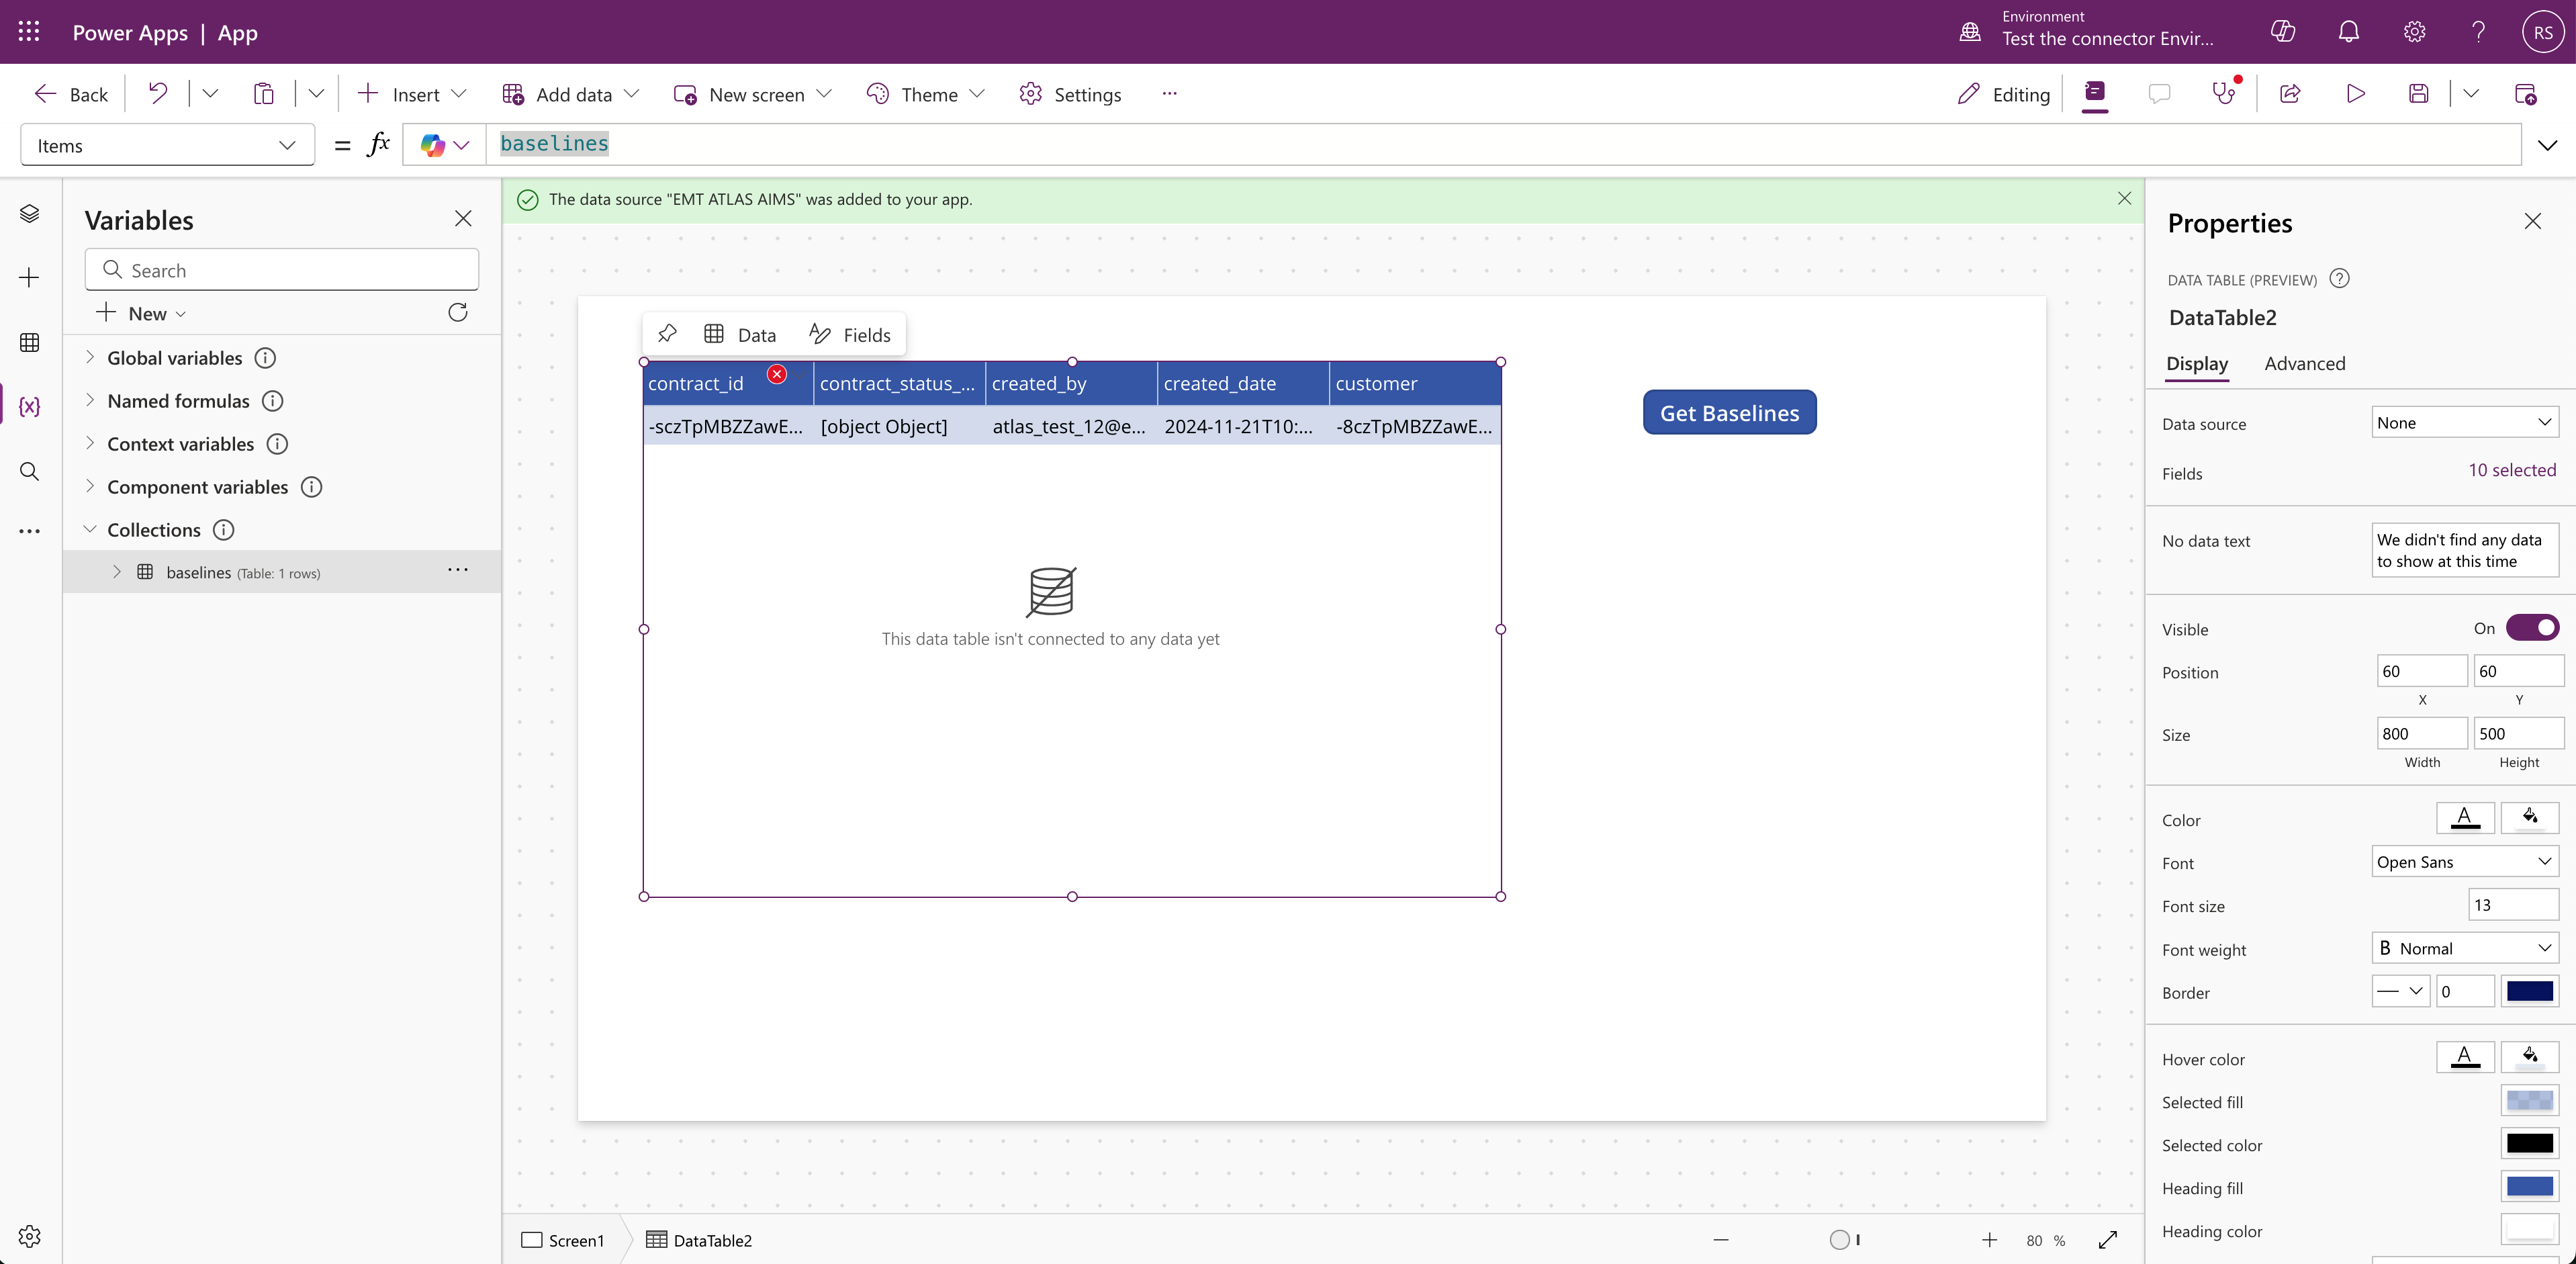
Now connect the data with a table. Click on the empty table on the canvas. When you hover over top-left corner a small menu should appear.
-
Click on "Data". Then select baselines collection as data source.
-
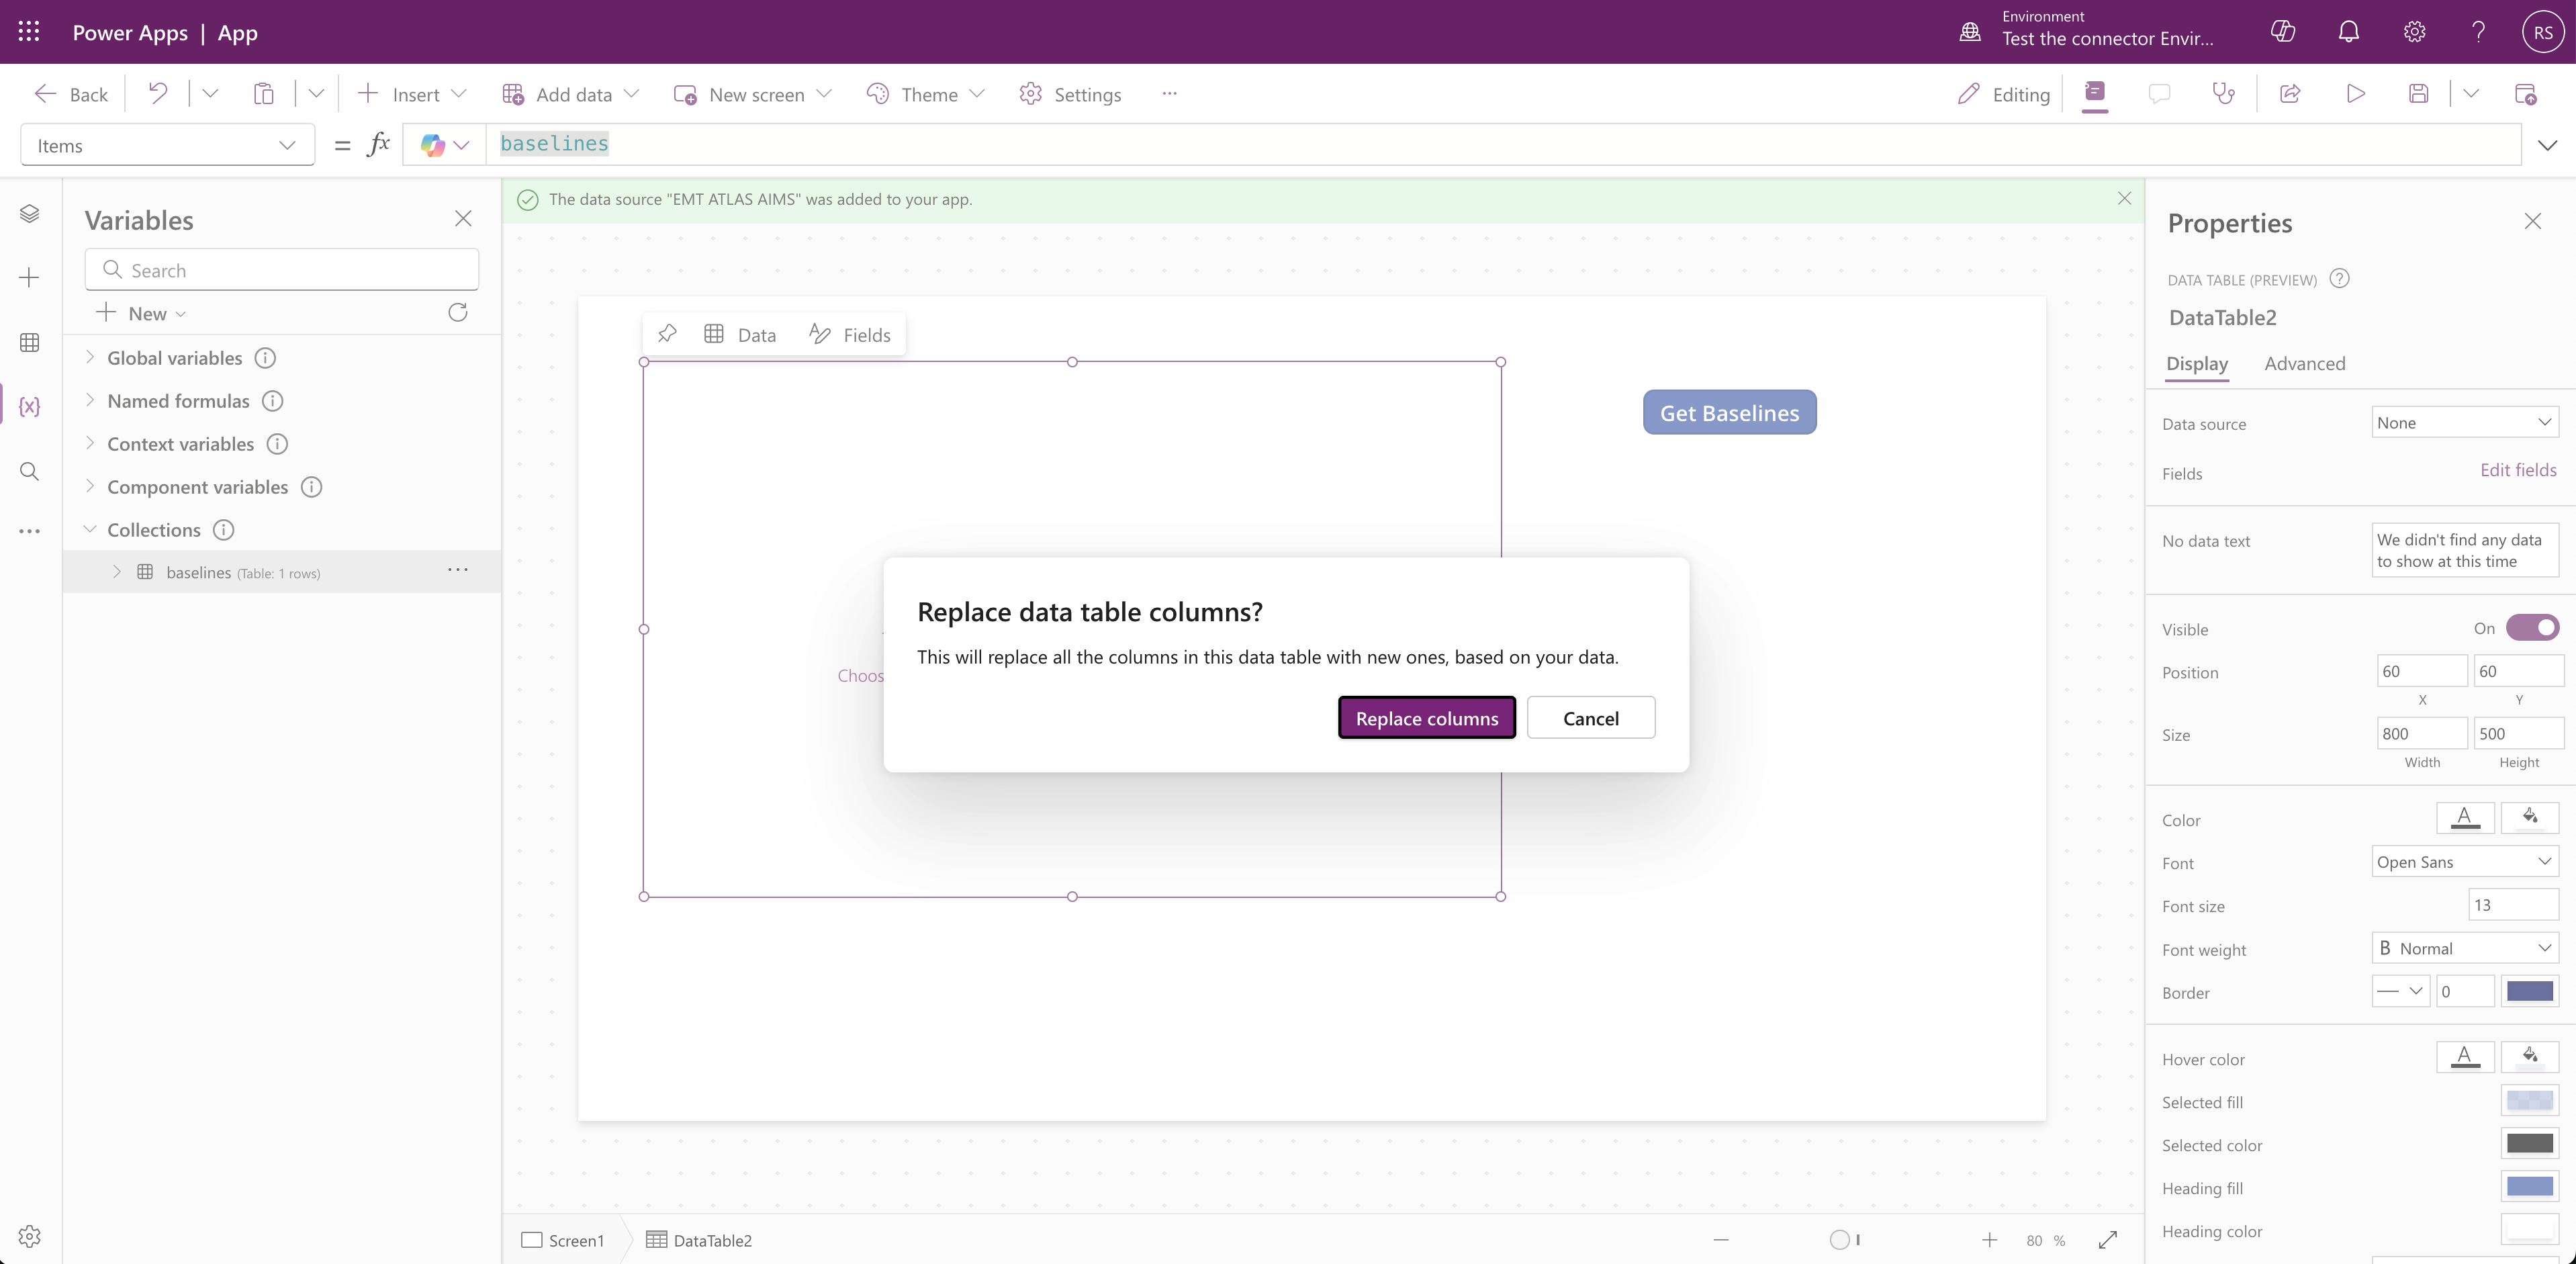
You might be asked to replace data table columns. If yes, click on "Replace columns" button.
-
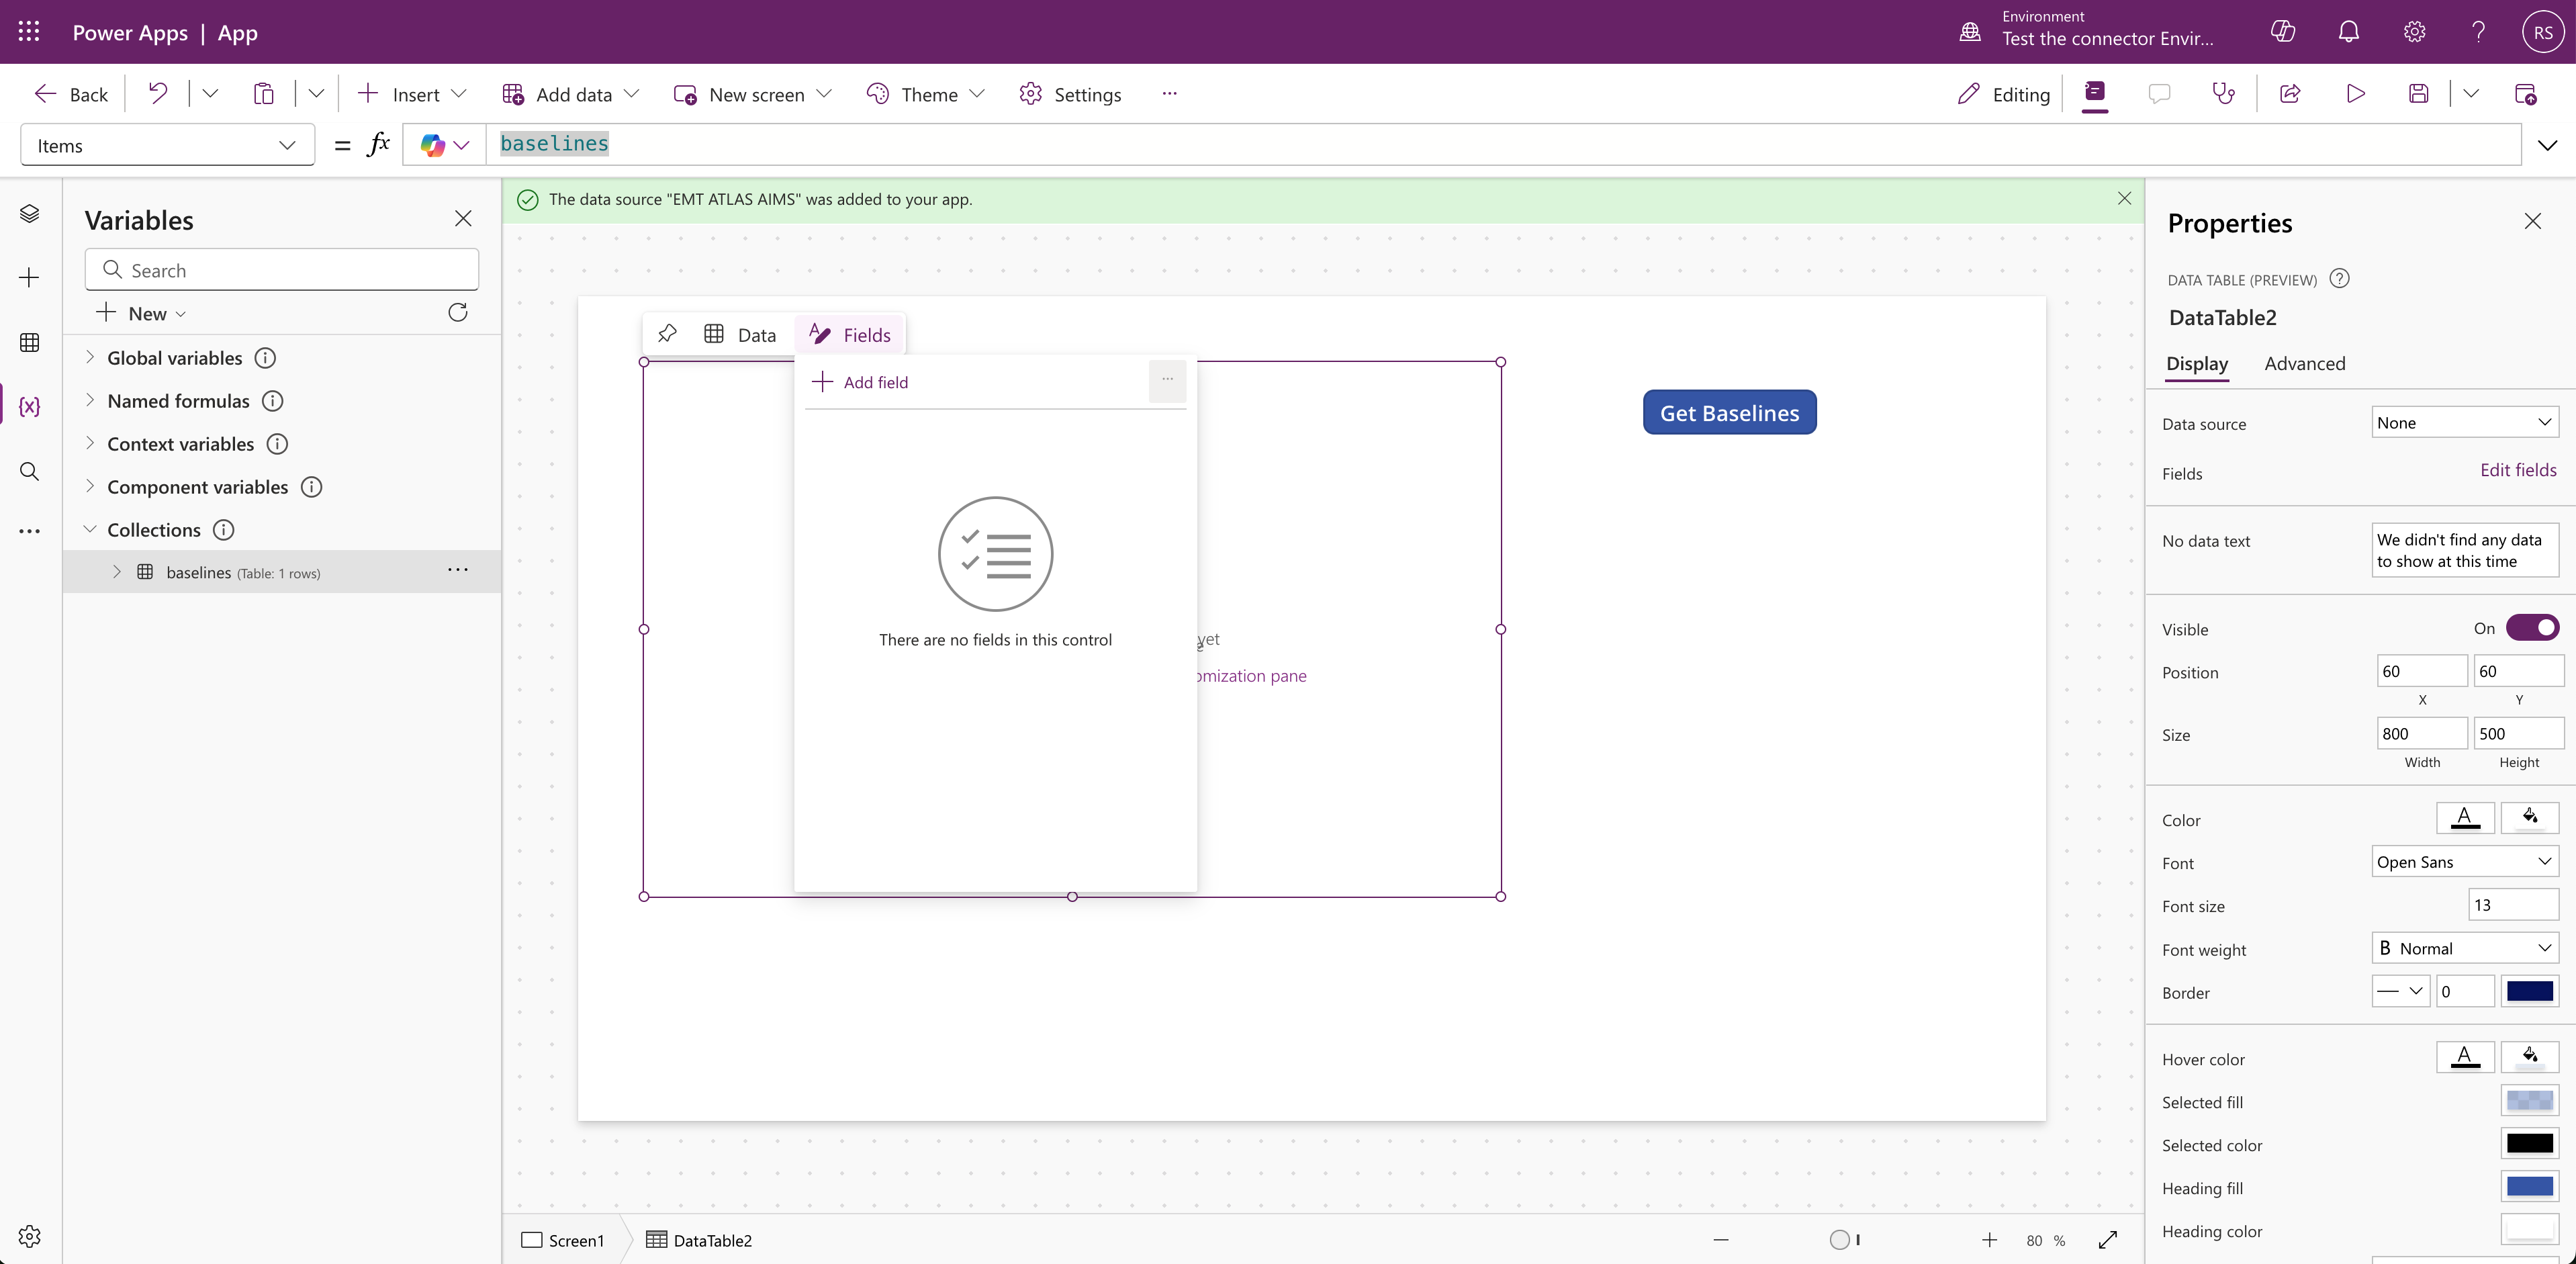
Next, click on the "Fields" button and "Add field".
-
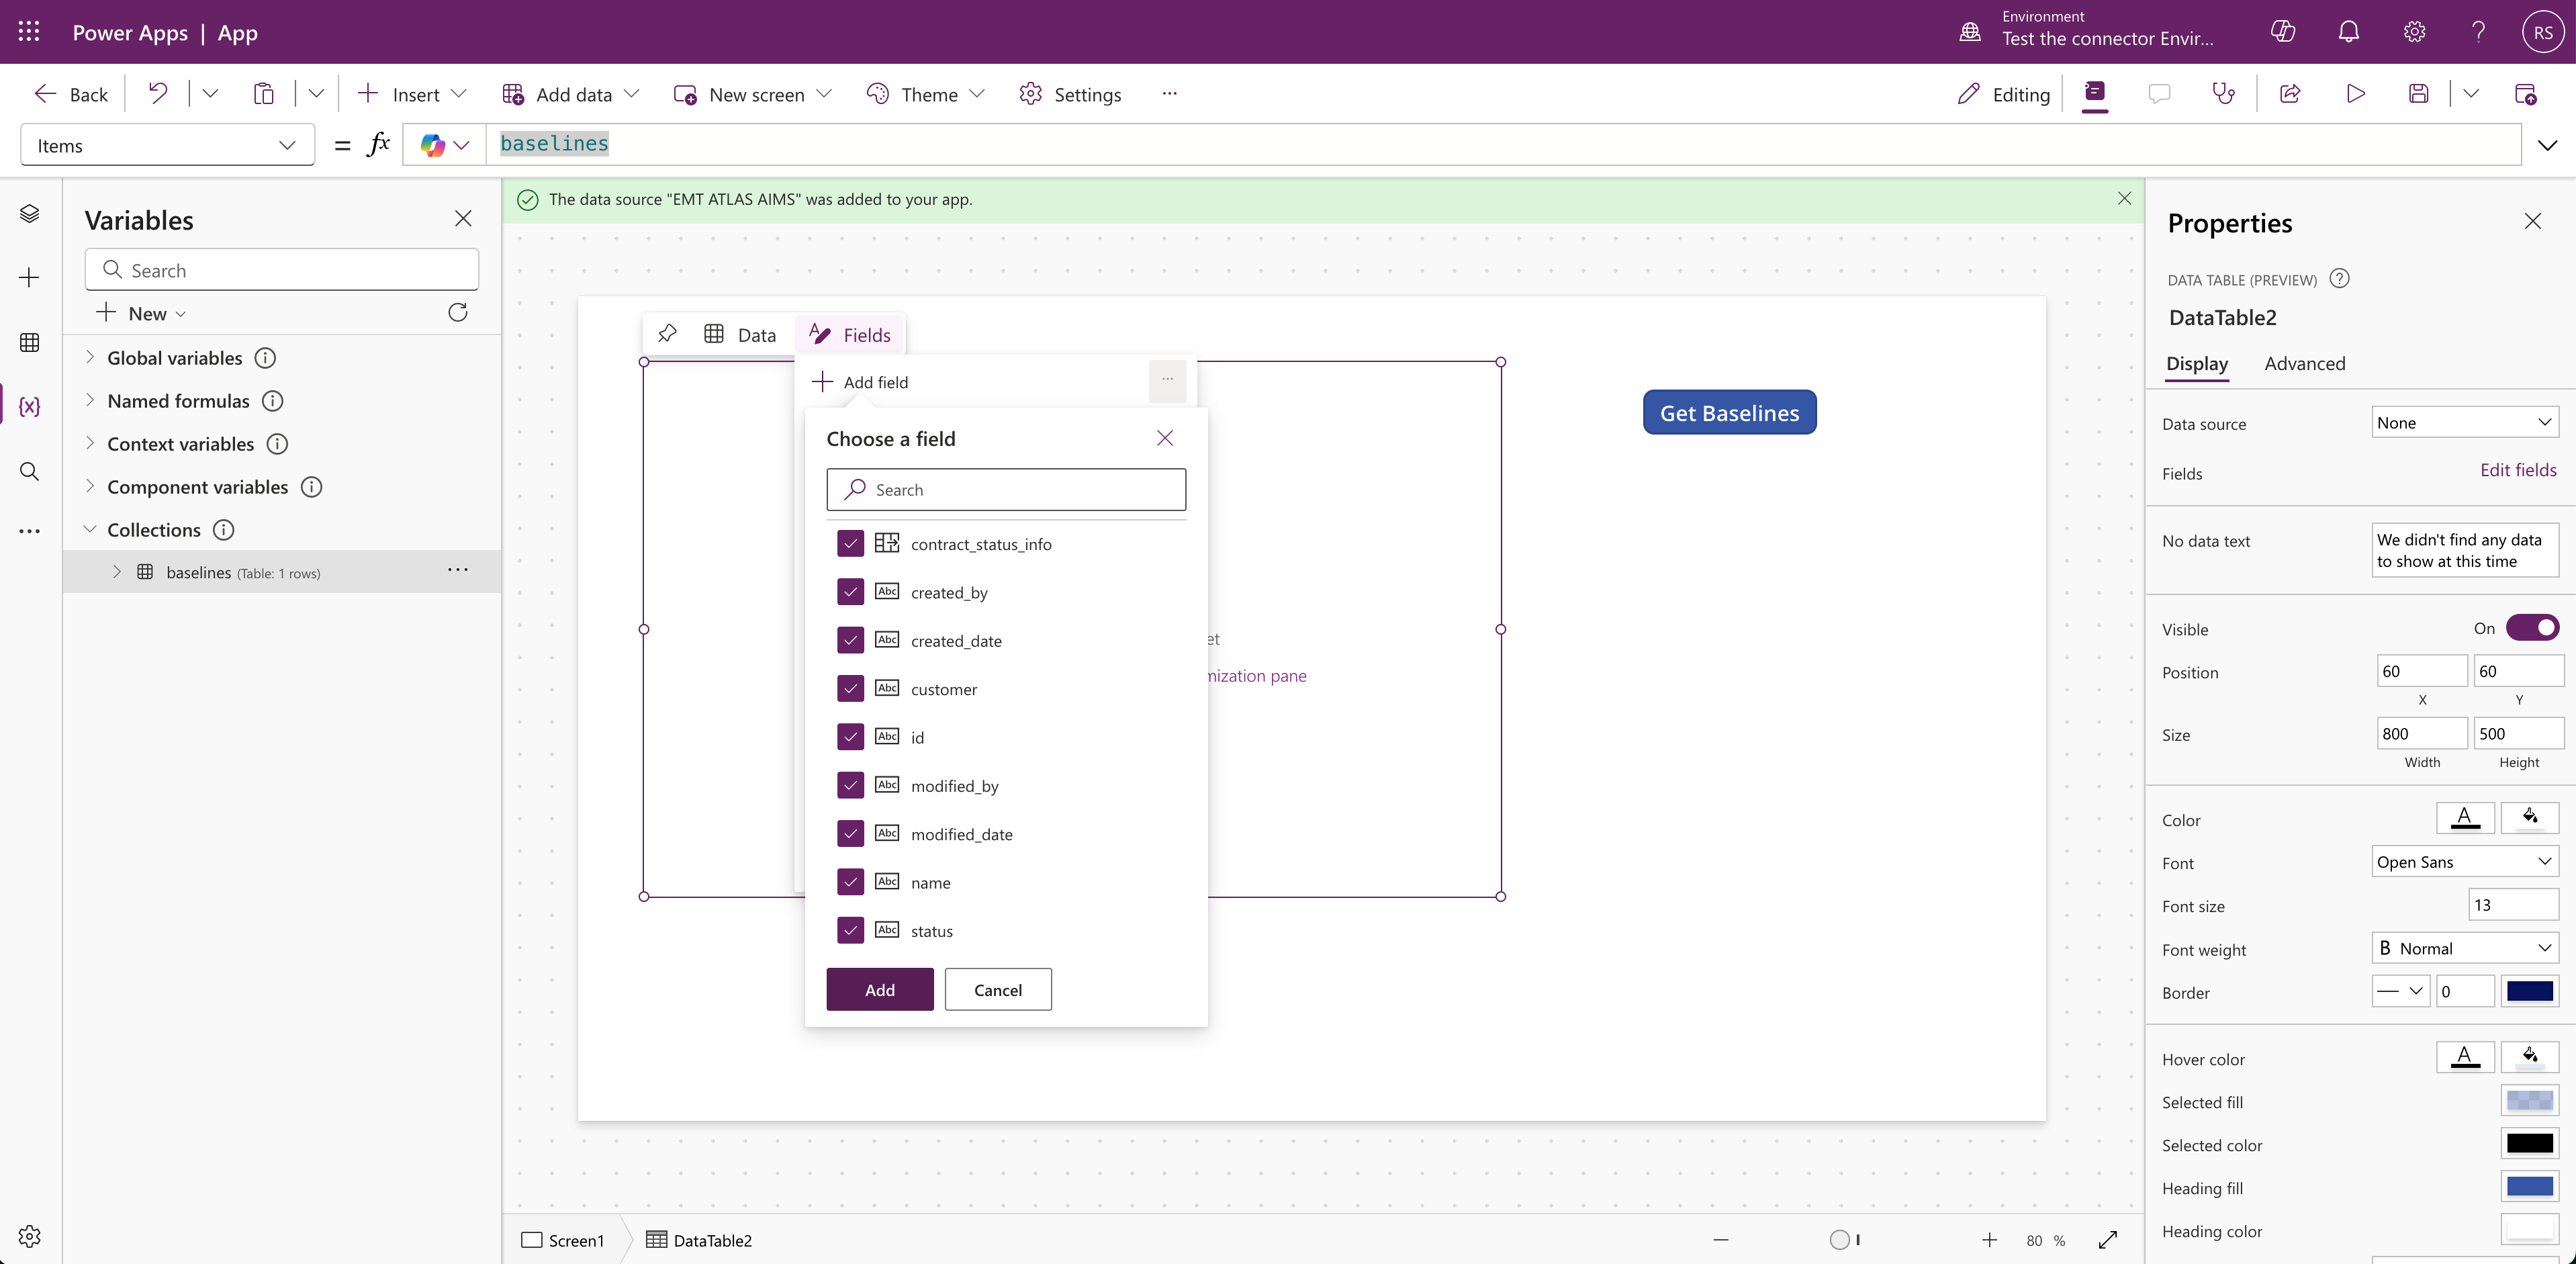
Field selector should open. You can simply check all the fields and click on "Add".
-
Now you should finally see a table with available baselines.
You have successfully connected to EMT's API and obtained current user's baselines data. From here you can explore other actions provided by our connector and use them in your Power Apps. Click on here to see detailed documentation of the available actions and their parameters.
Updated over 1 year ago