
Sectioning & Download
How to create a section / snipping of your point clouds in ATLAS
Sectioning and Downloading
-
Ensure you have watched the Navigation Tutorial to familiarize yourself with the ways to open and load a Point Cloud in ATLAS.
-
Navigate the Point Cloud to the desired area or location.
-
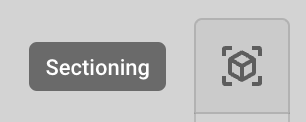
On the right-hand side, select the “Sectioning” icon
-
Click onto the Point Cloud; the sectioning box will automatically appear and be editable. Note that the “Editable” button is highlighted.
-
Edit the sectioning box to adjust the size or rotate the viewpoint to the desired angle.
-
Choose “Read Only” to view the section.
-
To make further adjustments, select “Editable” and modify the section as needed.
-
Once the section is complete, you can either download it or create a camera view.
-
To download the section, click “Download” at the bottom of the page. An email will be sent with a link to download the section.
-
To create a Camera View, select “Create Camera View” at the bottom of the page.
-
Enter a name for the camera view in the provided free-text field.
-
Click “Create.” A pop-up will appear in the left-hand corner stating “Successfully Created Camera View.”
-
The new camera view will be available within the ‘Browse Data’, ‘Camera Views’, possibly at the bottom of the list.
-
Refer to the tutorial on Camera Views and Sharing to learn how to share, view, or delete the newly created view.
Updated 4 months ago